Activating a Laser
The first time you open the job manager, you’ll see a tab for each product line.
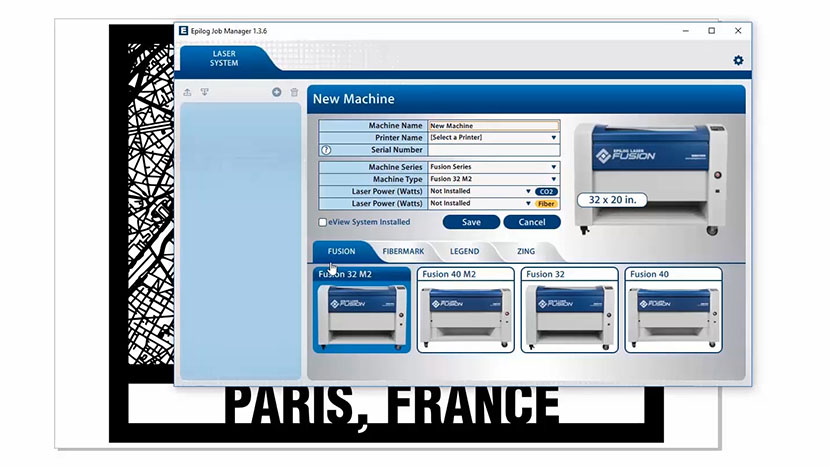
You will need to activate your laser system to get started. Click the correct tab for your laser, then your system. You can activate multiple machines if you have more than one laser.
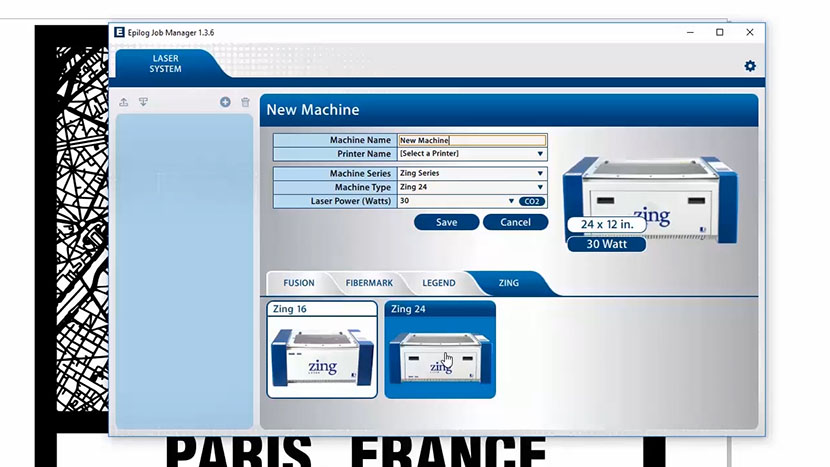
To activate your machine, start by giving your machine a name. Choose your laser from the dropdown list of printers. This is very important. If you do not choose the correct printer, you will not be able to print to the Epilog Job Manager.
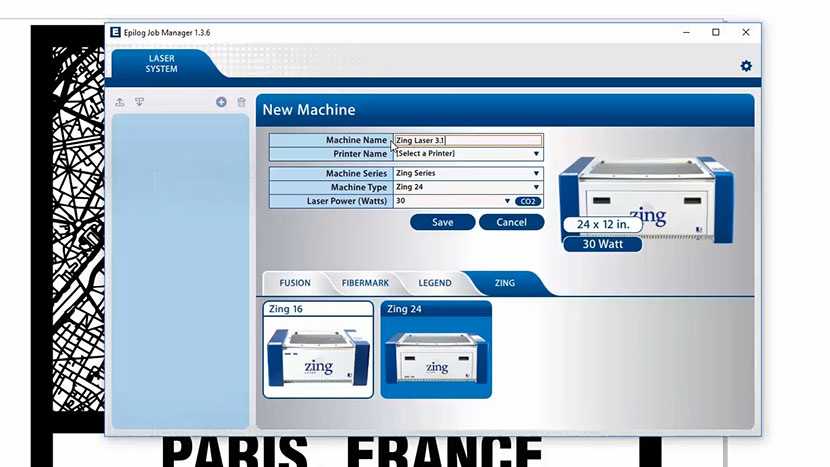
Select the correct machine series, machine type, and laser power. The laser power is very important because it is the setting the Job Manager will use to automatically load the proper material settings database files for your specific wattage of laser.
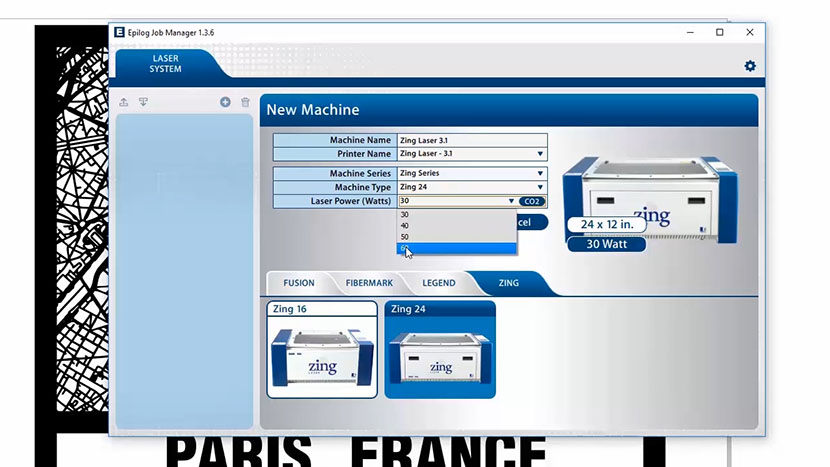
Then click the save button.
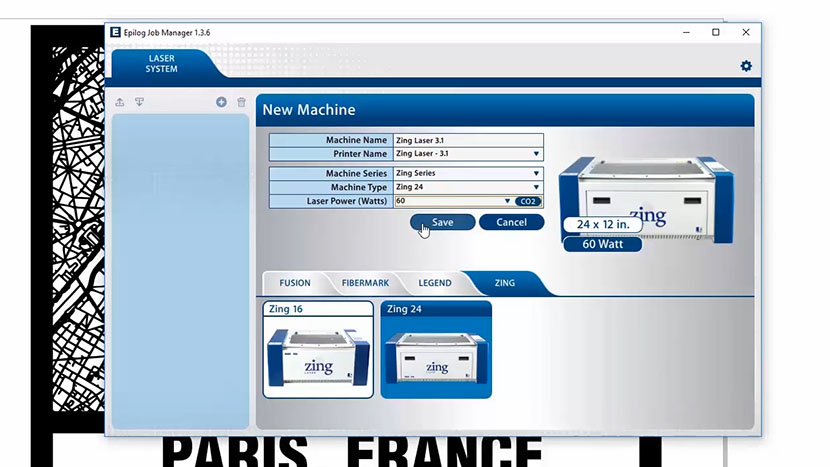
Your new laser has been activated in the Job Manager and appears in the left panel.
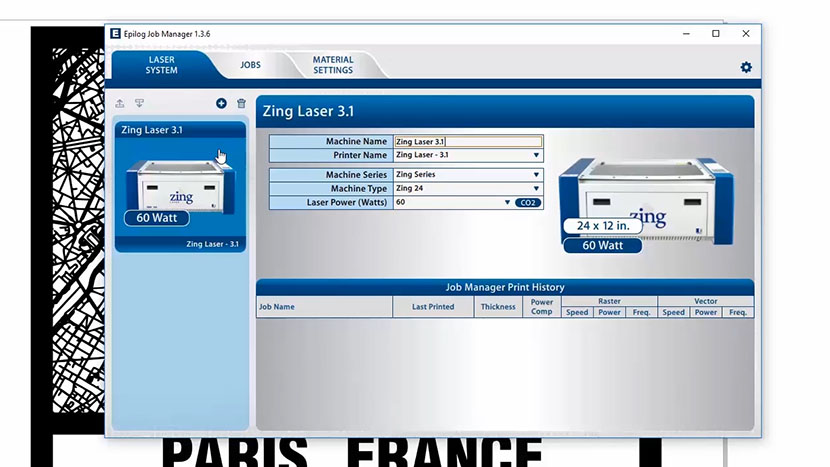
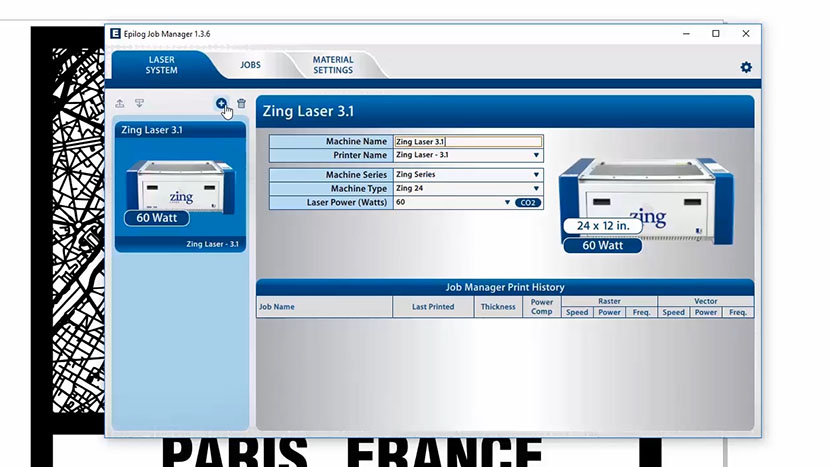
Use the Add or Delete keys to add additional machines or to remove a laser. The Job Manager is now ready to accept jobs from the Print Driver.
Printing to the Epilog Job Manager
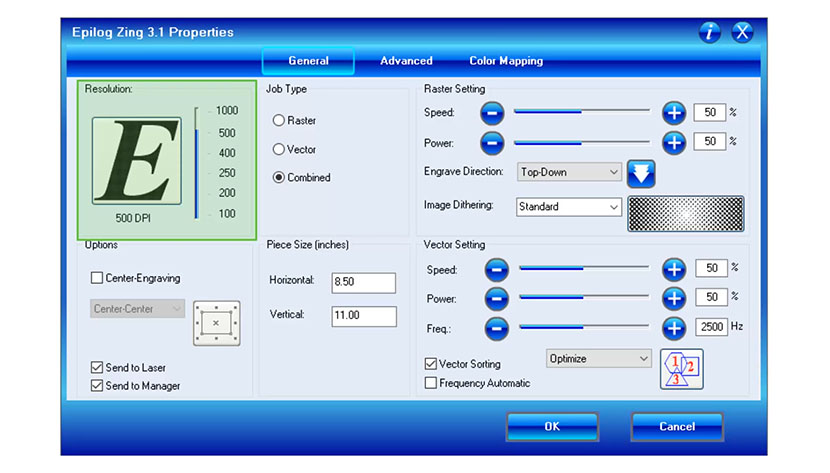
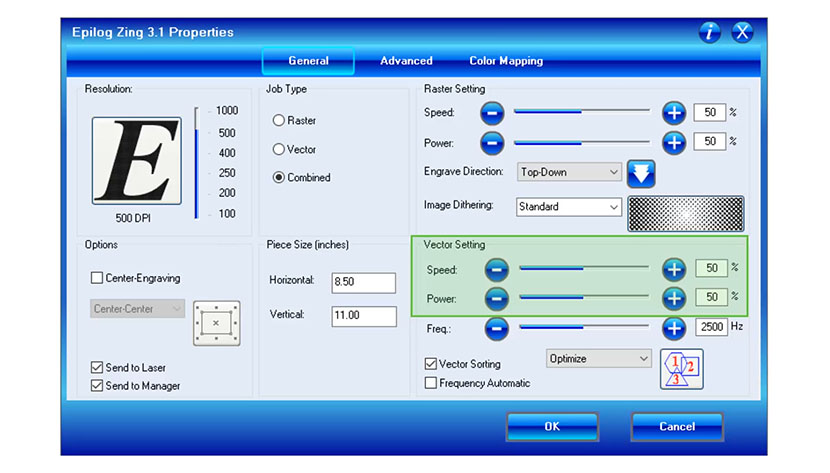
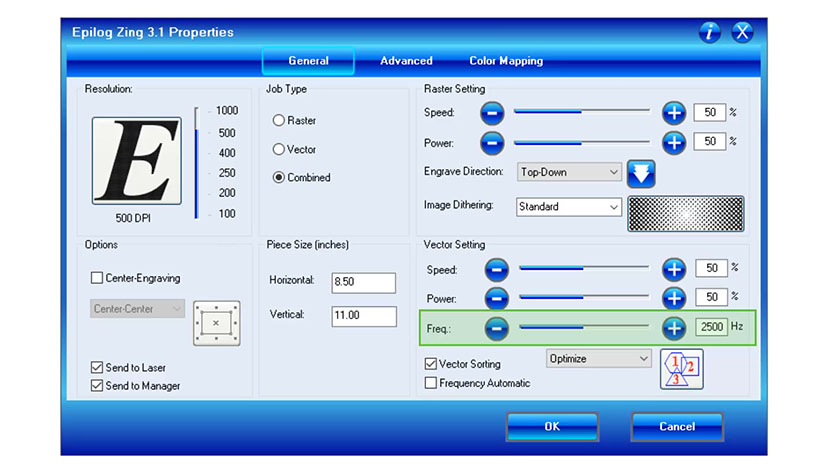
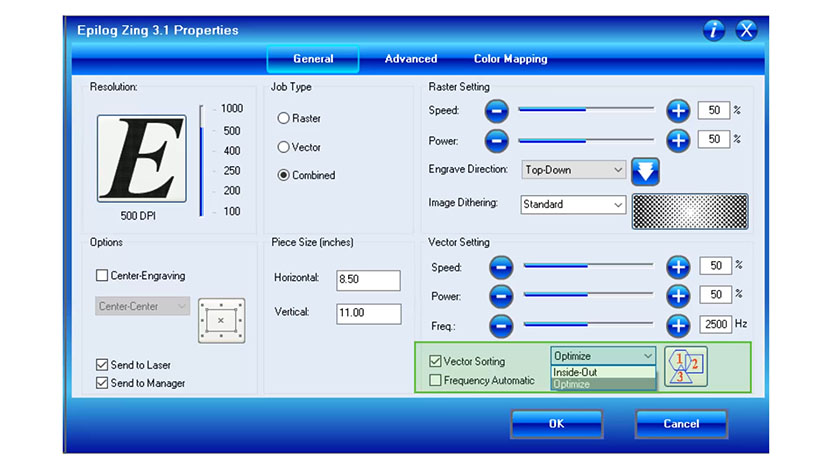
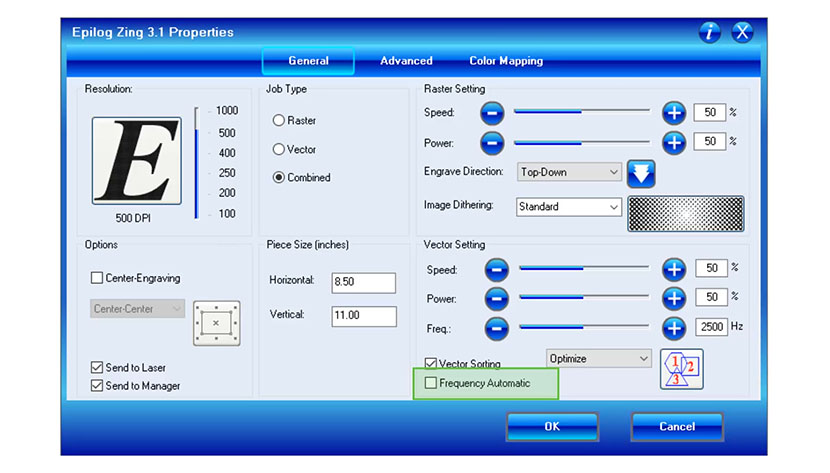
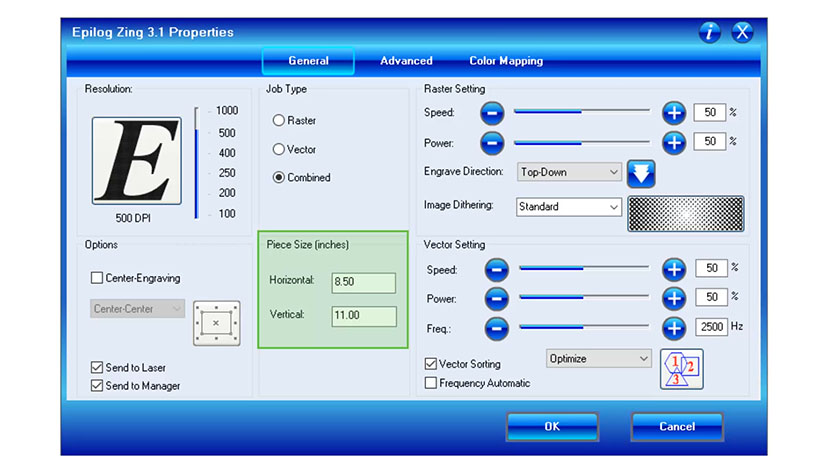
Create a file in your graphics software, and set your laser parameters in the print driver.
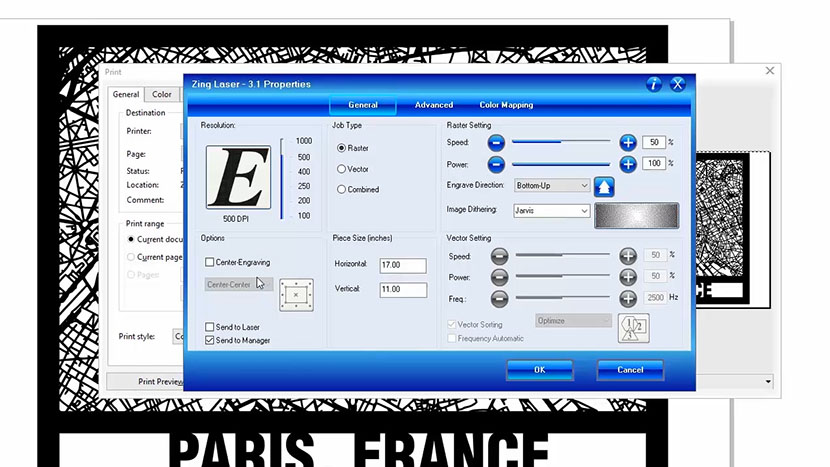
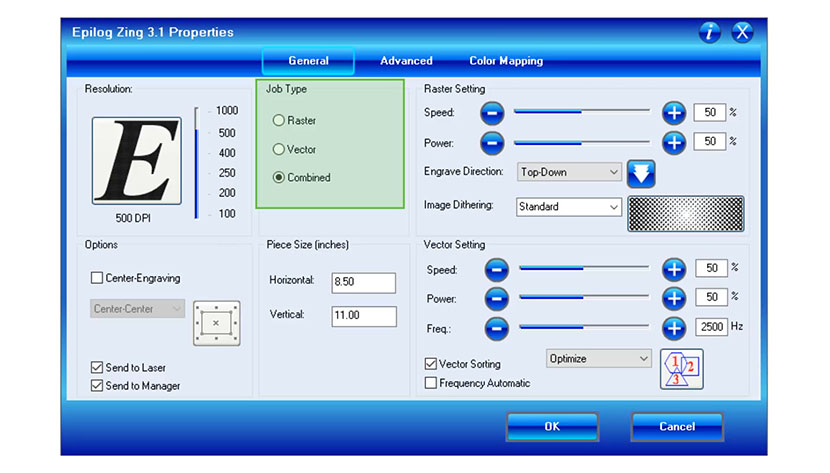
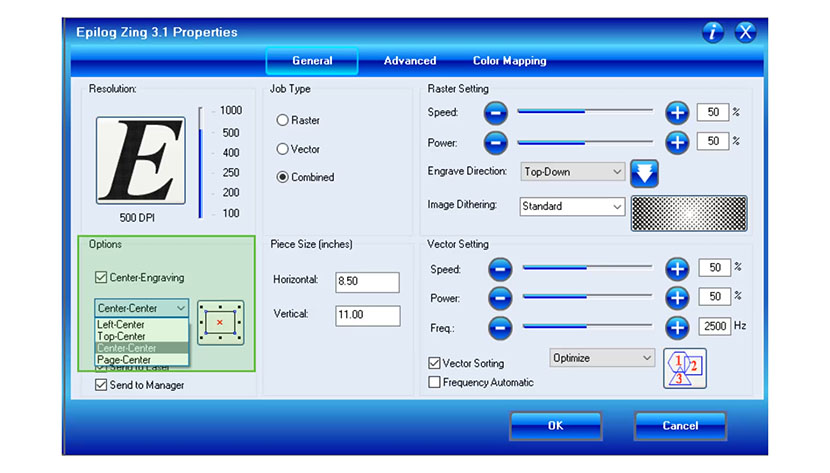
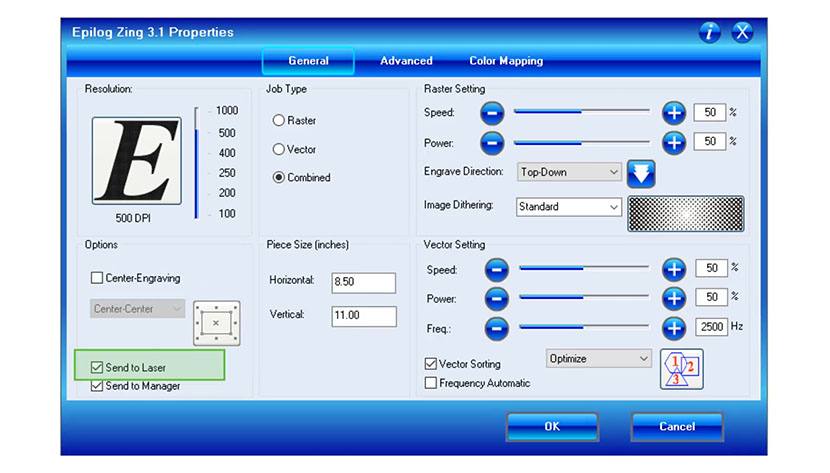
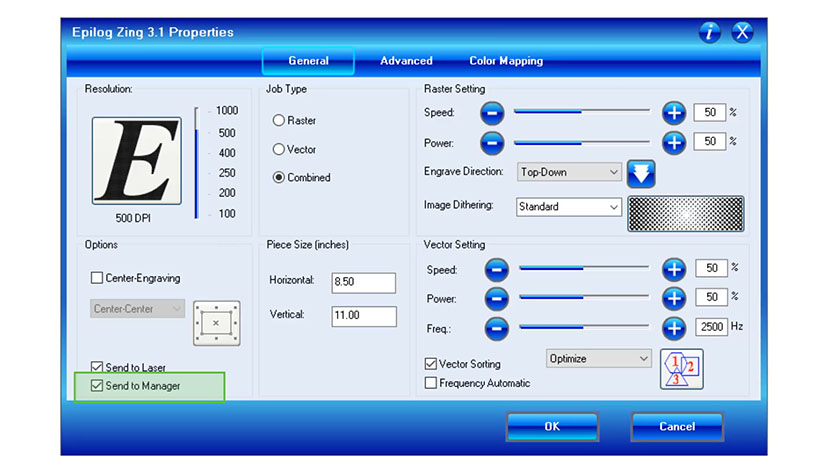
In the print driver, you’ll see a selection available under Center Engraving. You can choose to print to your laser system, the Job Manager, or both. This allows you to send your job to the Job Manager without sending it to the laser, so you can then print the job directly from the Job Manager at a later time, without accessing your graphics software.
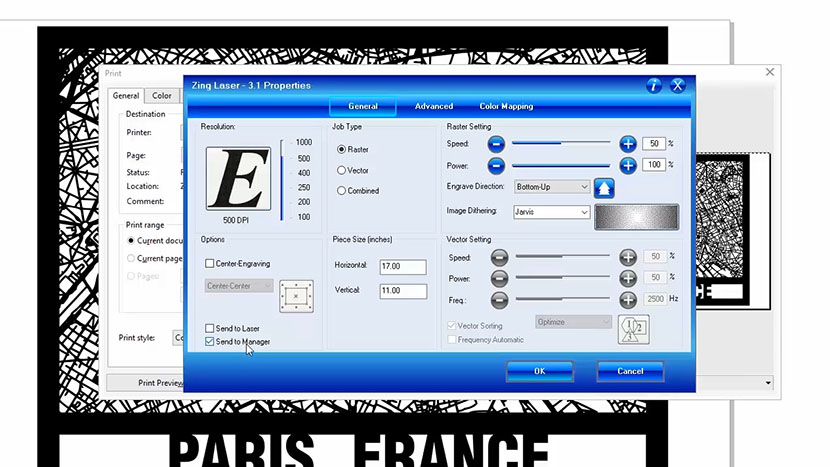
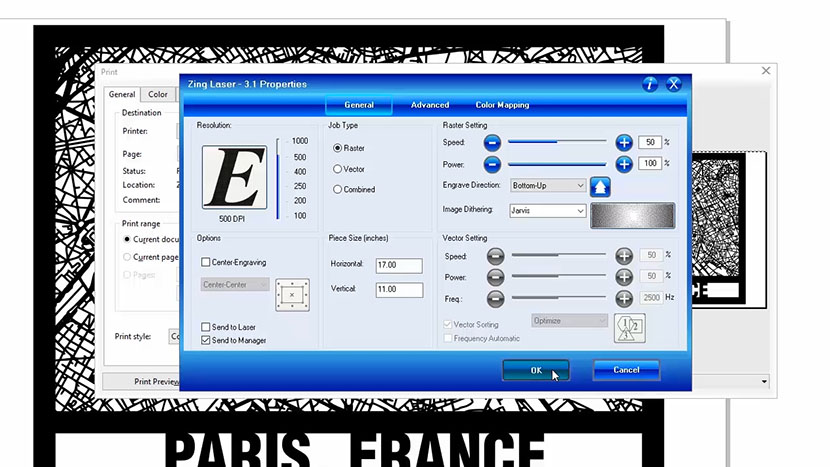
Once you’ve finished with your job settings, click OK, then click the Print button to send your job to the Job Manager.
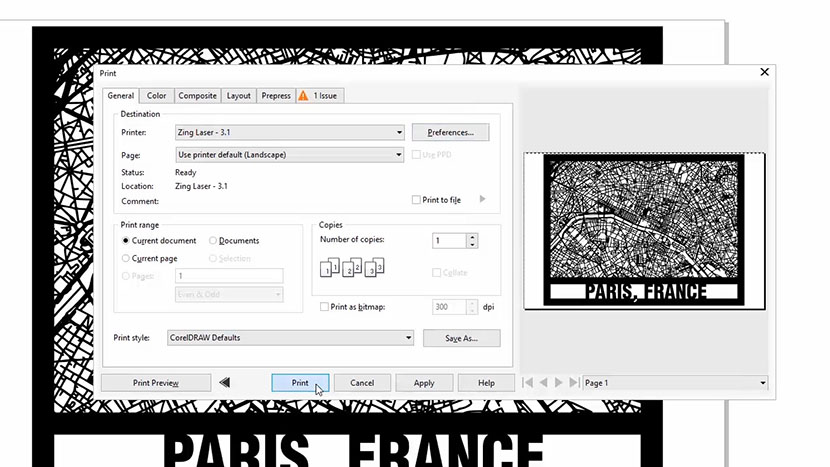
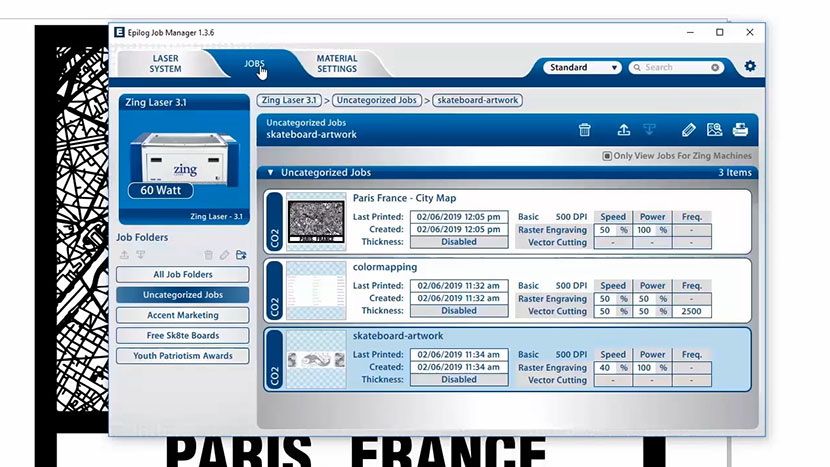
Now, click the Jobs tab. This is an easy way to set up an entire day’s worth of jobs all in one place.
Organizing Your Print Jobs
All of your new print jobs will be displayed in the Uncategorized folder. Click on your job to highlight it.
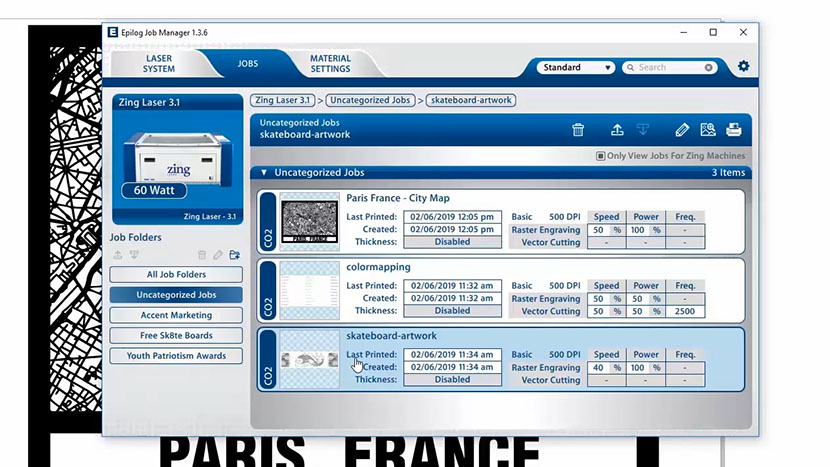
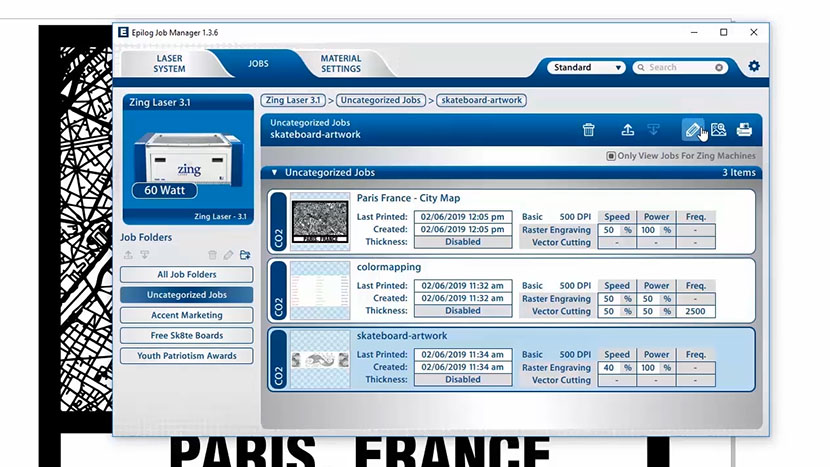
Now you’re able to Print, Edit, Preview, or Delete this job using the available icons.
Creating and Deleting Folders
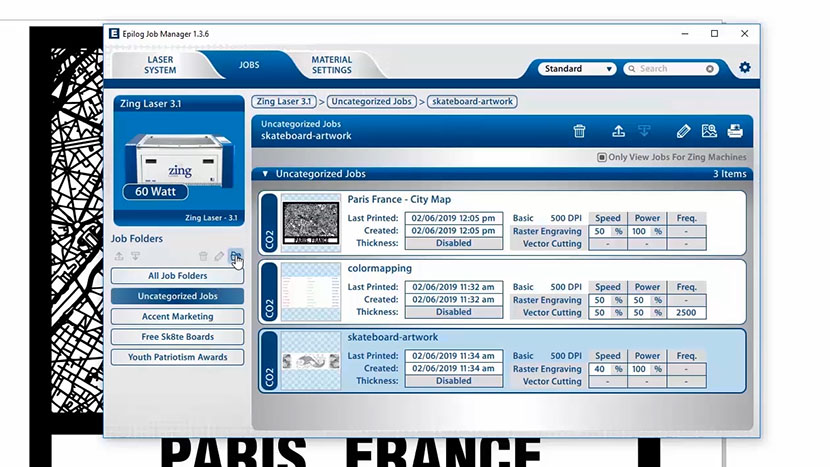
Click the Add Jobs Folder icon to add folders. You can add as many folders as you like, and organize the folders in any way you prefer.
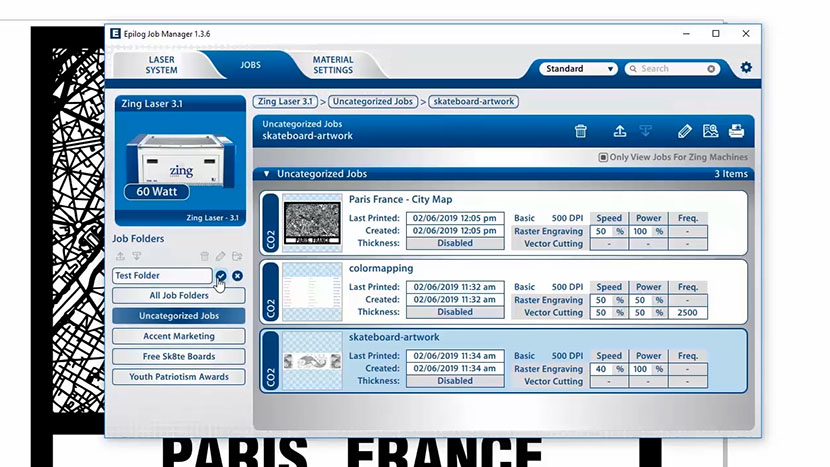
Creating Subfolders
First, in the left panel, highlight the Job folder to which you want to add a subfolder.
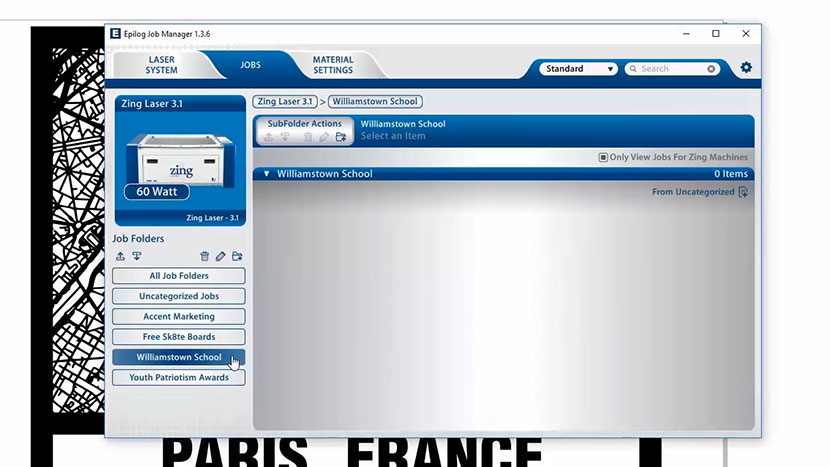
Now, click the Add Subfolder icon and type the name you’d like to use for the subfolder into the Add Subfolder field.
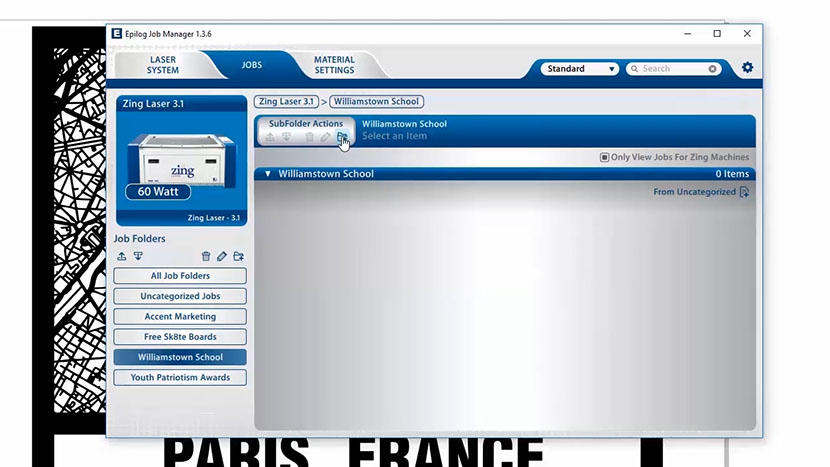
Then click the checkmark to create the subfolder.
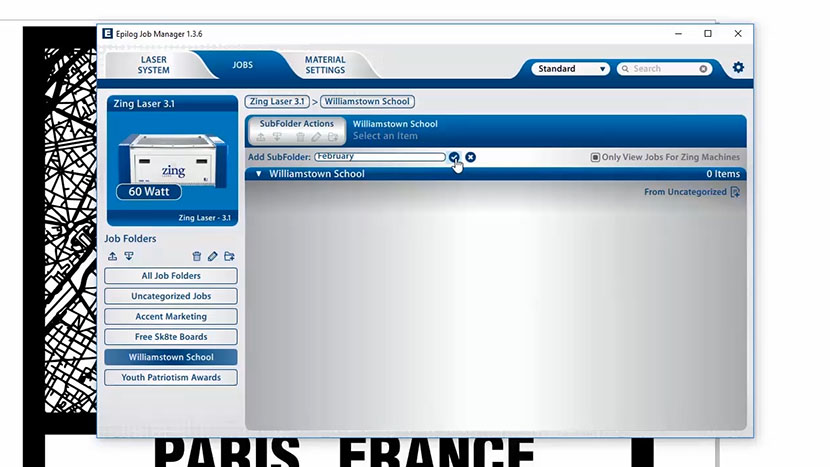
Moving an Uncategorized Job into a Subfolder
When you highlight a subfolder, you’ll see From Uncategorized at the bottom right side of the folder.
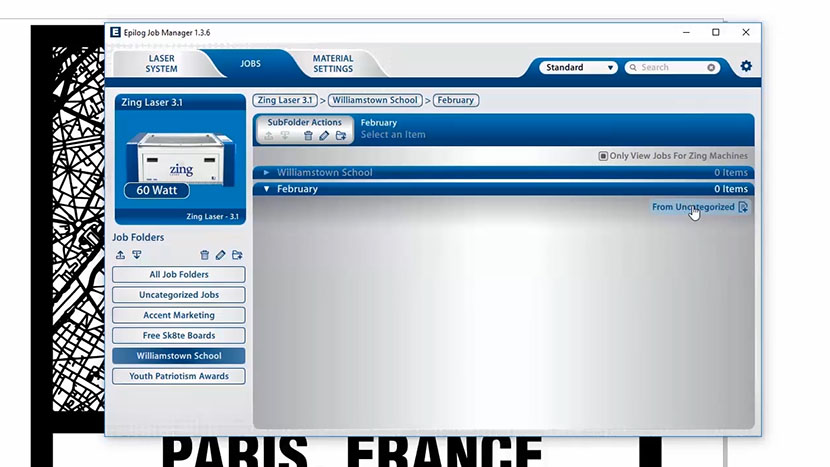
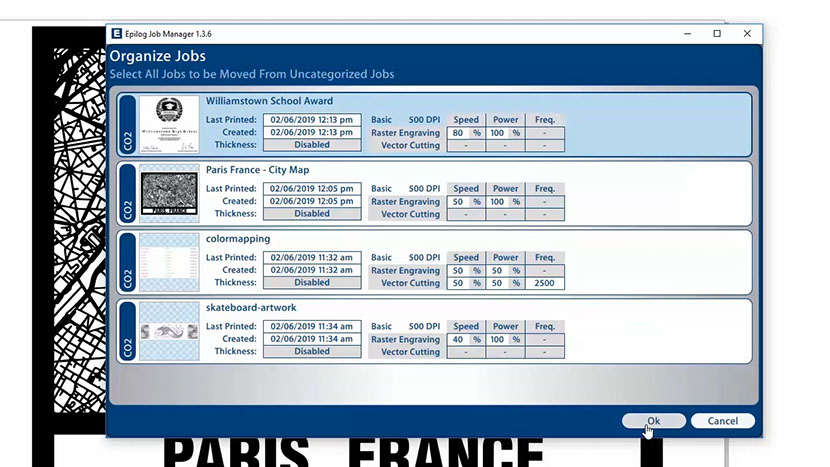
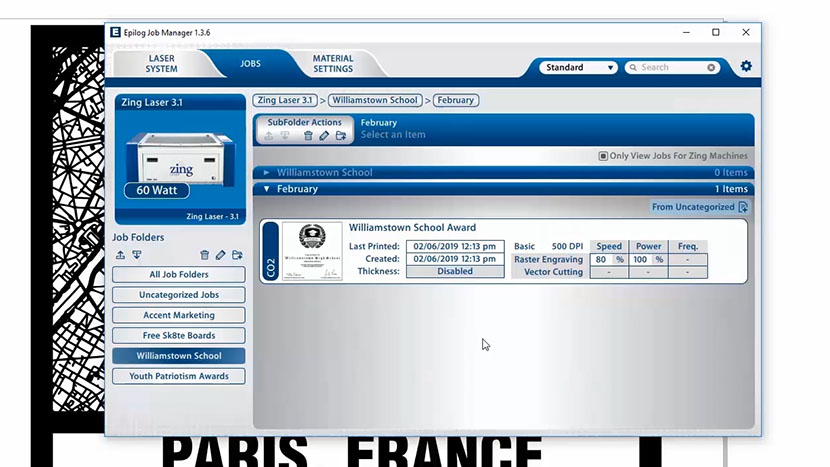
Click From Uncategorized to move a job from the Uncategorized folder to this subfolder. Select the job or jobs you want to move, then click the OK button to move the job(s) to the subfolder.
Moving Jobs Between Folders
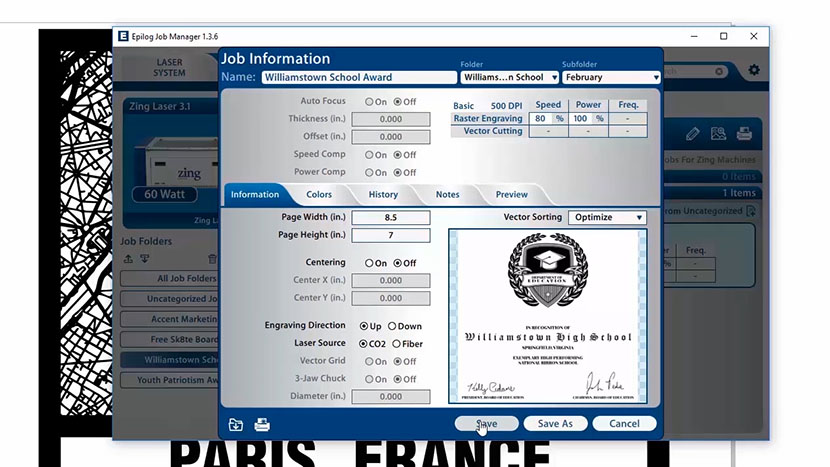
You can also move any job to another folder or subfolder in the Job Manager. Start by double clicking the job, then select the folder and subfolder from the dropdown menus at the top to choose where you’d like to save the job. You can now save the job with the same name, or save it with a new name. You can also modify the laser parameters and save them with the job.
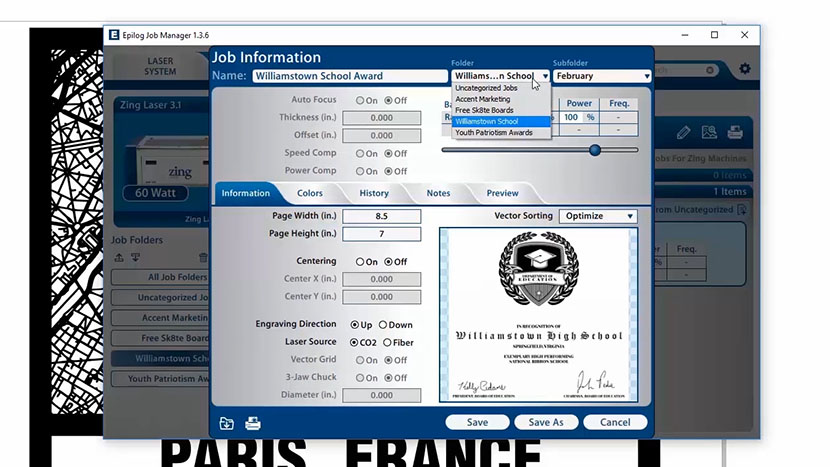
Once you’re finished, click Save to confirm.
Using the Material Settings Tab Configurations
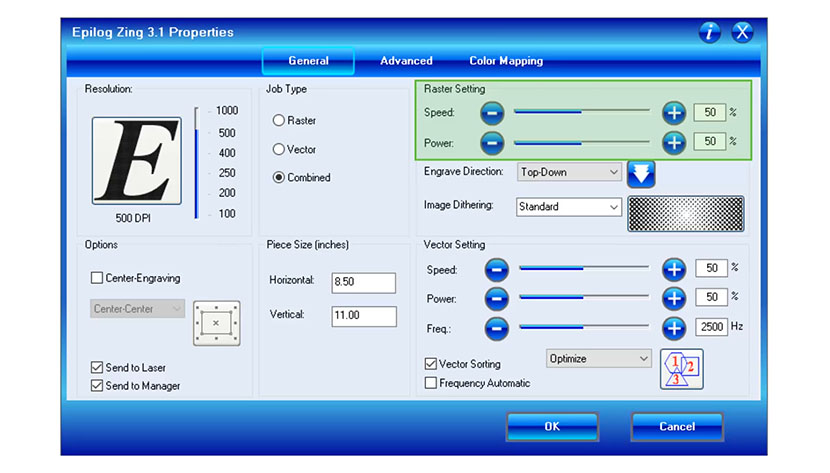
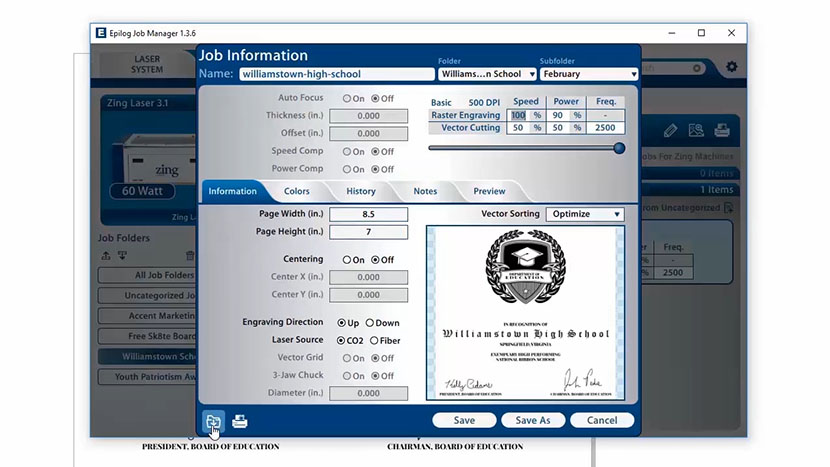
The Material Settings tab stores all of the suggested laser parameters, like Speed, Power, and Frequency, for specific materials. Let’s look at how to load material settings for an existing job. These settings were loaded based on the wattage specified in the laser system tab when you set up your machine. To use the material settings that were automatically loaded into the Job Manager, go to the Jobs tab and double click on the job. Then click the Import button in the bottom left corner of the screen.
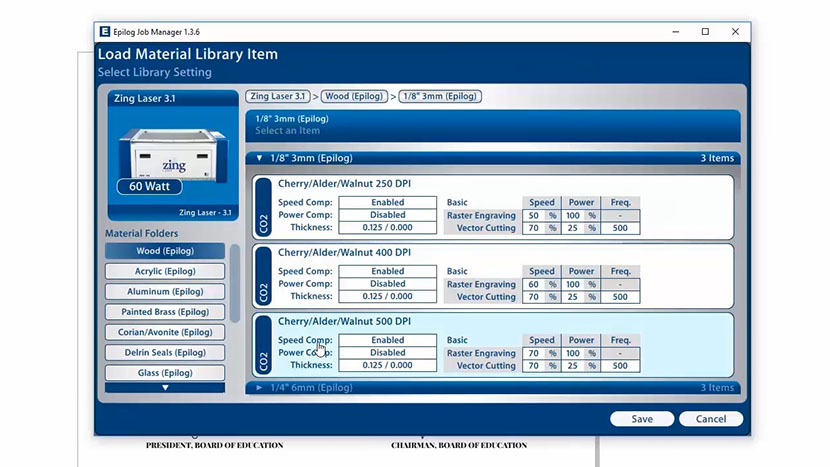
Navigate to the material settings you need by selecting the folder on the left, then the material setting in the main panel.
Then click the Save button.
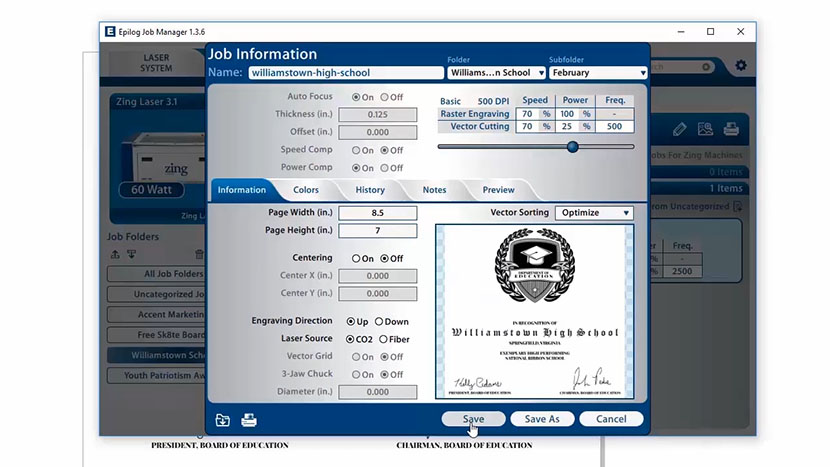
Your new settings have now been automatically applied to your job file. You can now save this file, save the file under a different name, or print this from the window.
Previewing Your Job
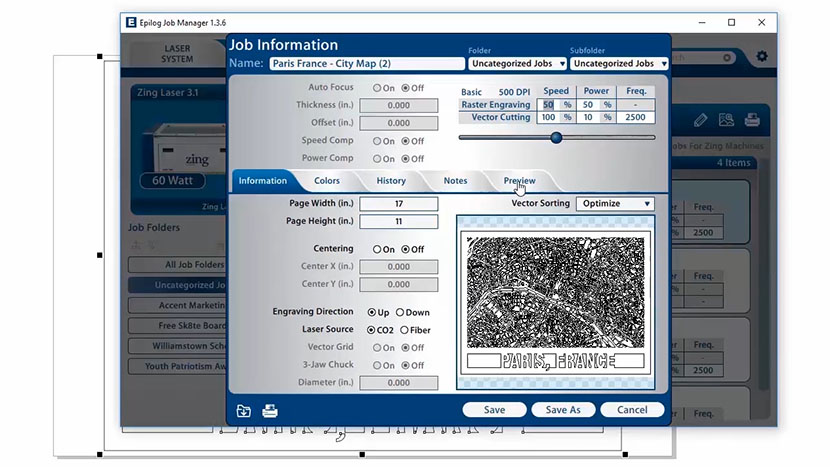
To view a preview of your Job, double click on the job in the Job tab, then click the Preview tab option.
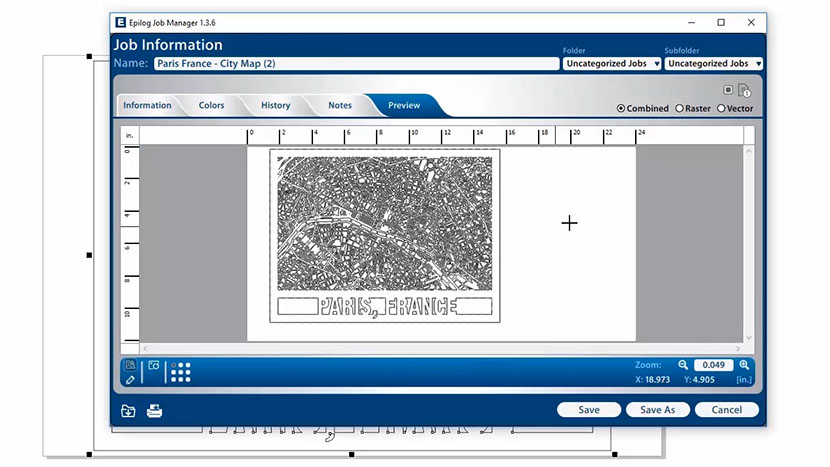
If you need to see a fullscreen version of your job, you can click on the Maximize button in the top right corner of the window.
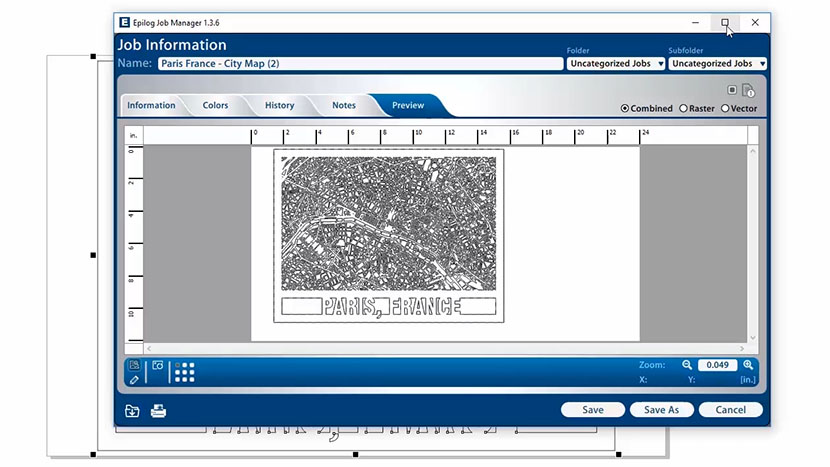
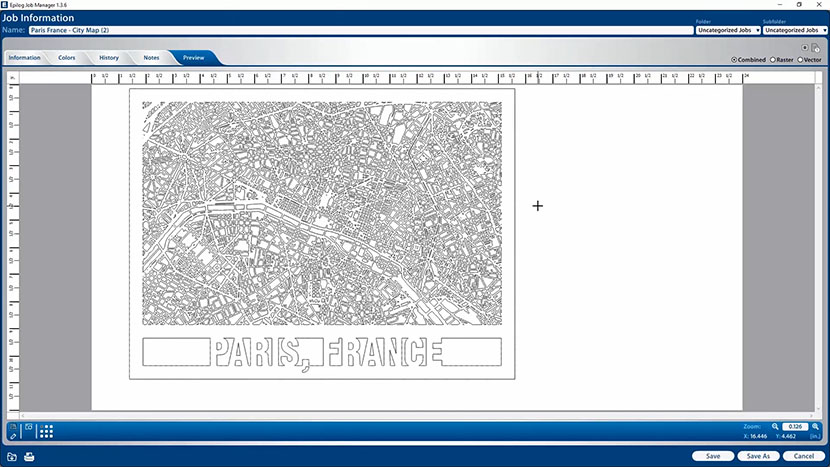
In the Preview panel, you can preview the Combined, Raster, or Vector components of your job by using the selection buttons at the top right corner of the panel.
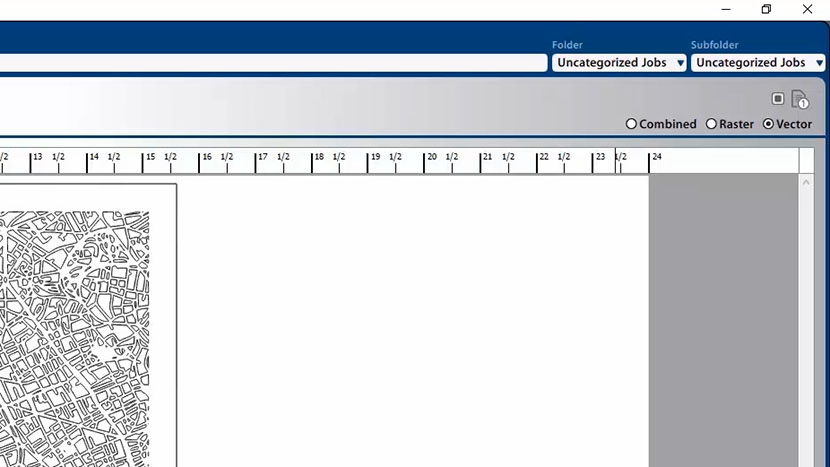
Selecting Raster or Vector will show only the Raster or Vector components of the job, respectively. Selecting Combined will show both Raster and Vector components. The preview mode is very useful in identifying unwanted vector components.
Using the Search Feature
The Job Manager comes equipped with a powerful search function. Simply type in part of a filename and press Enter to find all files containing a word or name.
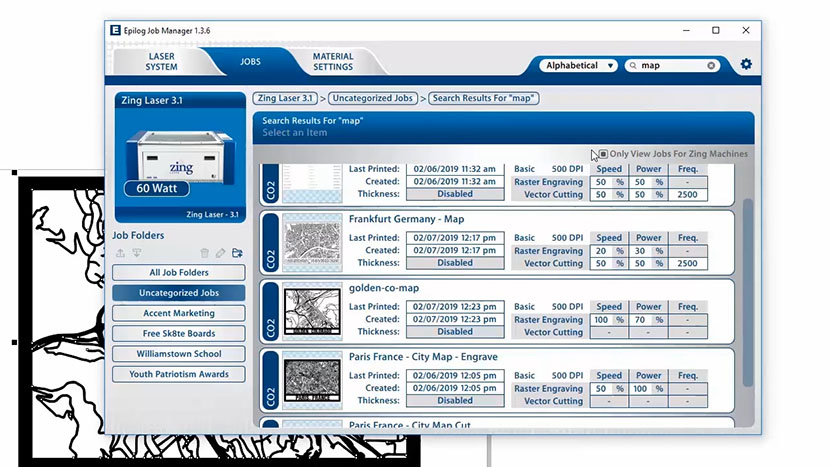
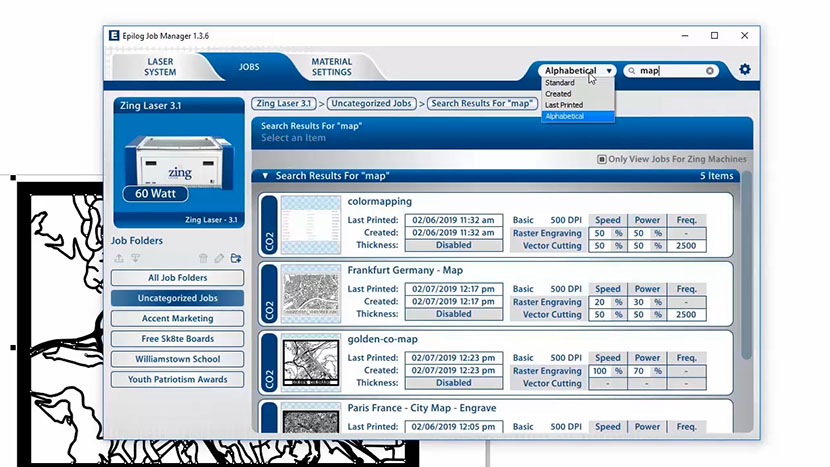
You can organize the search results by Standard, Created, Last Printed, or Alphabetically, which can be helpful when trying to find a specific file.
Job History
The Job Manager allows you to see a full print history of a job, including settings you used in each print. To access the history of a job, double click on the job, then select the History tab.
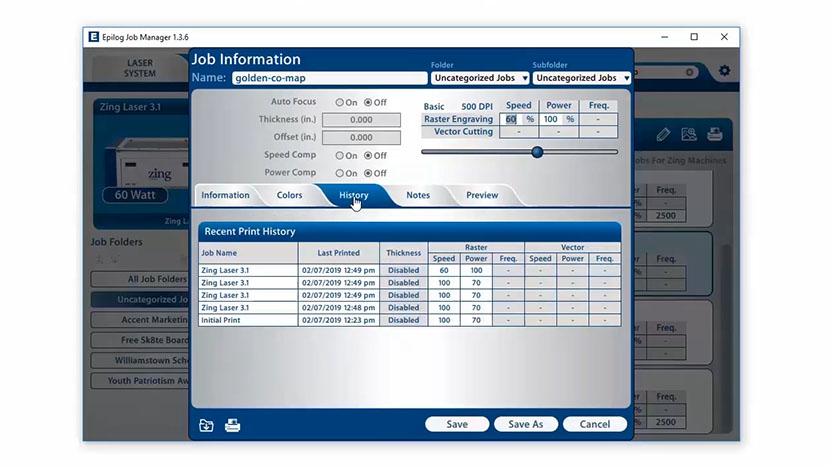
The History panel shows you the history of this job – what machine it was printed to, when it was first printed, all subsequent prints, and all laser parameters used. You can modify, print, or save from this panel using the listed settings or new settings. The new settings will be saved as the next print job, complete with timestamp and date.
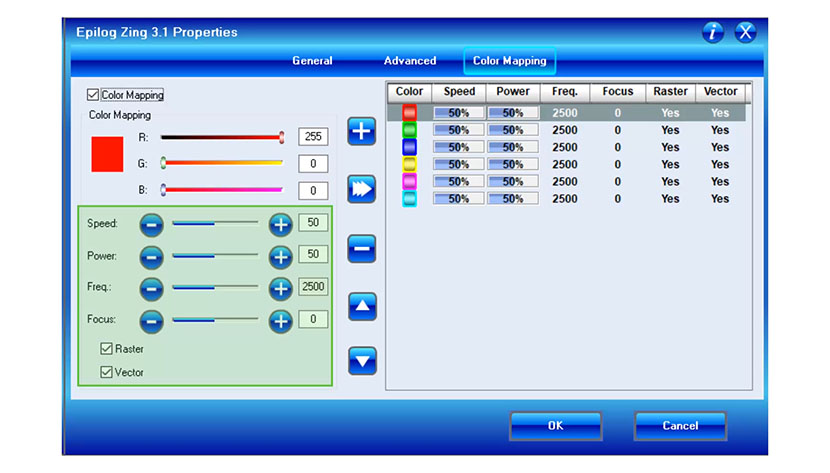
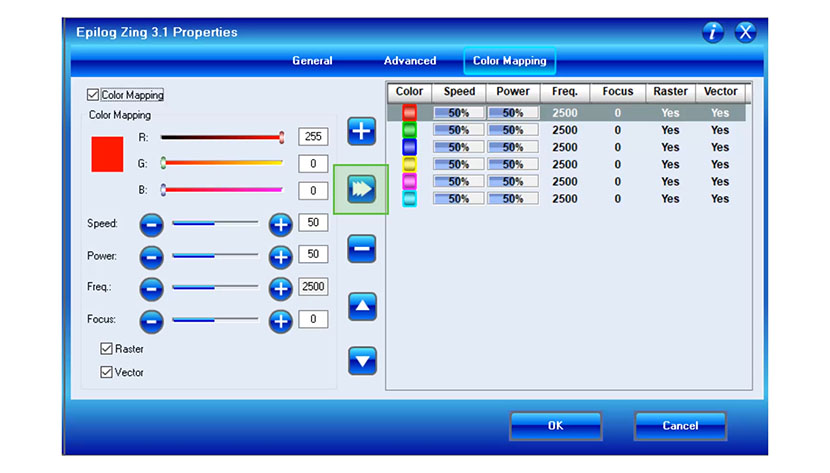
Color Mapping
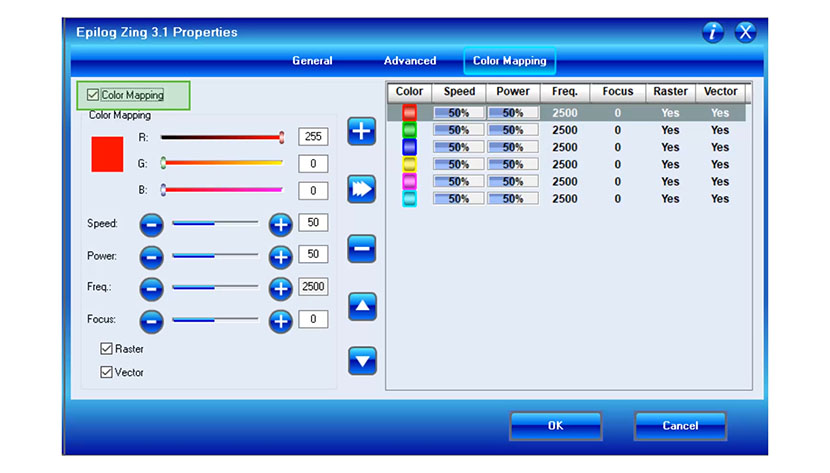
To access the color mapping settings used in a file, double click on the file to open the job information panel, then click the Colors tab.
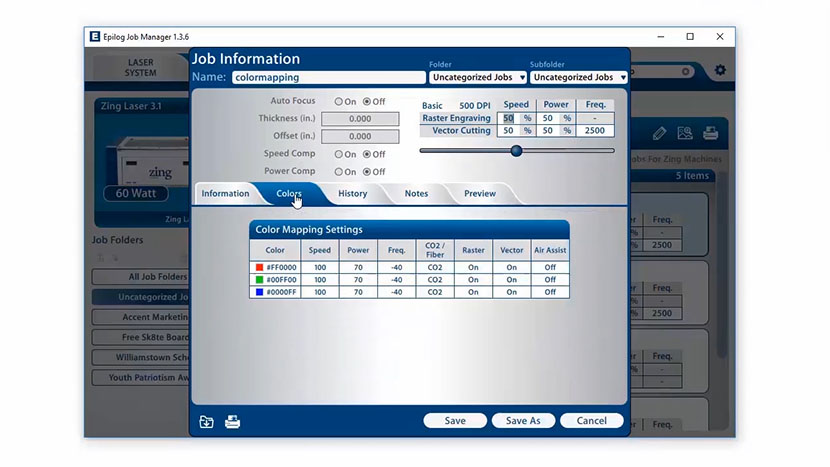
From this panel, you can modify color settings, save as a new job, save as the same job, print, or preview.
Changing Job Manager Settings
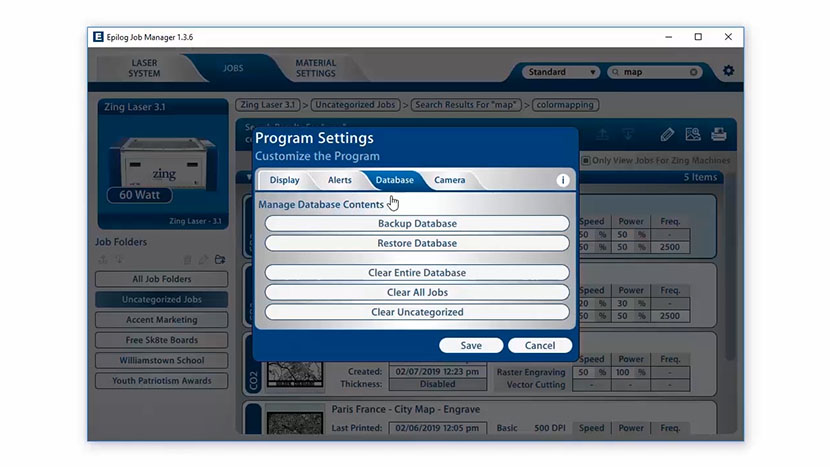
You can access the program settings by clicking on the gear at the top right of the window.
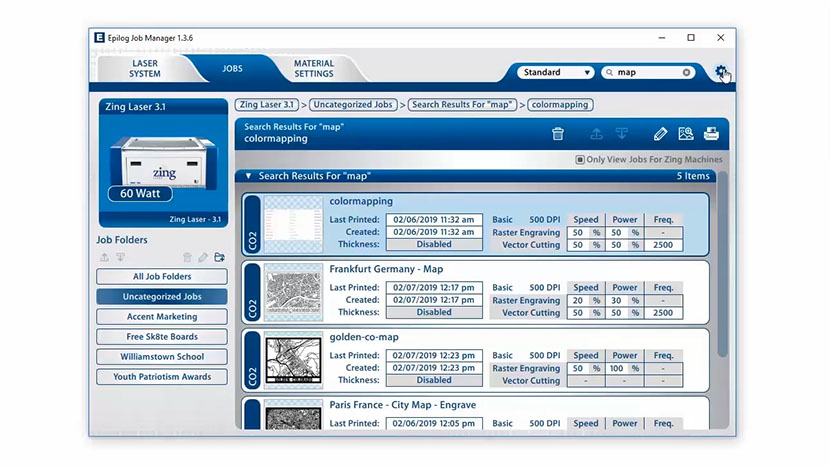
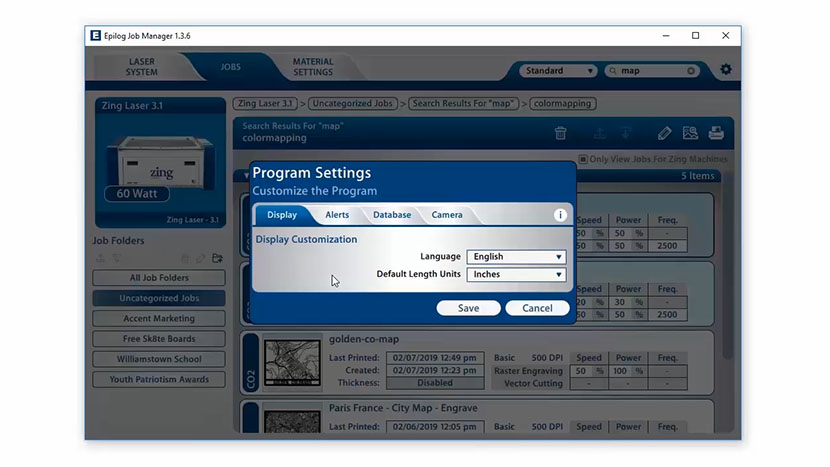
On this screen, you can set several different Job Manager settings. In the Display tab, you can choose from several Language options, and change the Default Length Units to Inches, Millimeters, or Centimeters.
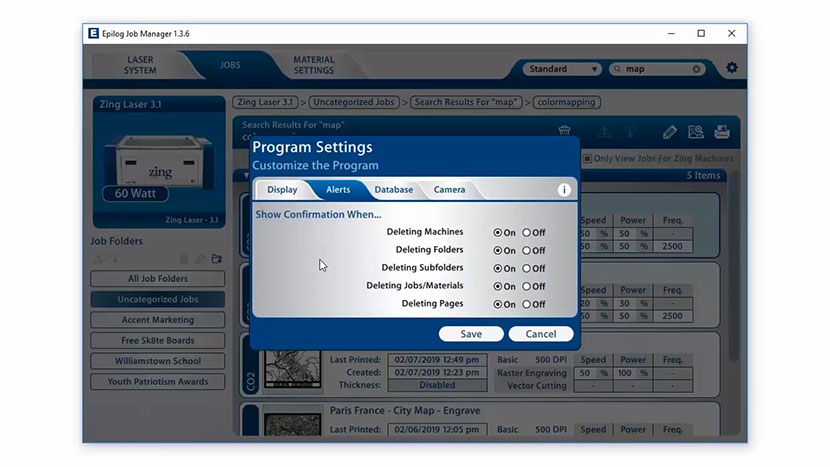
In the Alerts tab, you can activate or deactivate confirmation alerts for the deletion of machines, folders, subfolders, jobs, materials, and pages.
The Database tab allows you to create a database backup or restore a previous database. You can also clear the entire database, clear all jobs, or clear the Uncategorized folder.
We are constantly adding new features to the Job Manager. You can sign up for notifications at epiloglaser.com/register.
