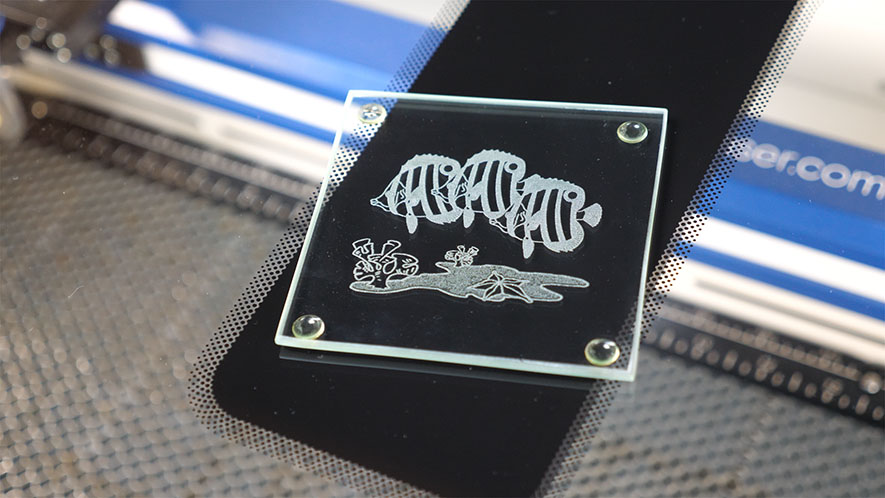
Glass Coaster
Setting Up Your Page
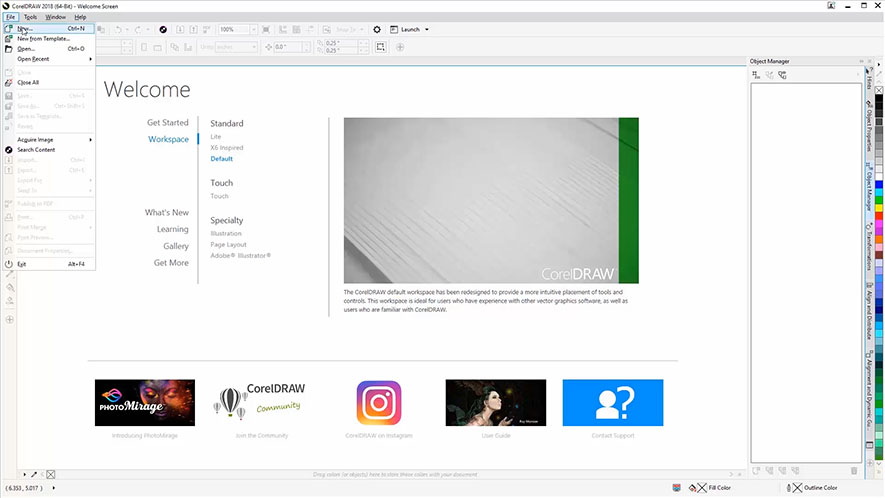
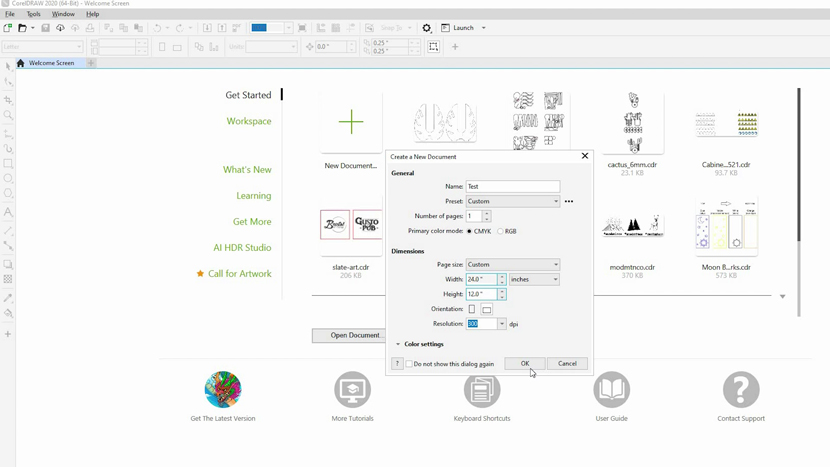
We’ll start by creating a new file.
Click on the Get Started option on your Welcome screen, then click the New Document button.
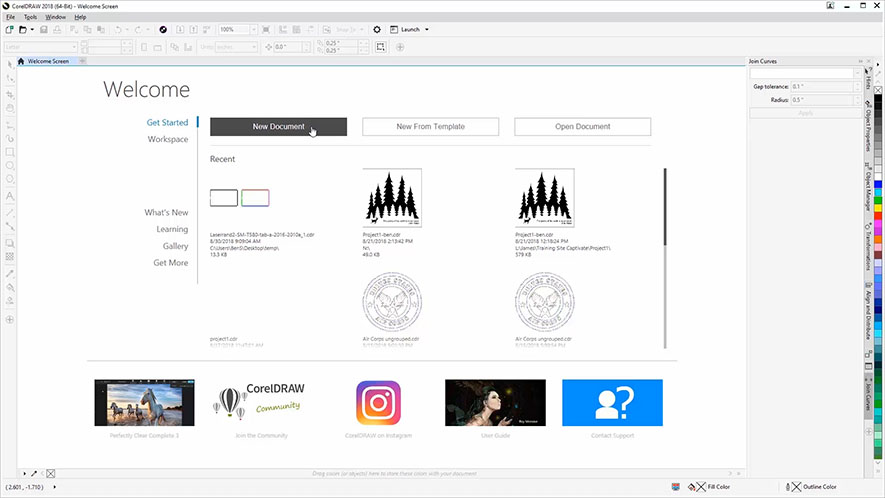
You can also use the shortcut keys, Ctrl + N, to open a new document.
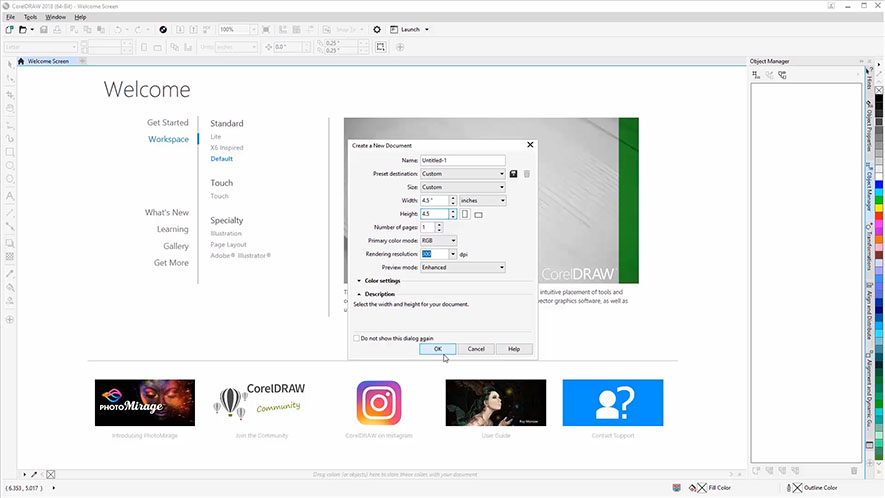
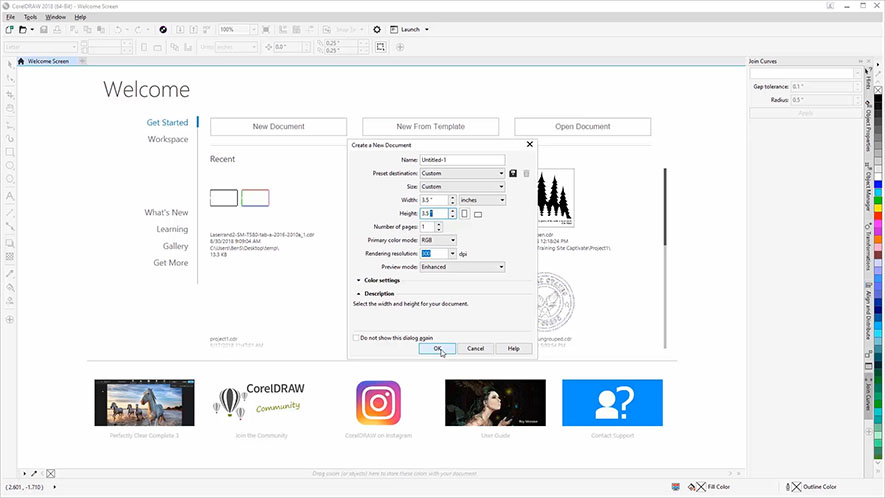
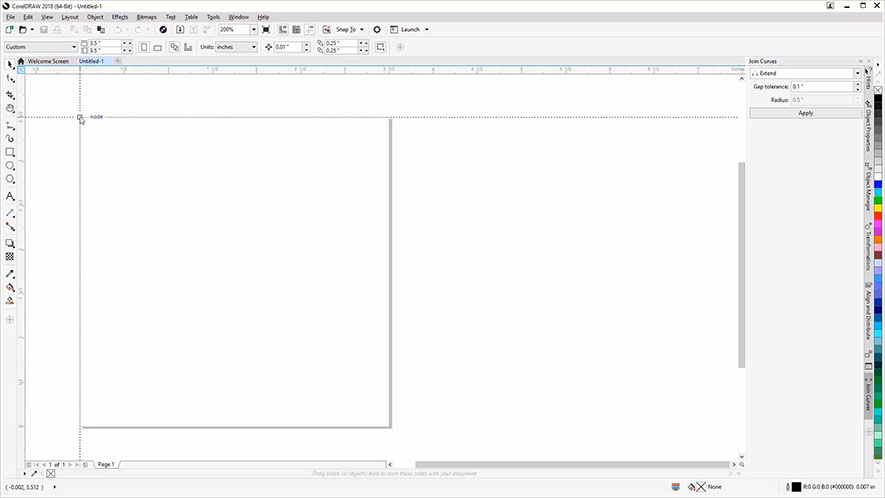
Now enter your page dimensions. Enter 3.5” for the page width and 3.5” for the page height, then click OK.
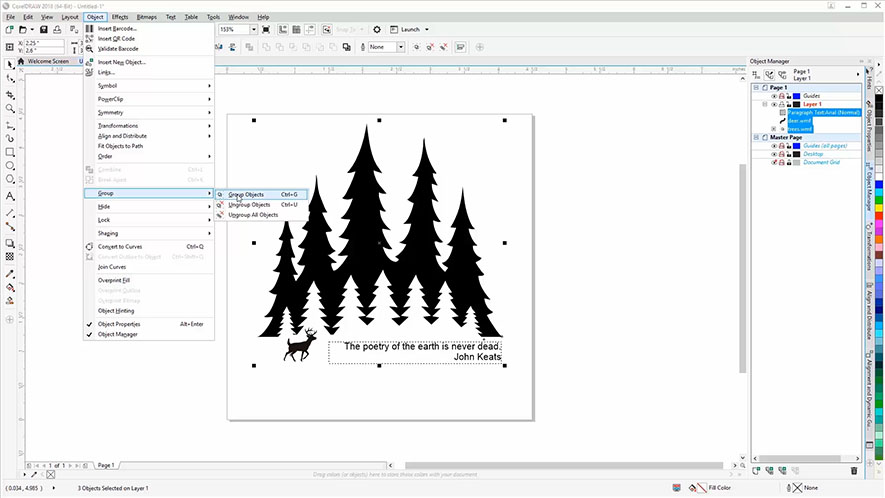
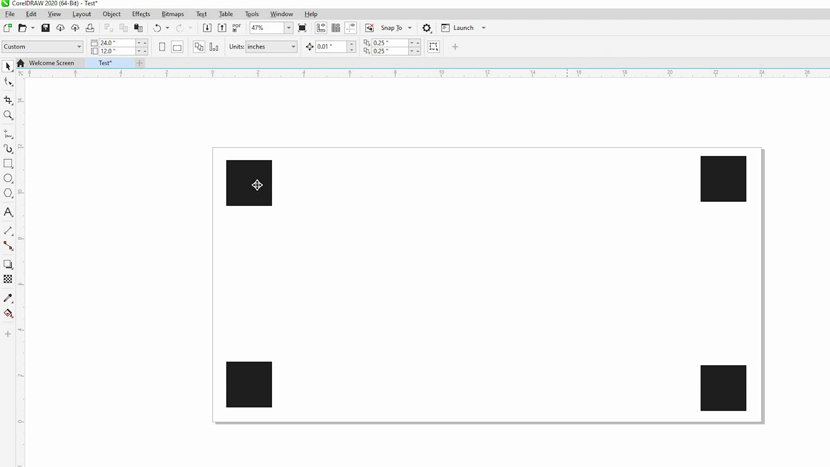
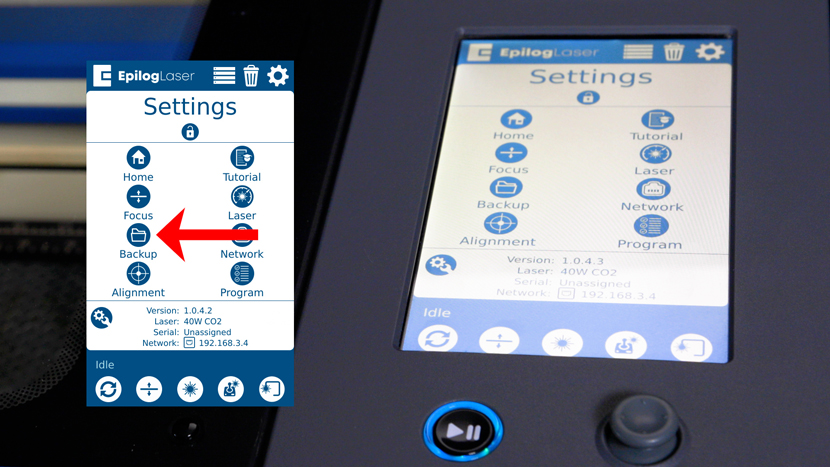
Adding Guides for Your Engraving Area
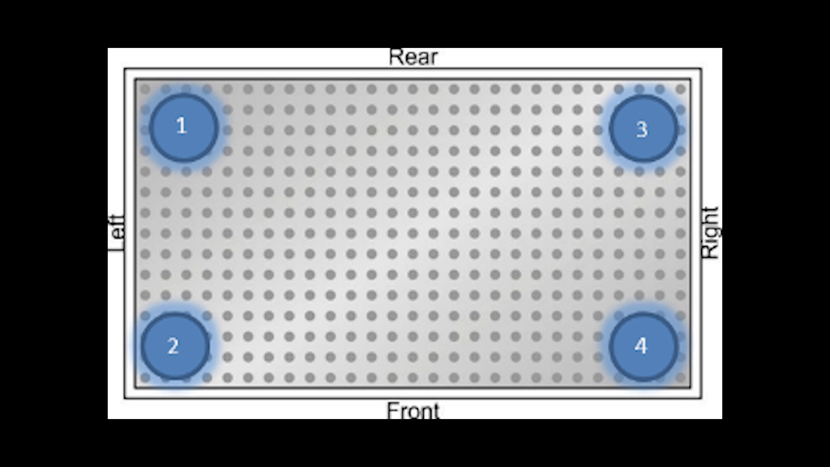
The glass coaster you received with your laser system includes four rubber feet on the bottom of the coaster ½” in from each side.
To avoid from engraving on the coaster feet, we’ll set up a few guidelines to represent the bounds of our engraving area within our page to represent the bounds of our engraving area.
Before we get started, we need to confirm that the top left corner of our page is set to the origin for both of our rulers. Look at your Horizontal and Vertical rulers to determine if the top left corner of your page is set to 0 for the Horizontal Ruler and 0 for the Vertical Ruler. If they are, you’re all set. If not, locate the Origin Point tool at the top left corner of your work area.
Then click and drag to the top left corner of your page to set the new Origin point.
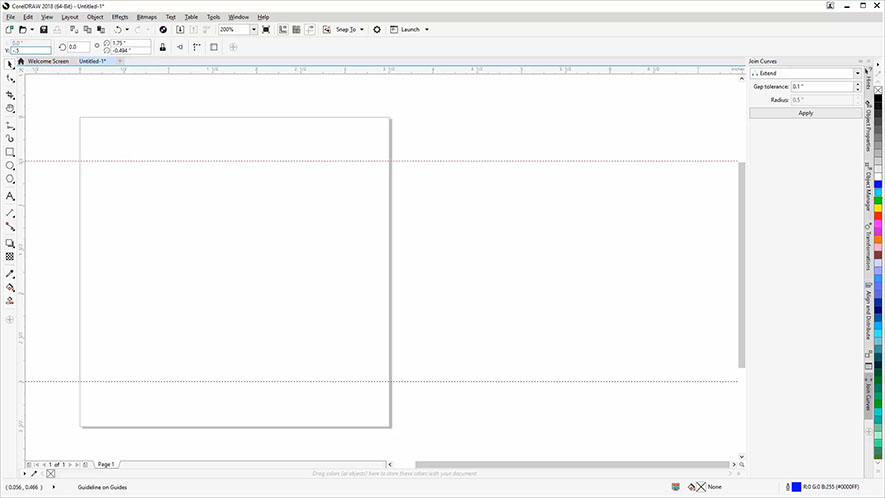
To create our guidelines, we’ll start by creating two horizontal guides for the top and bottom boundaries.
Click on the ruler at the top of the page and drag one guide down to -1/2 inch and another to -3 inches.
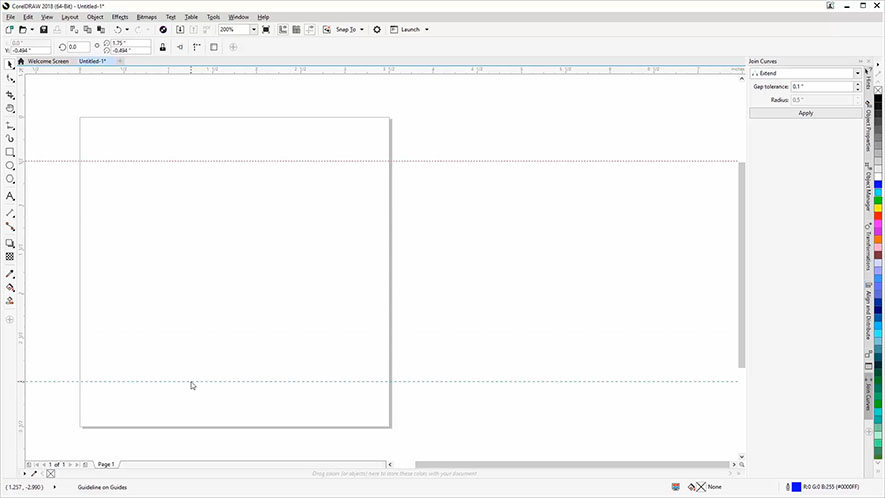
You may find it easier to click and drag the guides to the approximate location, then type in the specific Y Object Position values for each of the guidelines in the Properties bar located at the top of the screen.
Next, we’ll create two vertical guides for our left and right boundaries.
Click on the ruler at the left side of the page and drag one guideline across to 1/2” and another to 3”.
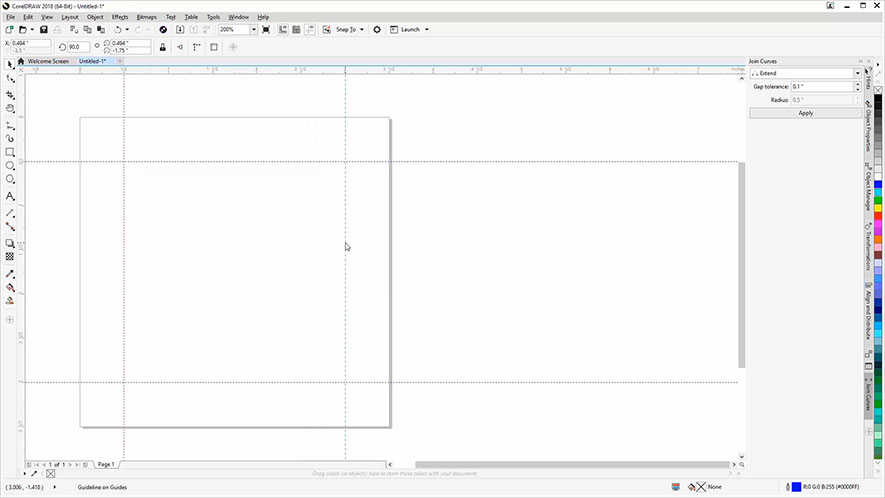
Again, you may find it easier to drag the guidelines to the approximate locations, then key in the 1/2” value for the first guide and the 3” value for the second guide in the X Object Position box in the Properties bar.
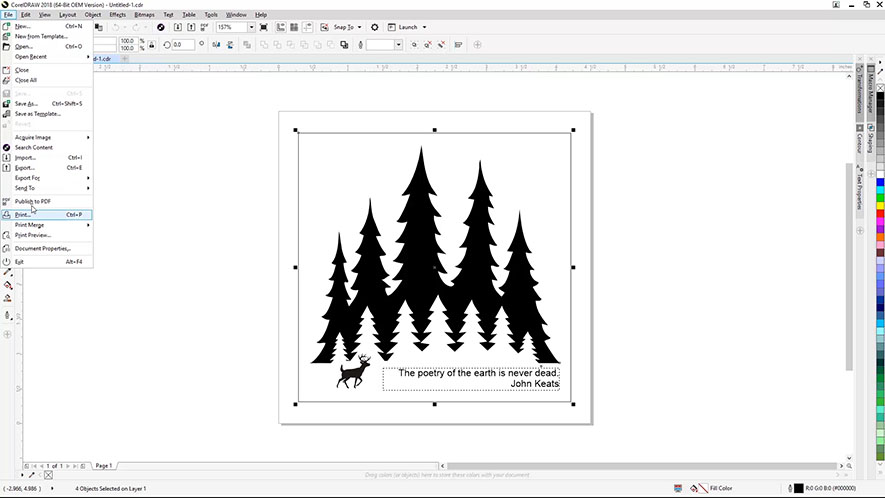
Importing a Graphic
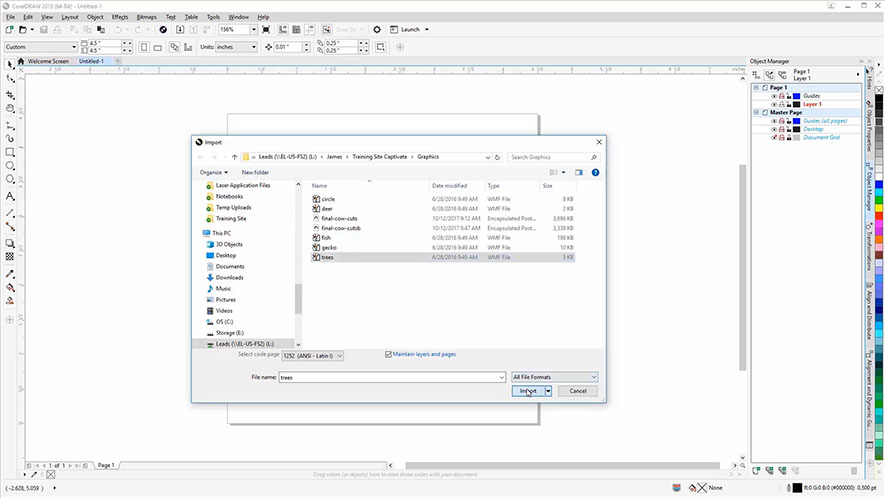
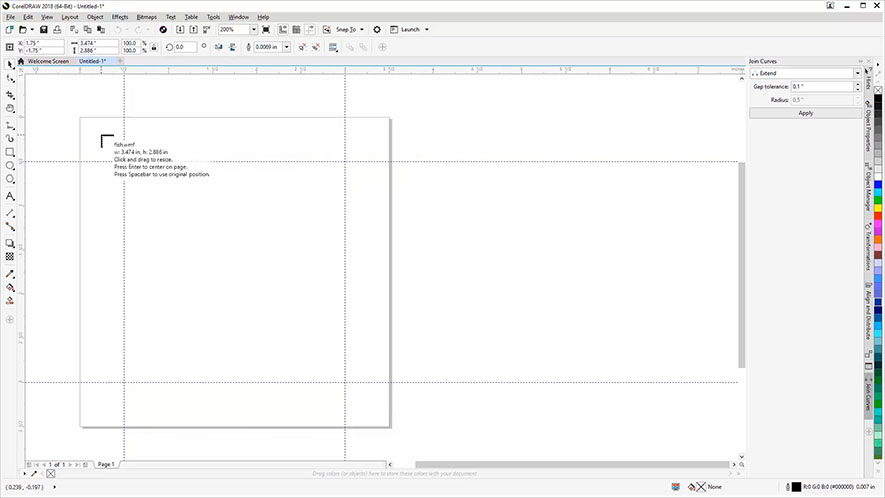
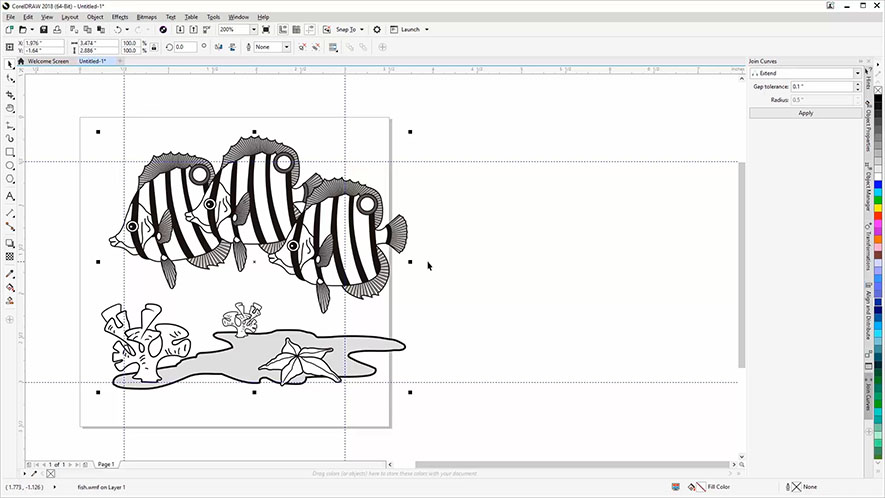
Now we’re going to import a graphic and center it to the page. Here we’ll use a fish graphic (fish.wmf ) for this example, but you can use any graphic you prefer.
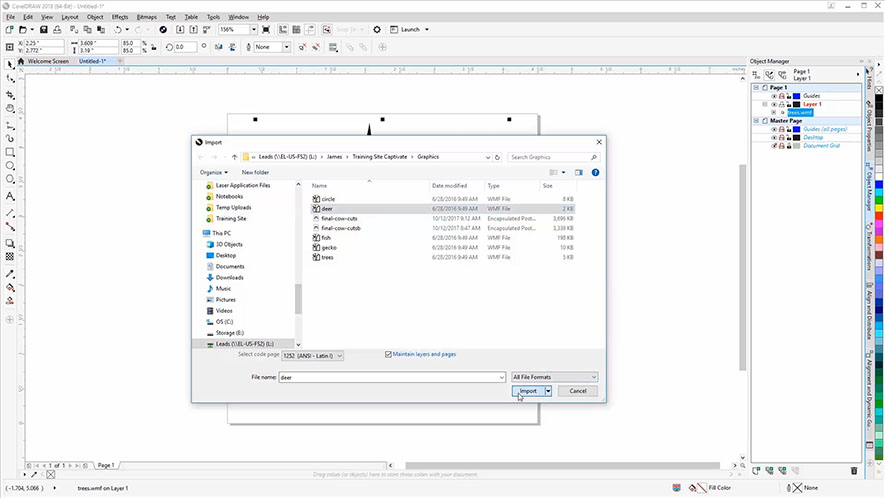
Start by clicking File at the top of the screen, then select Import from the drop-down menu.
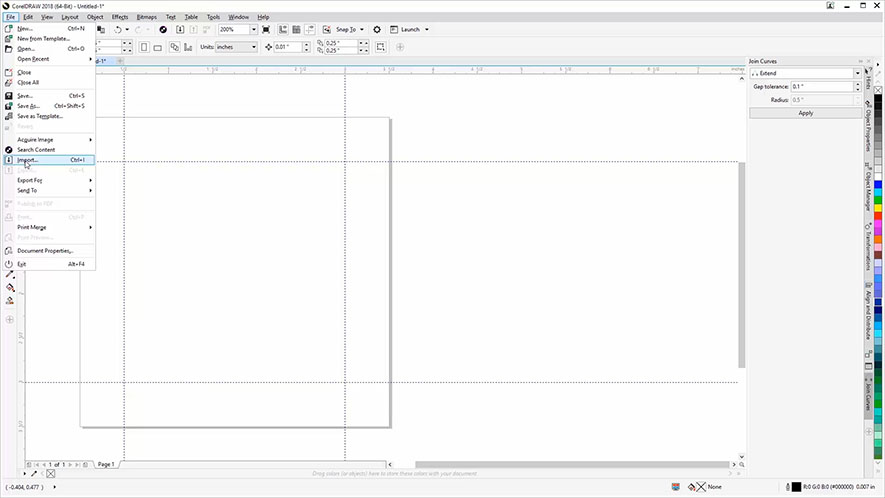
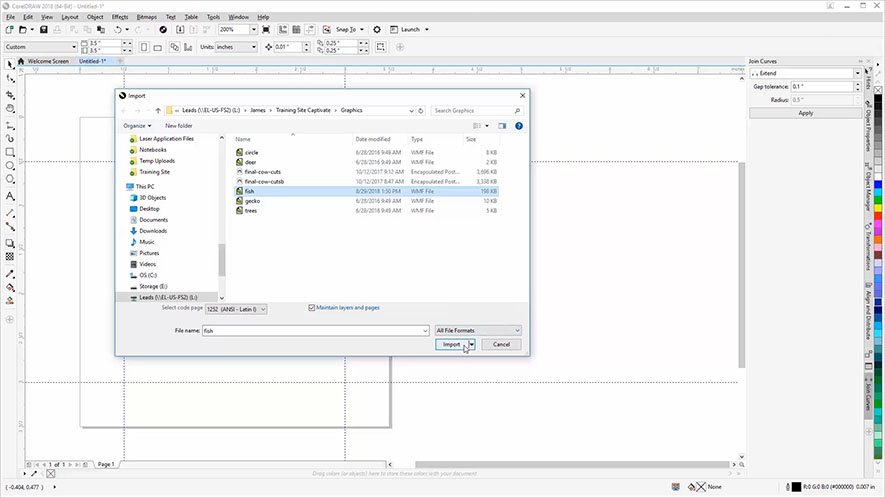
Navigate to the file you’d like to Import, then select the file and click the Import button.
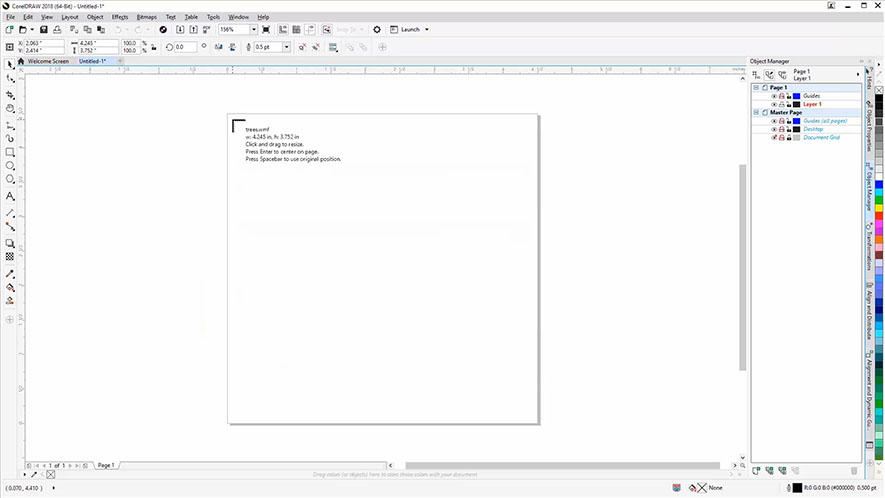
Now, click anywhere on the page to place the graphic.
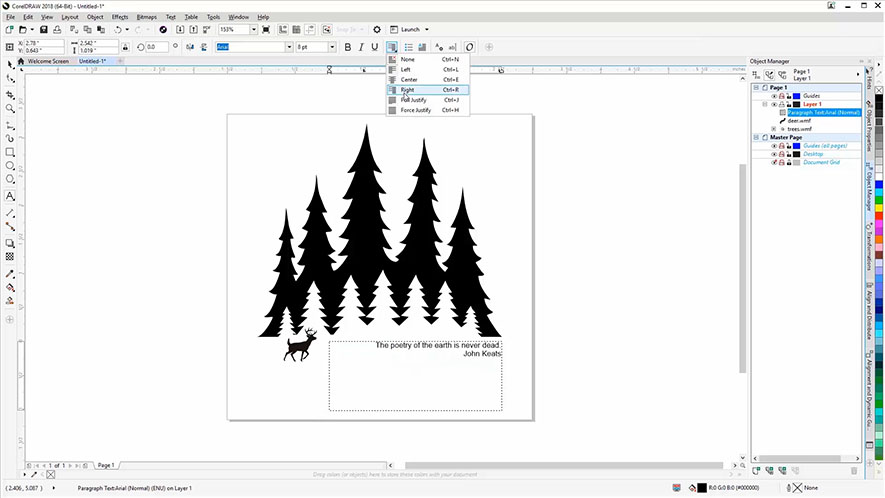
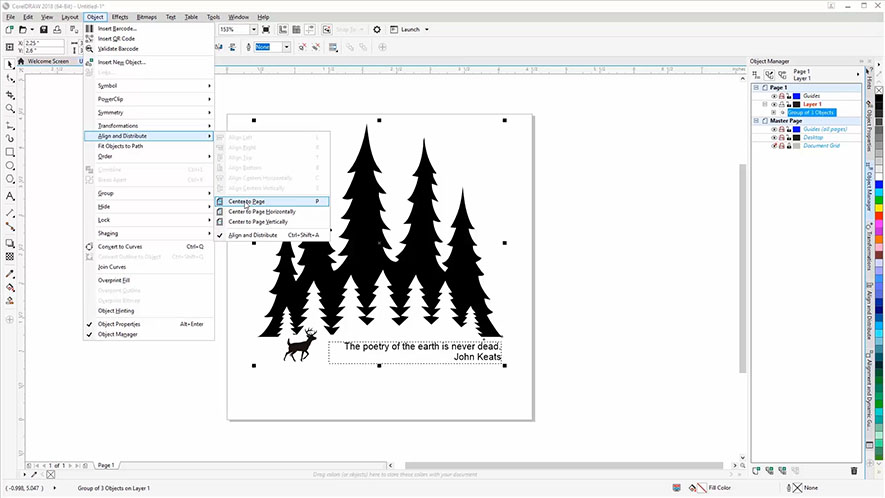
Centering
Next, we’ll center the image to the page.
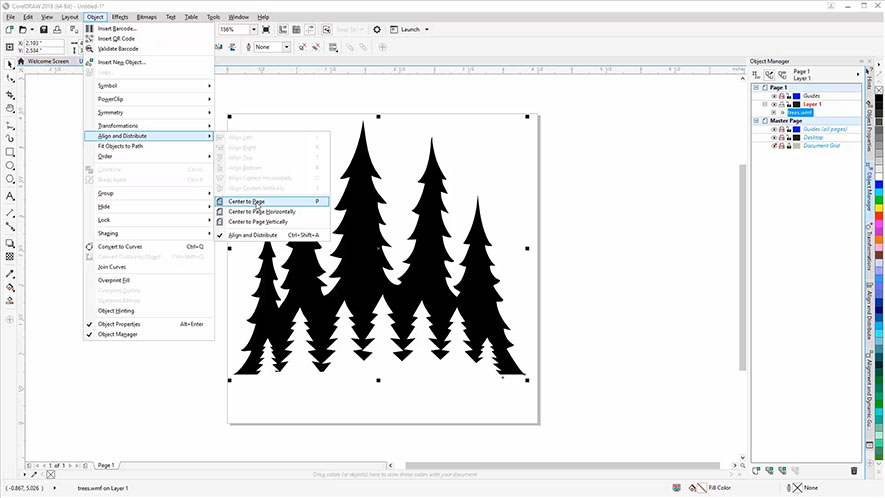
Make sure the object is still selected, then click the Object drop-down menu at the top of the screen, then Align and Distribute, then Center to Page.
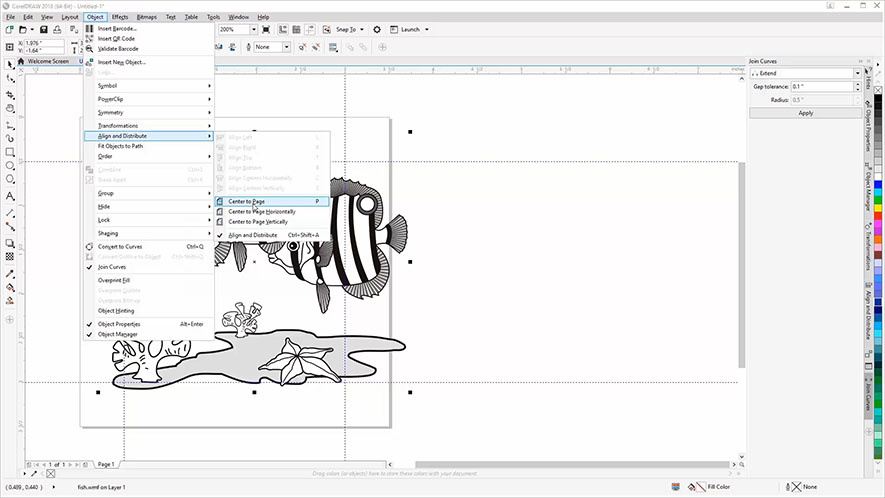
You can also use the shortcut option of pressing the letter P on your keyboard to center the image to the page.
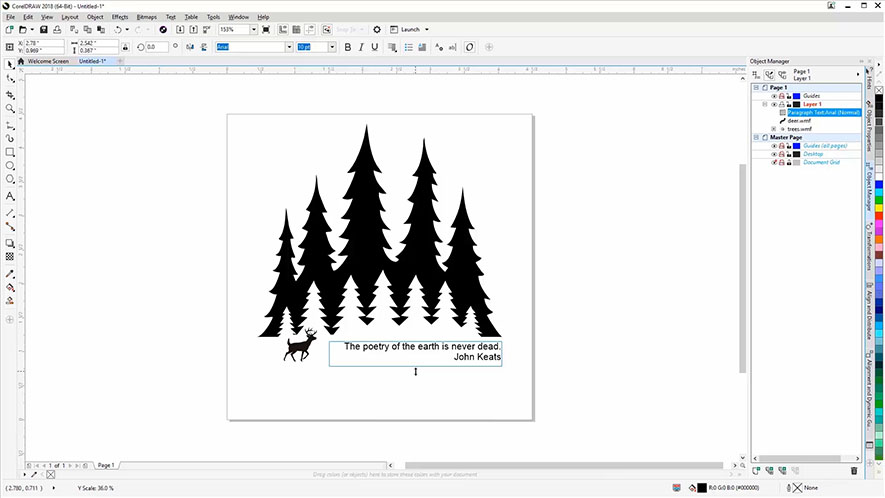
Resizing
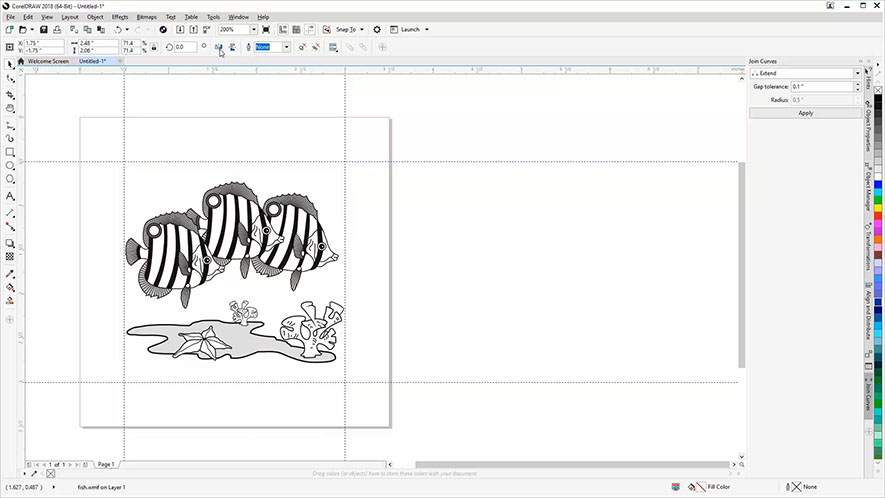
Now we need to resize the fish image to fit inside our boundary guidelines.
To resize the graphic, we’ll click and drag on the top right resizing handle to resize the image and make it smaller.
By clicking on the top-right sizing handle, then holding the Shift key and dragging toward the center of the image, we can keep the proportions of the image the same as we make it smaller.
Drag the sizing handle until the right or left side of the fish graphic aligns with a vertical guideline.

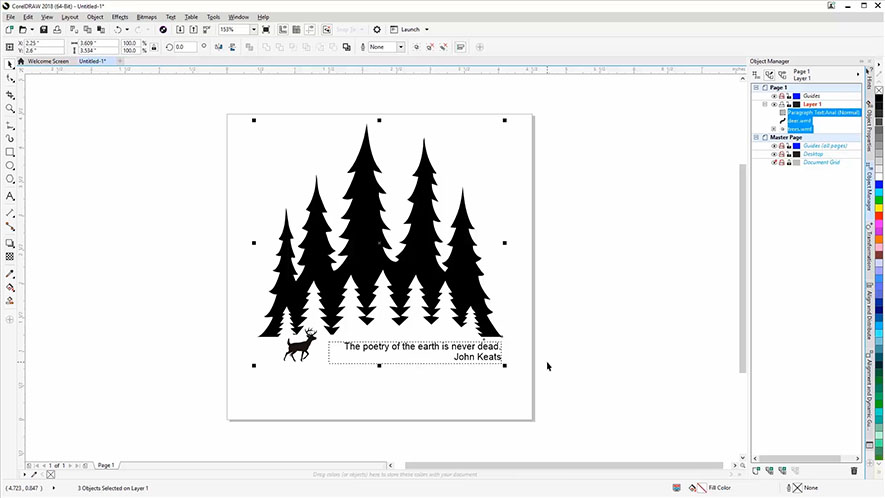
Mirroring for Backside Engraving
As a final step before printing our graphic to the laser, we want to mirror the graphic for engraving on the bottom side of the glass coaster.
If there is text in your graphics, you want the text to read forward instead of backward once viewed from the top or other side of the piece. Engraving the back of glass will give you the best result when viewed through the other side, and doing so will help protect your engraving from wear and tear.
To mirror the graphic, select the graphic with the Pick Tool, then click on the Mirror Horizontally button in the Properties bar at the top of the screen.
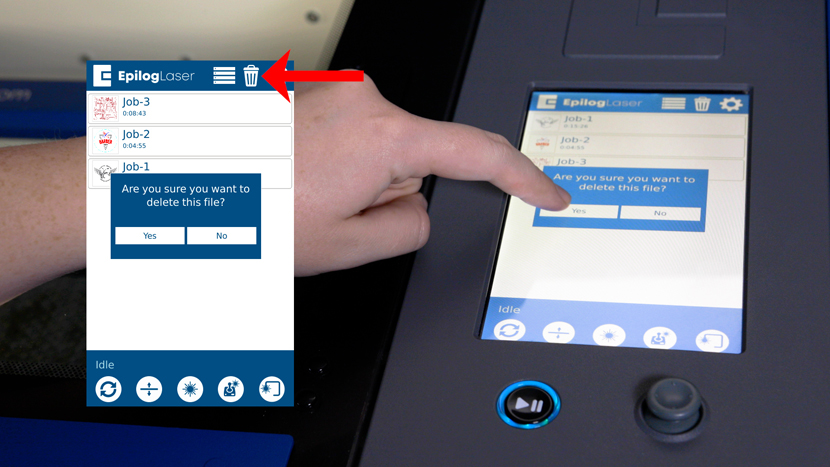
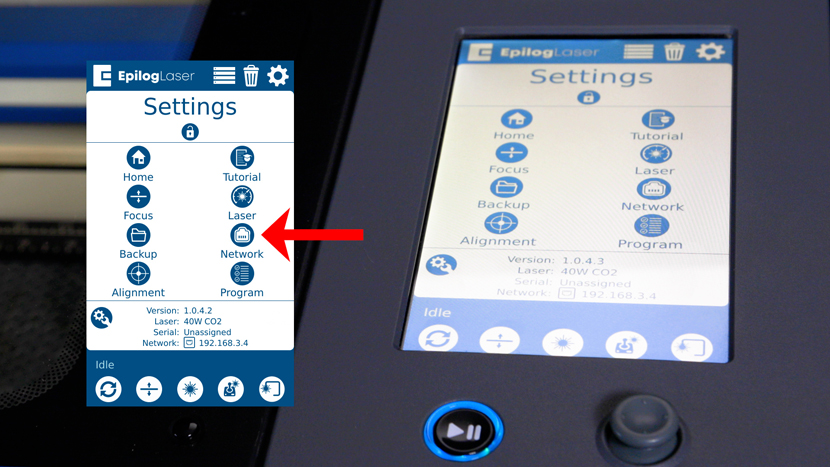
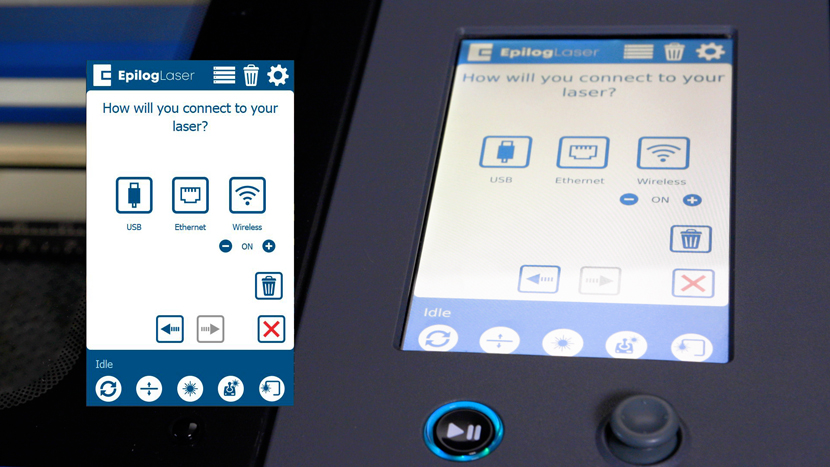
Printing to the Laser
Next, we’ll print the file to the laser.
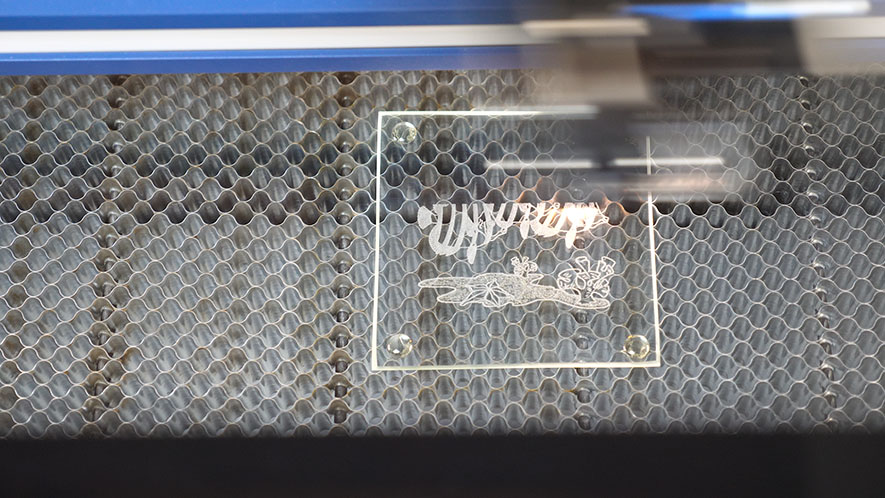
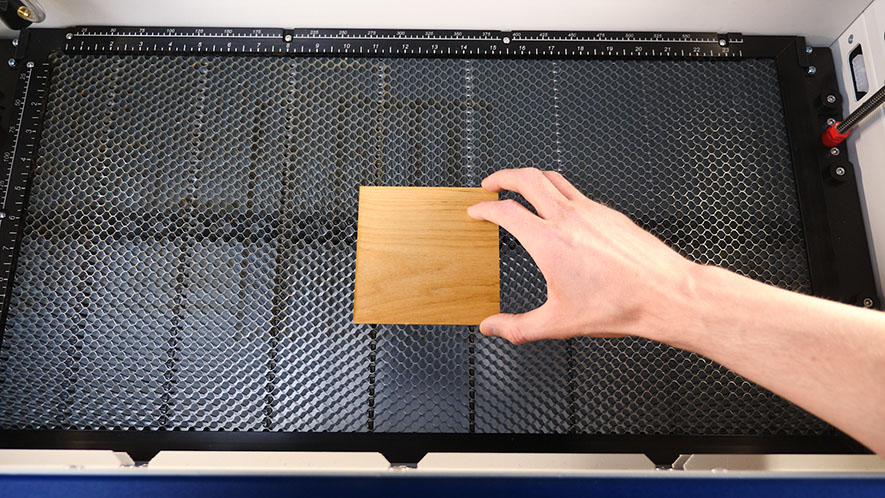
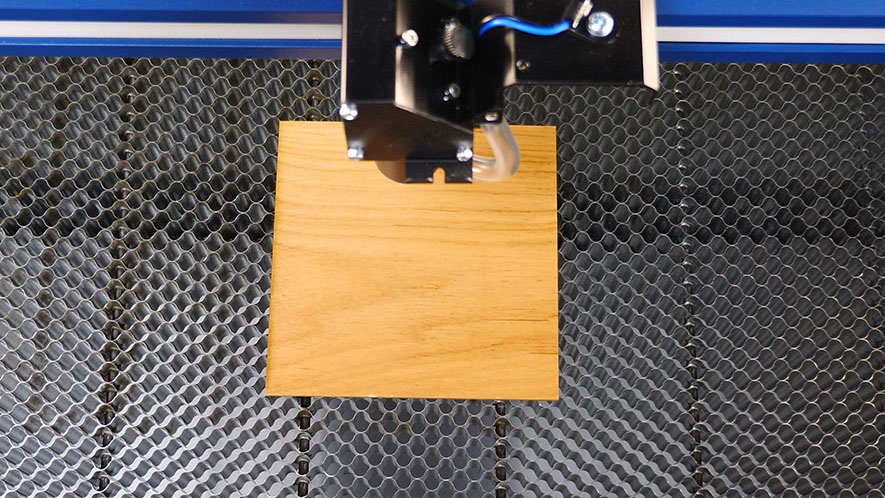
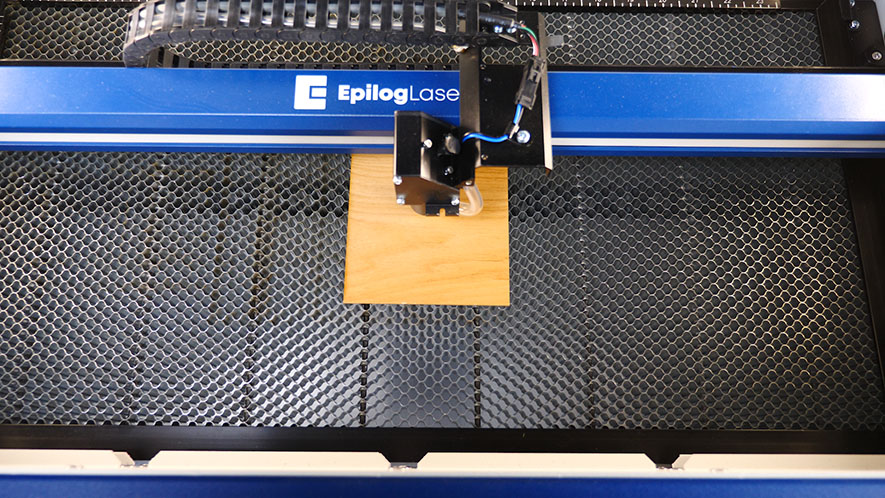
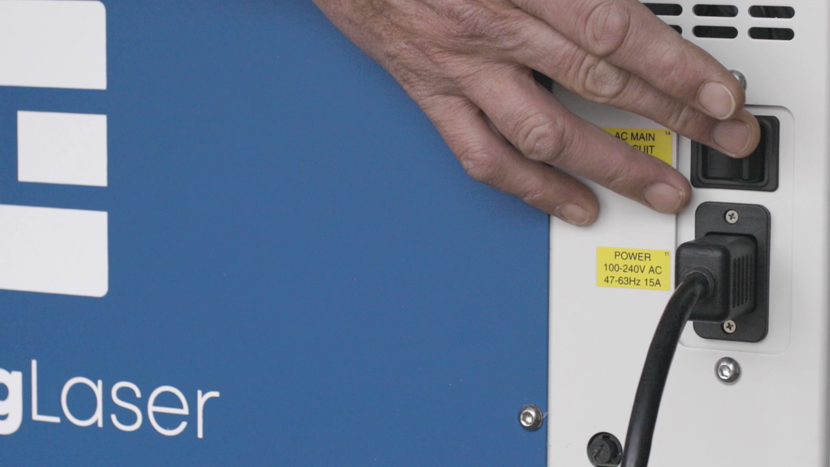
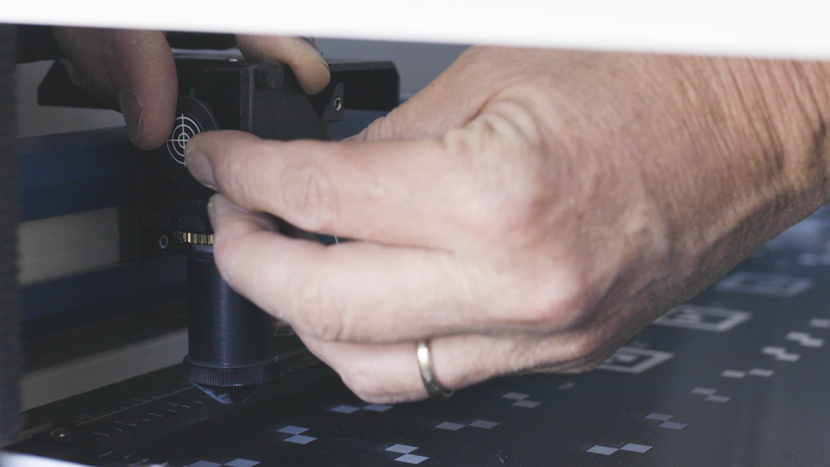
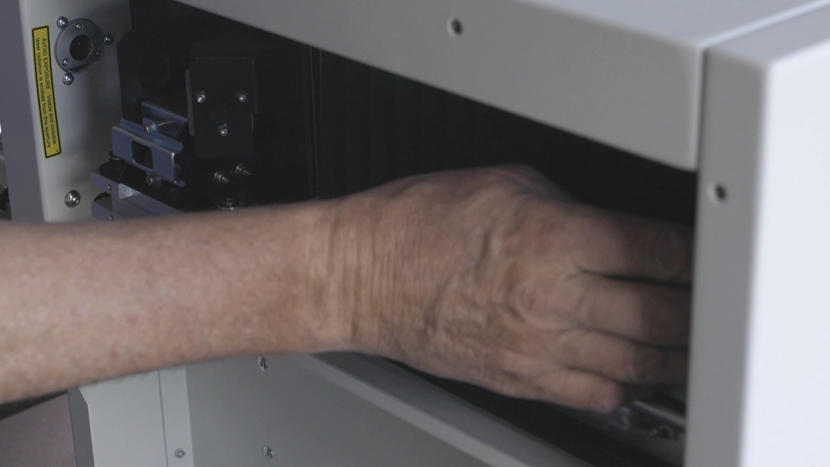
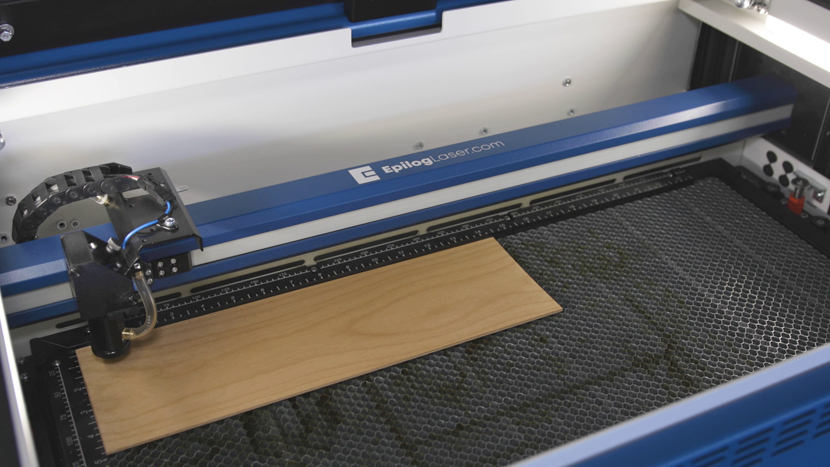
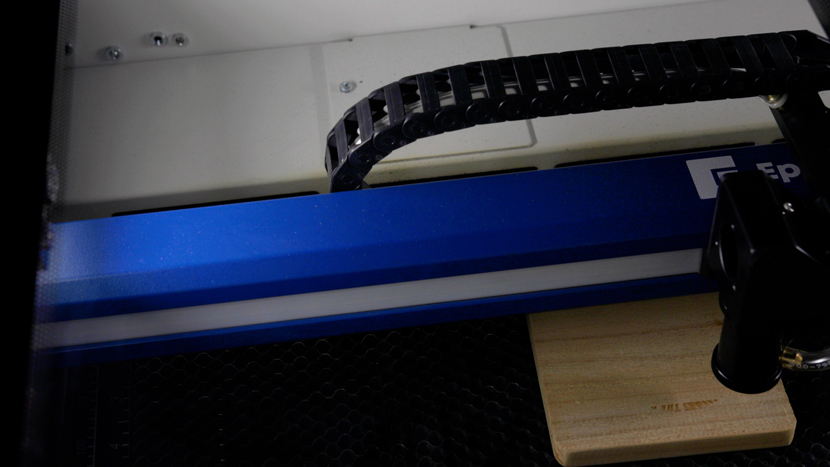
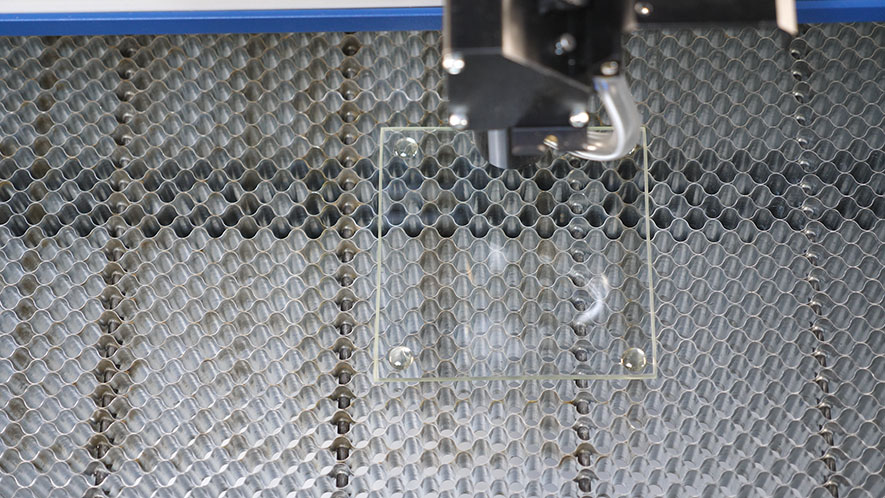
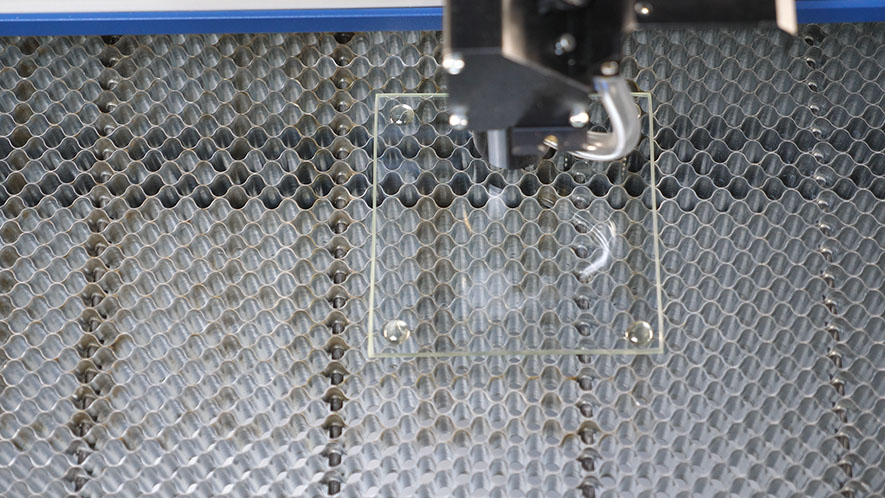
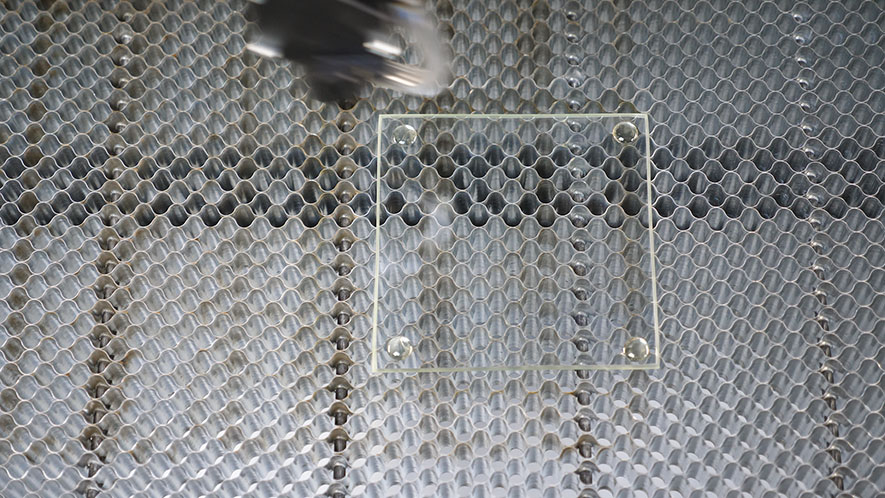
At the laser, we’ll gently place the coaster face-down onto our work area.
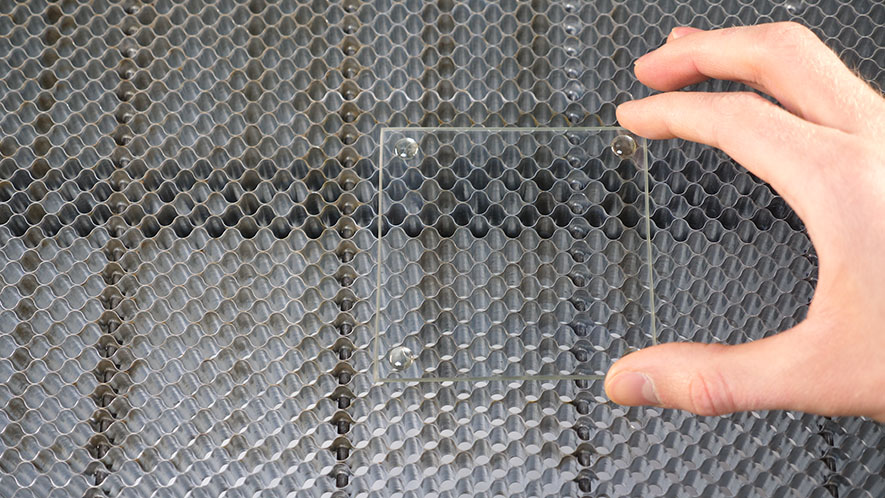
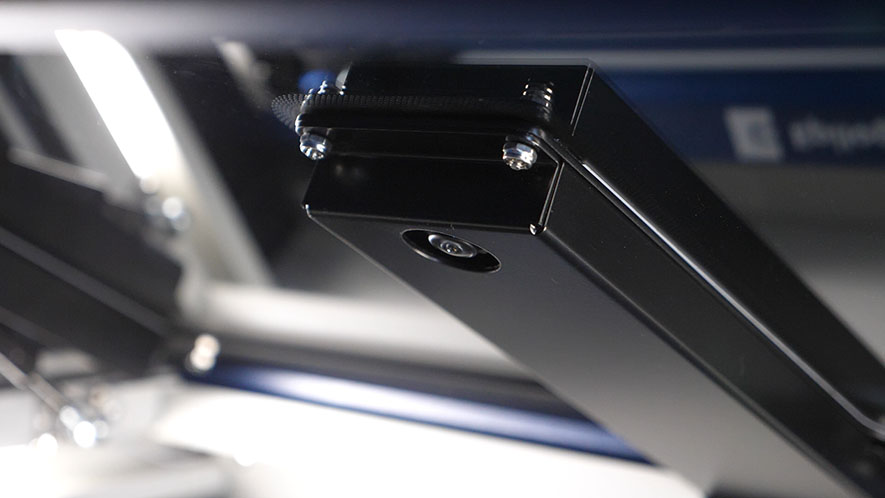
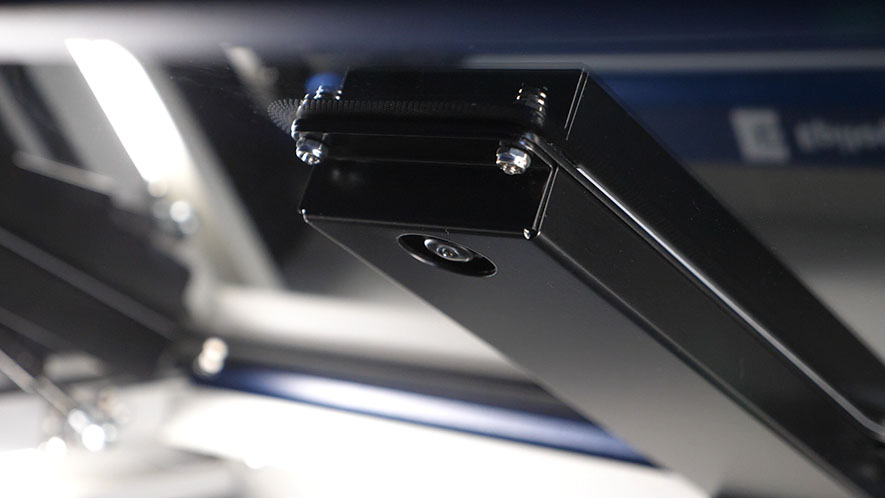
For the best results, place the coasters under one of the overhead IRIS positioning cameras.
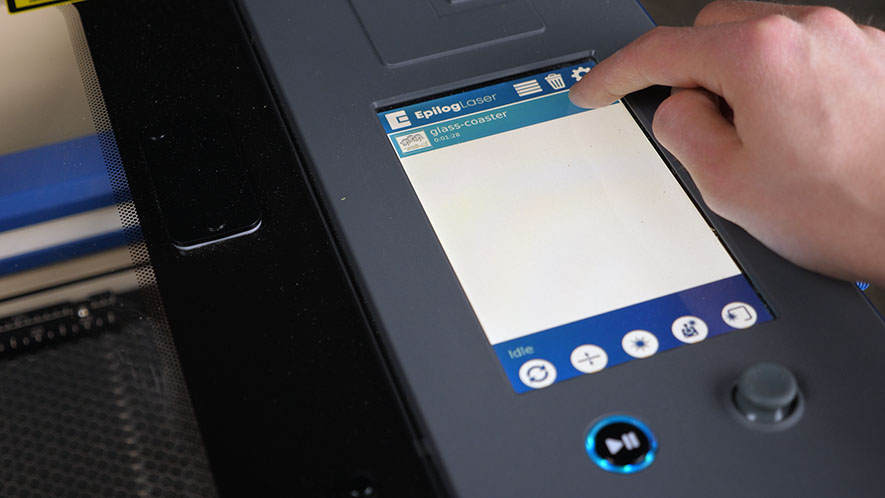
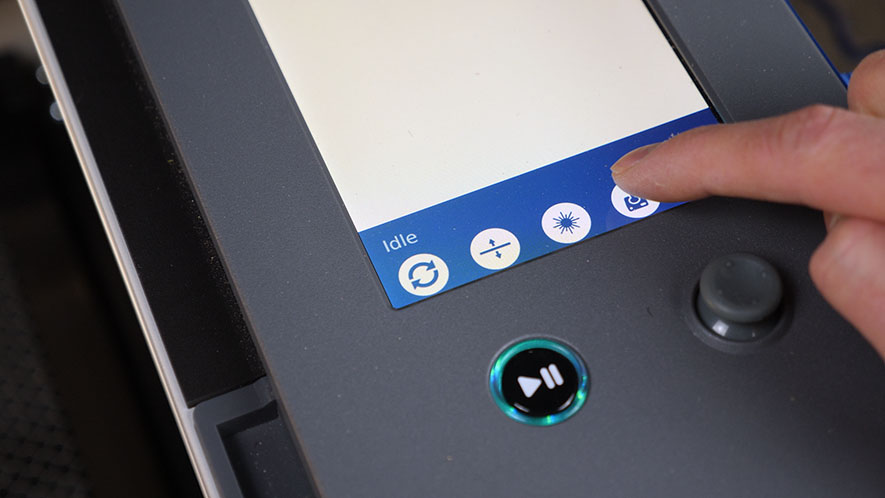
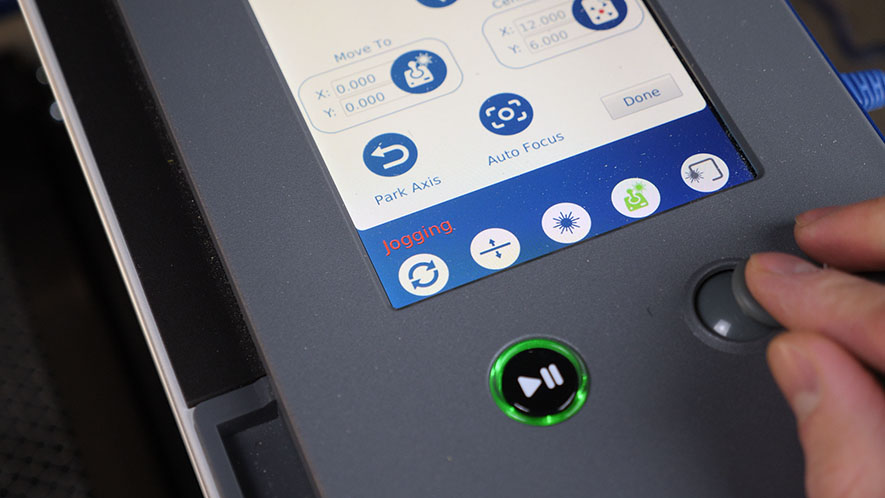
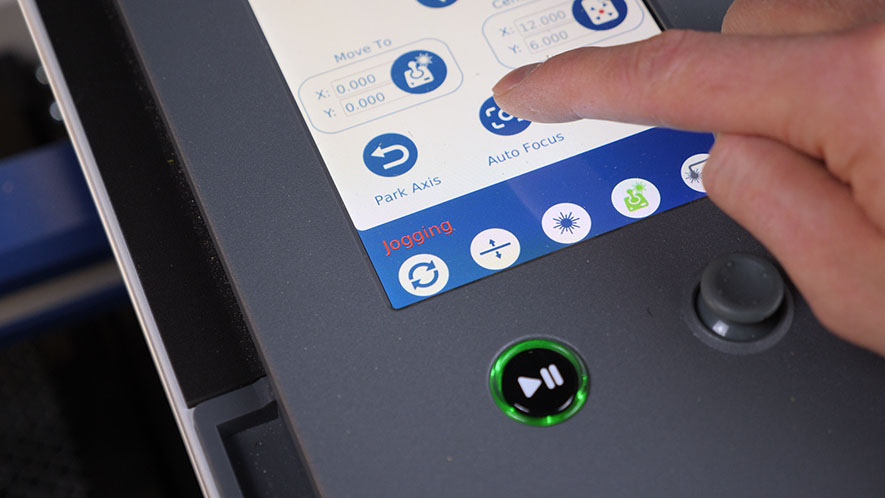
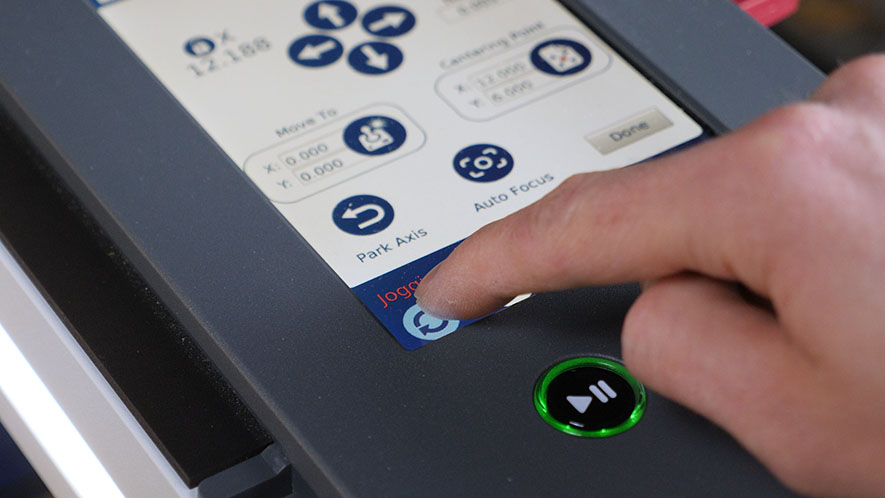
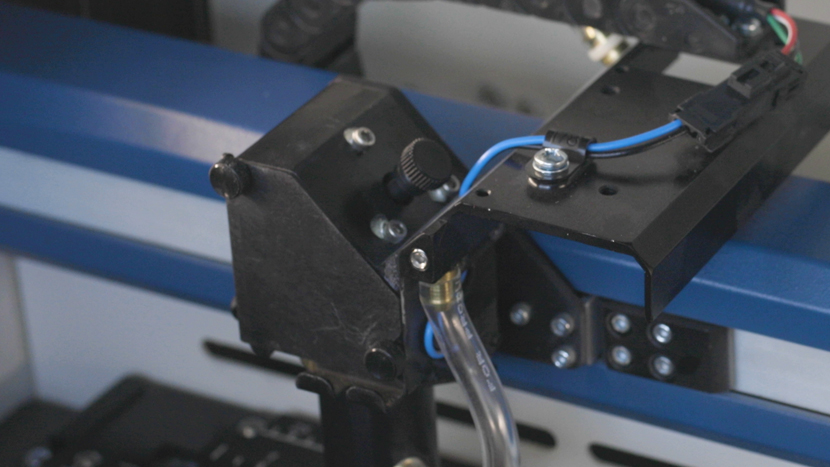
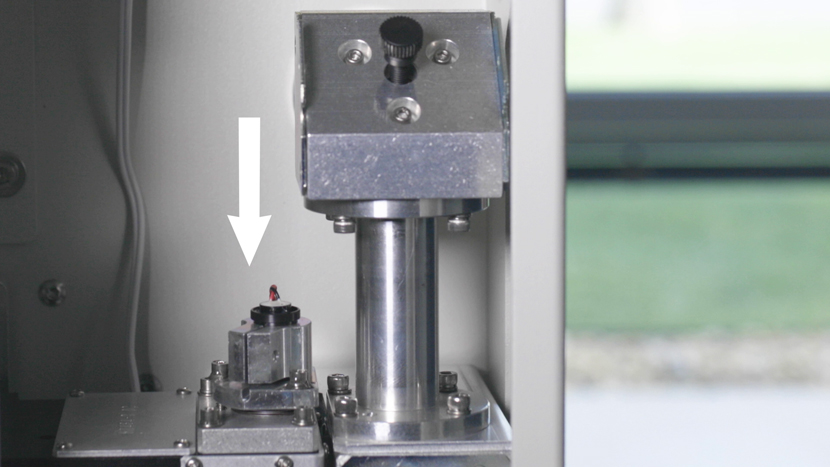
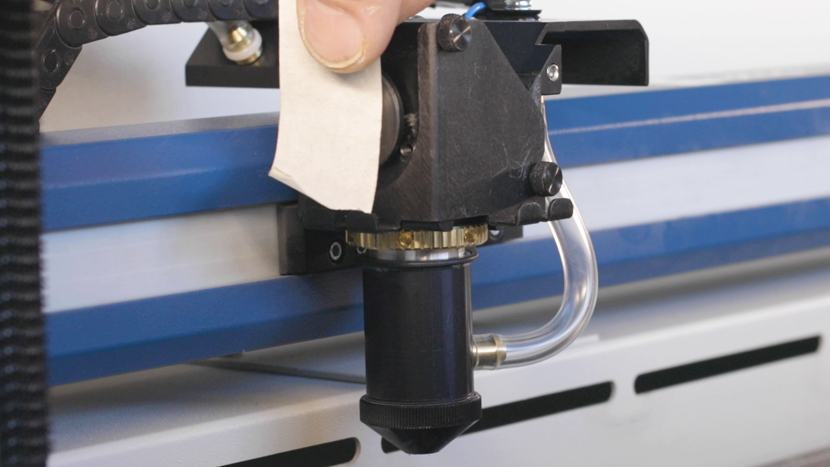
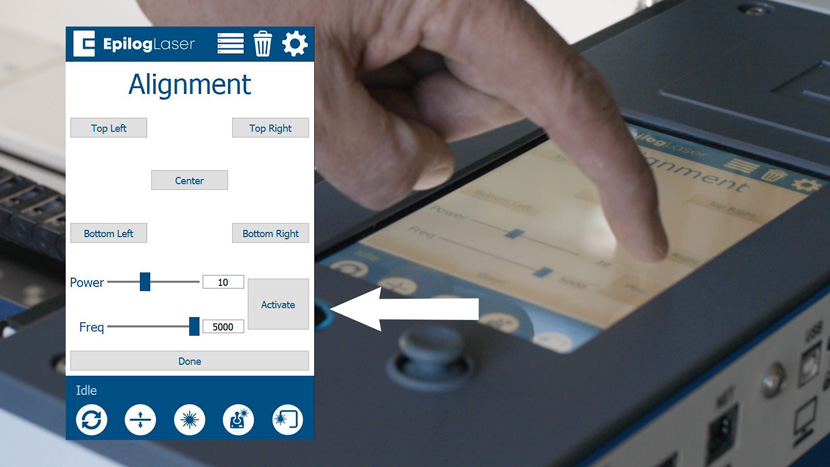
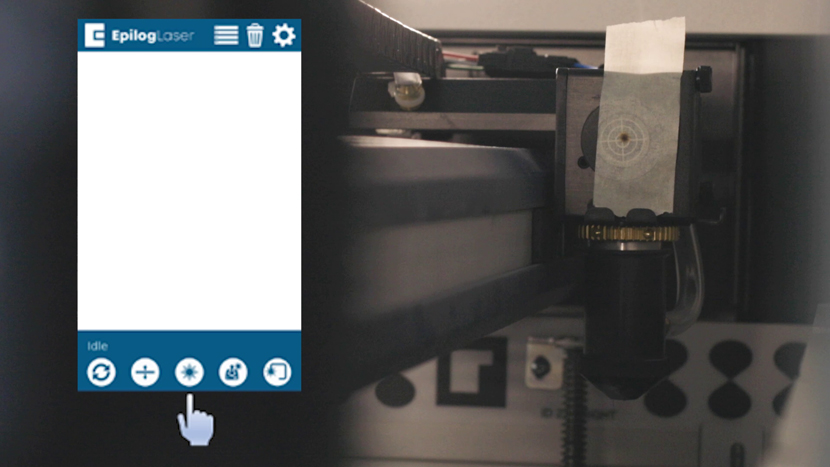
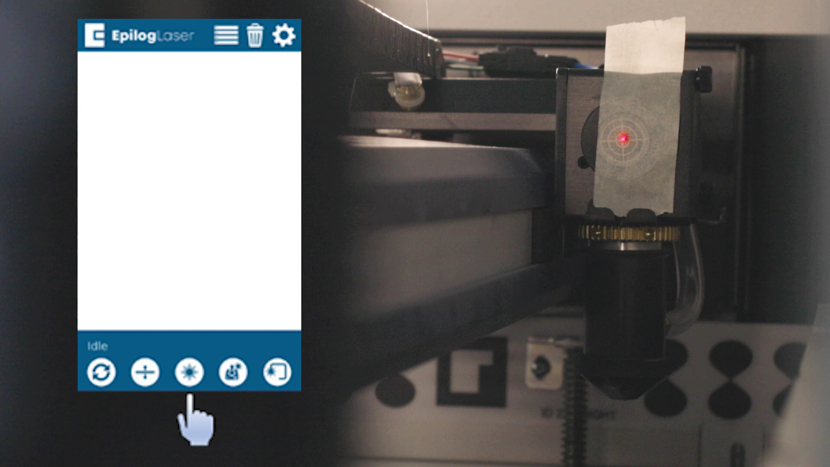
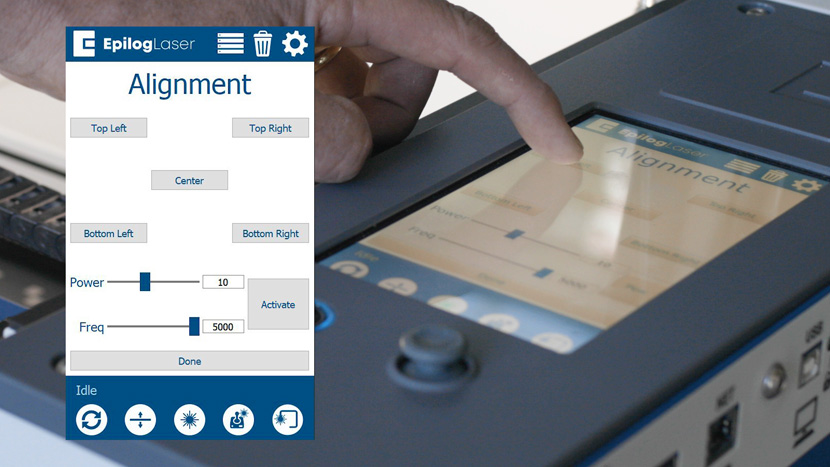
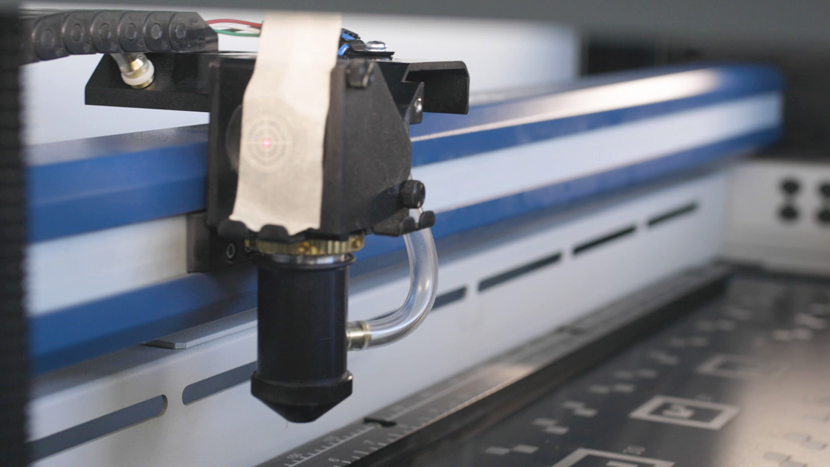
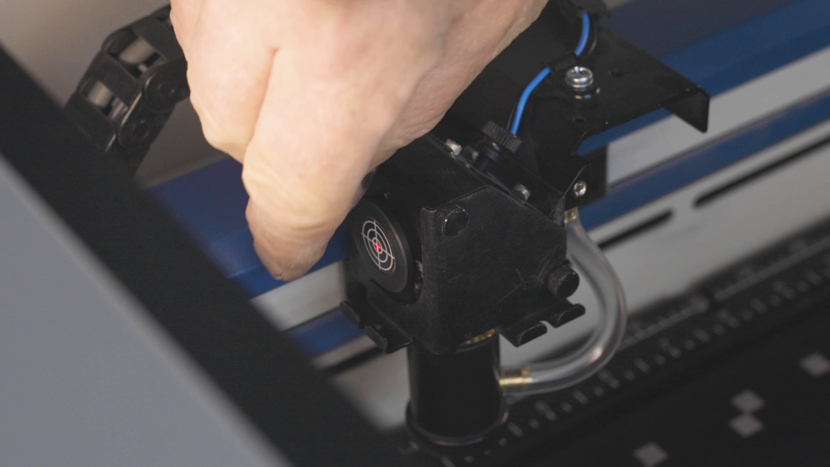
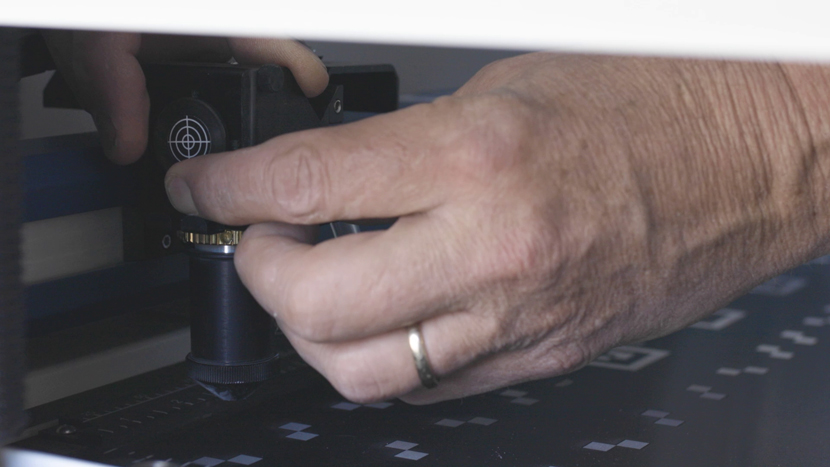
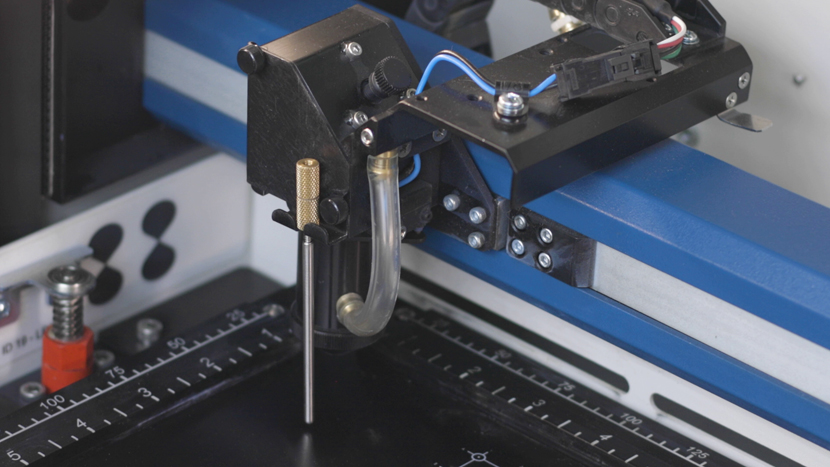
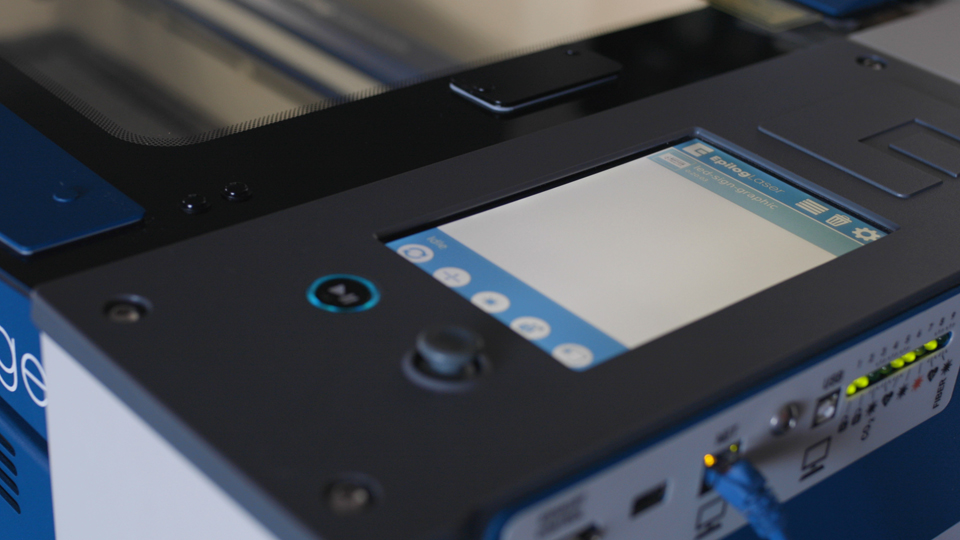
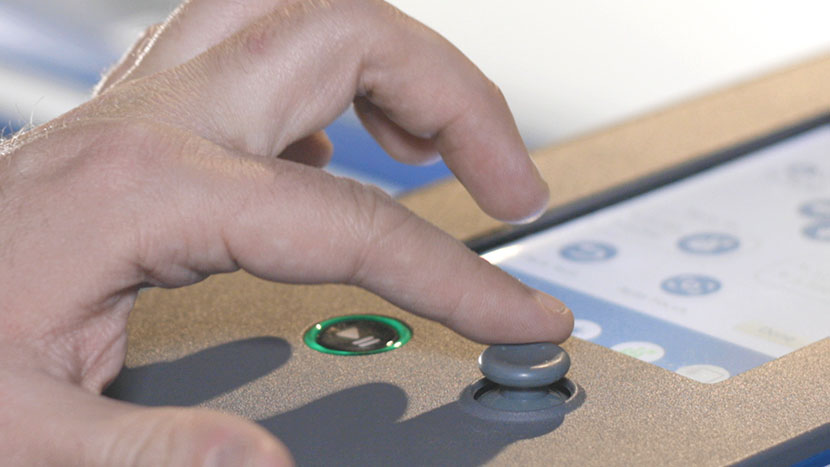
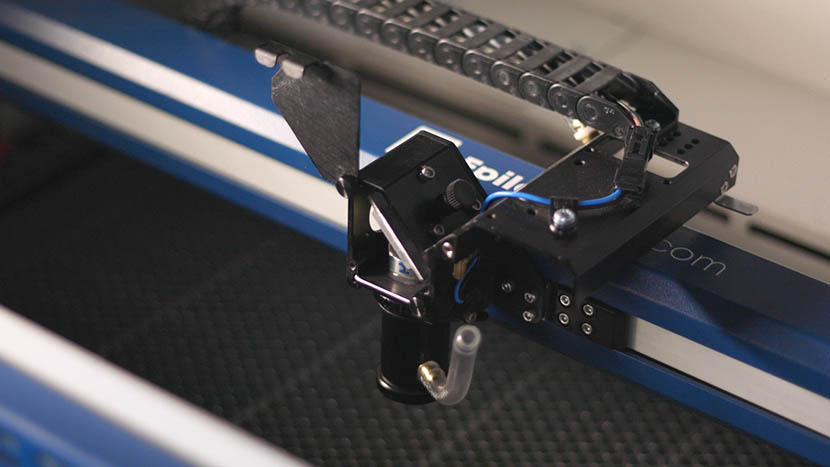
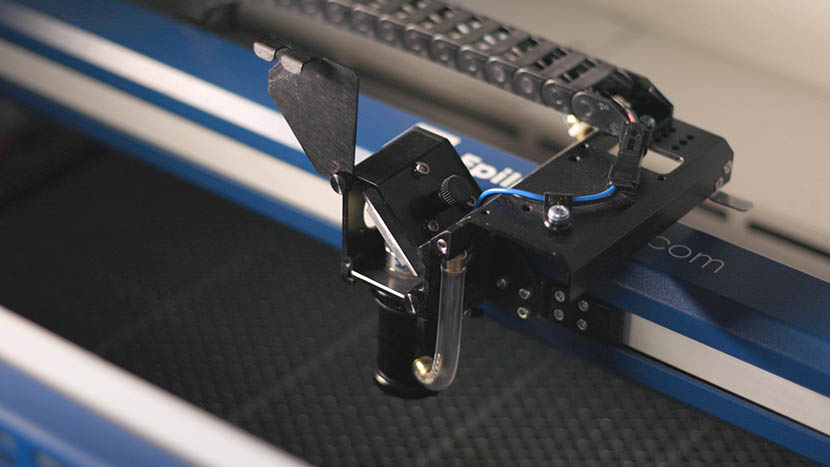
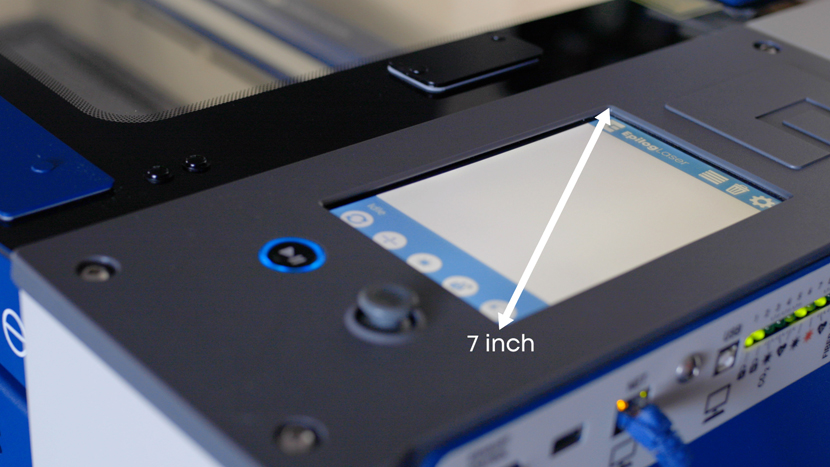
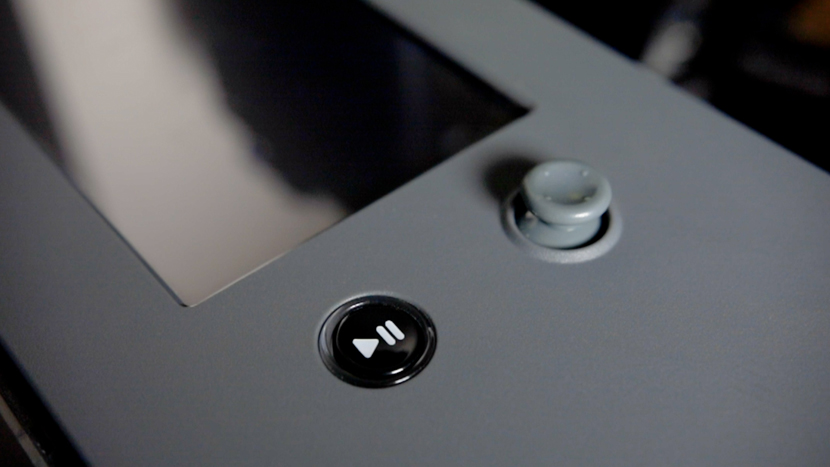
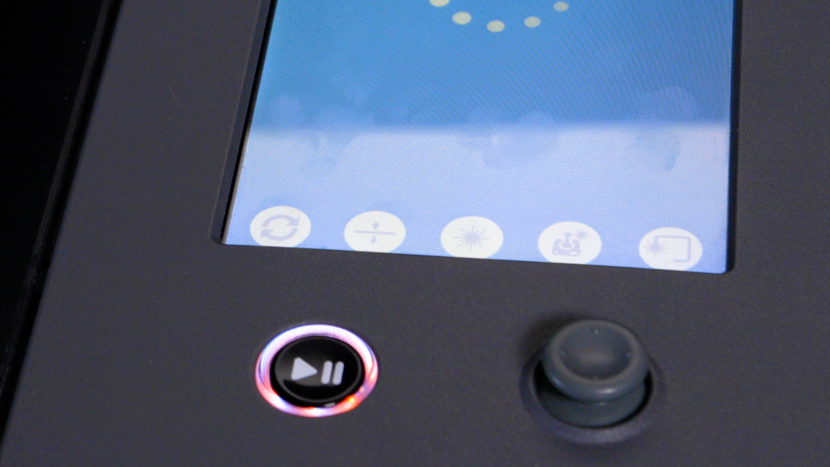
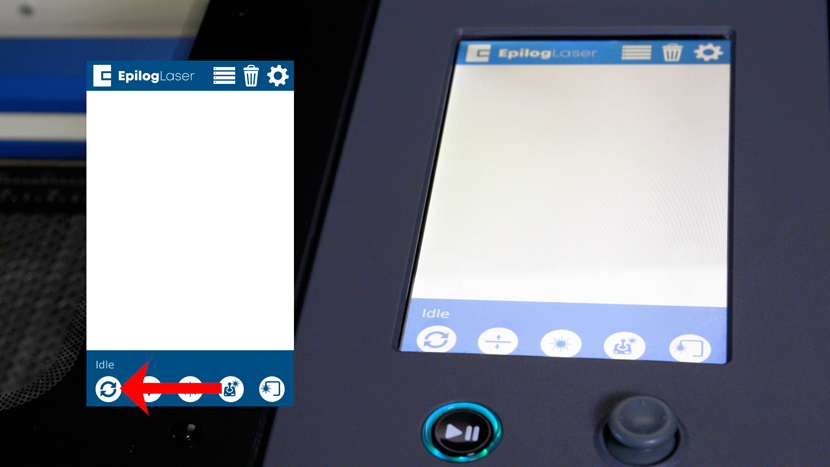
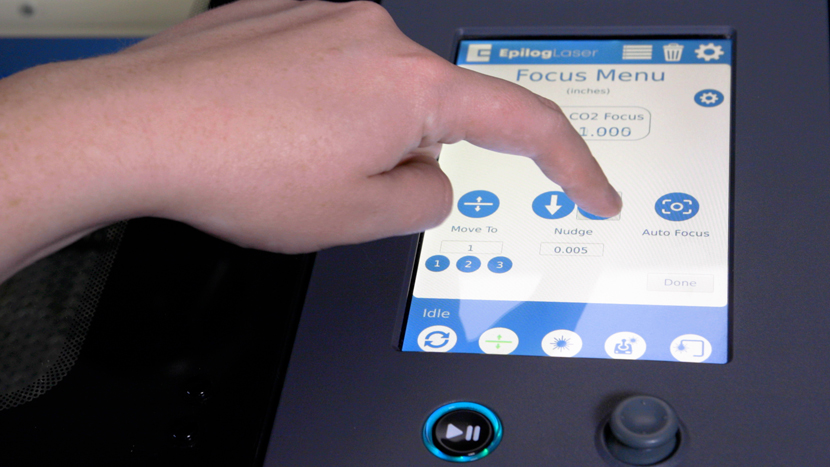
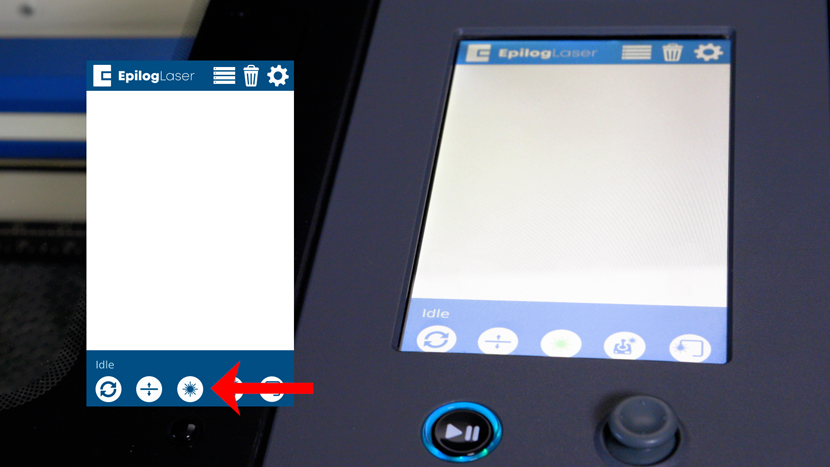
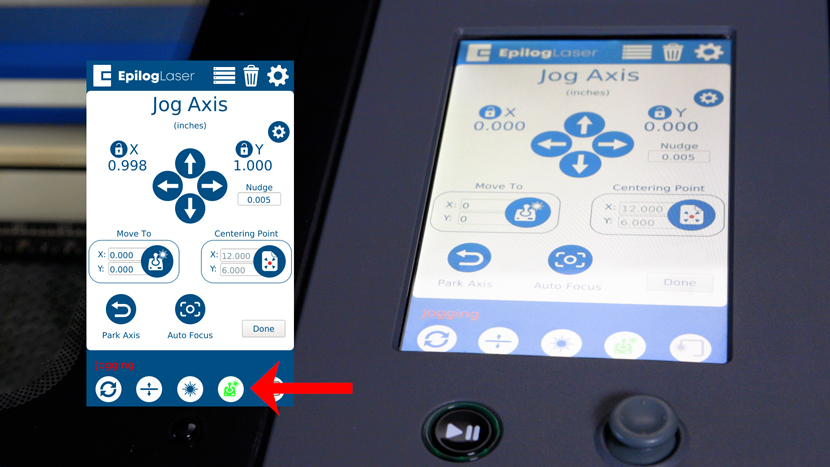
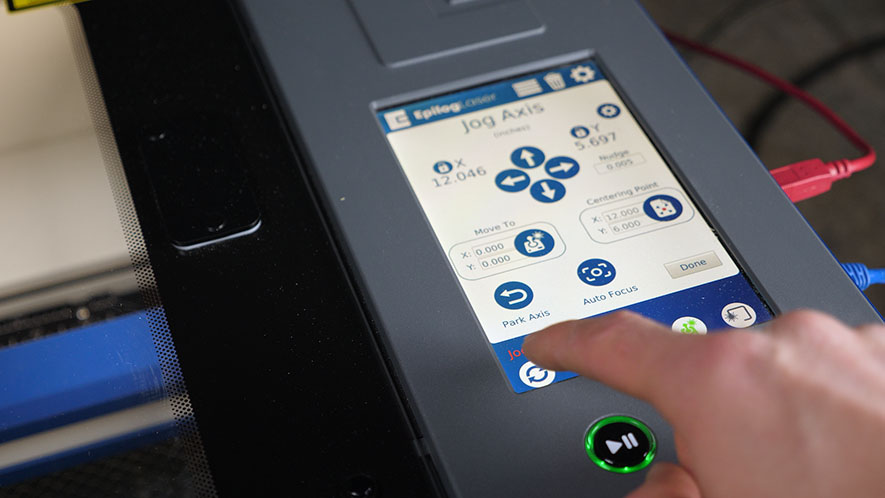
At the control panel, select, the Jog icon, then use the Joystick to position the laser head over the coaster.
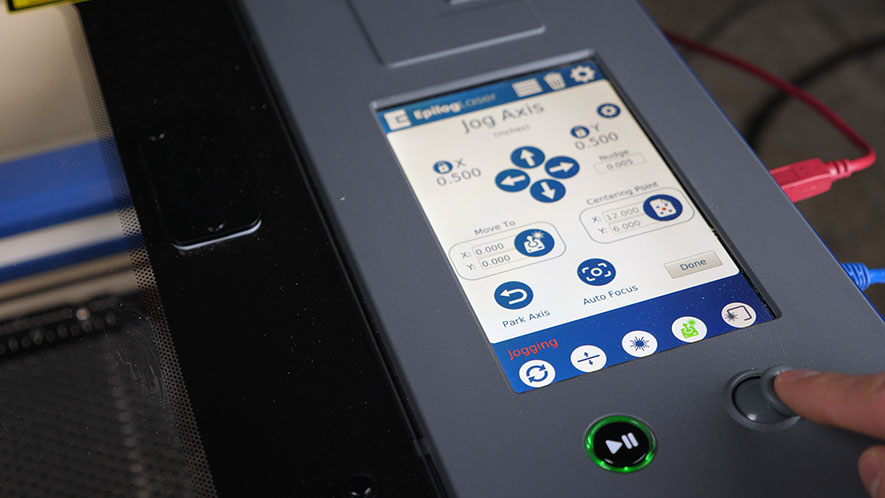
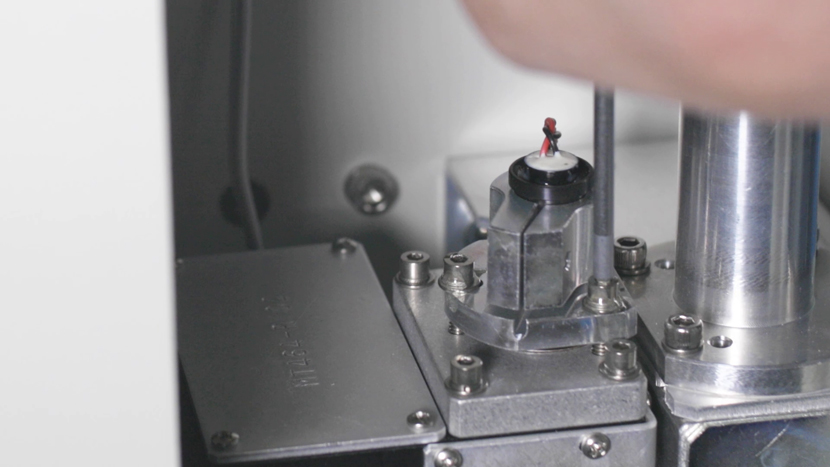
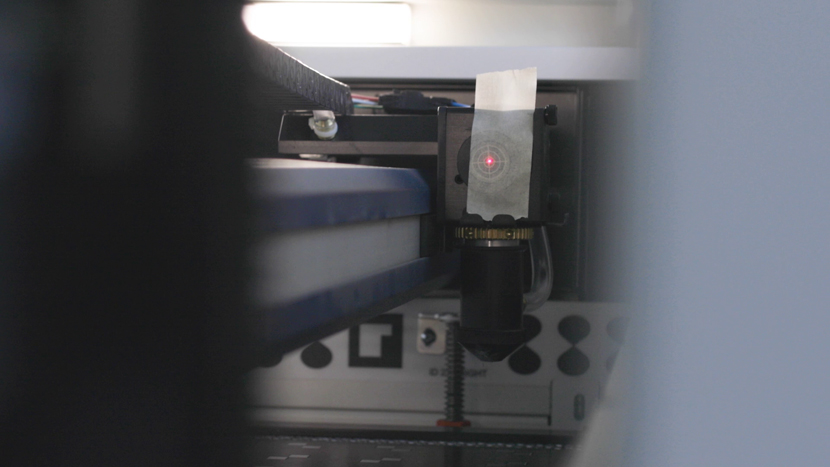
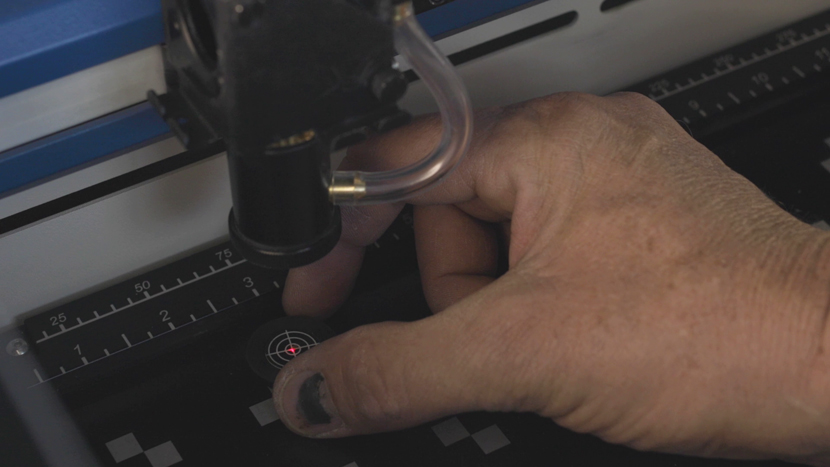
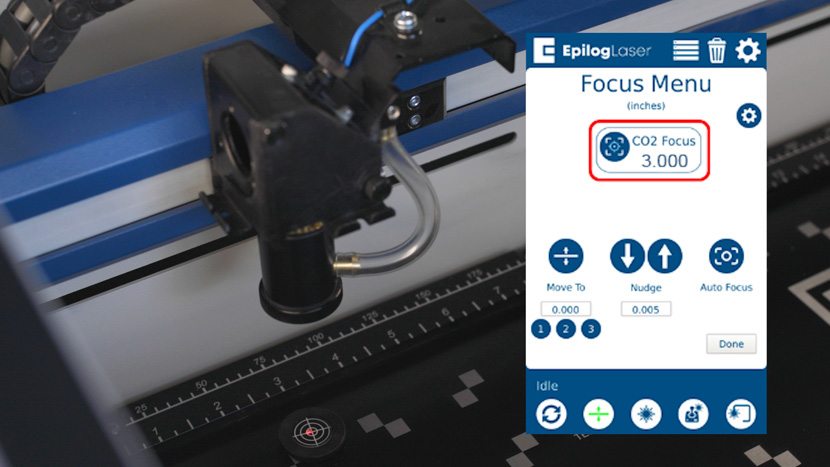
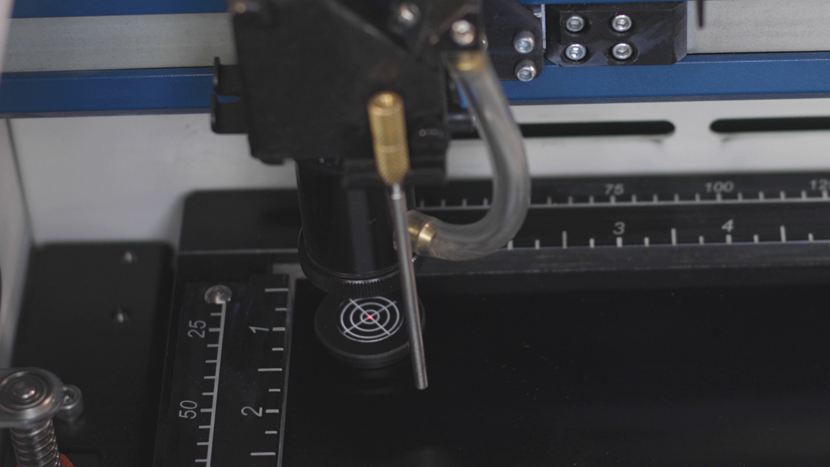
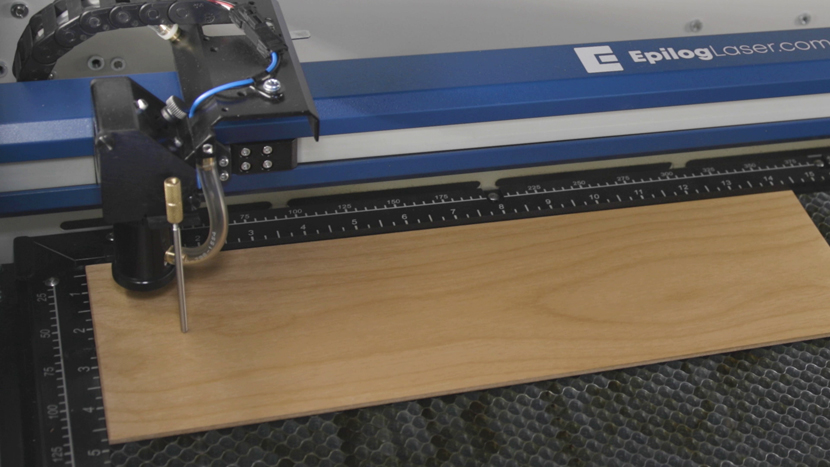
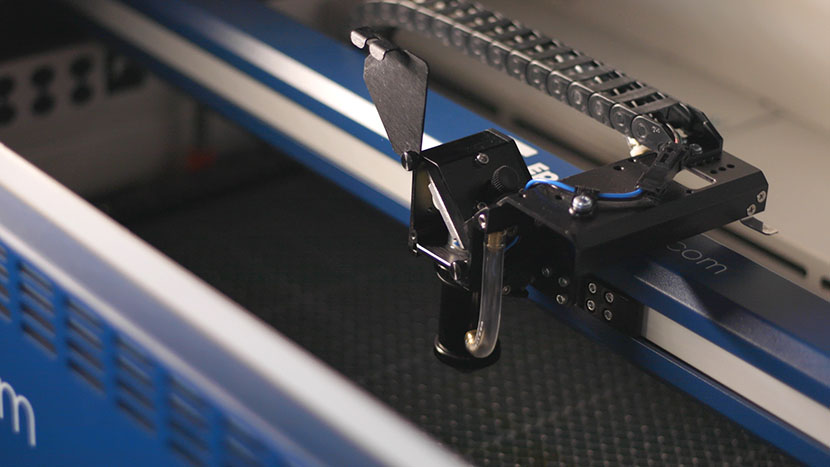
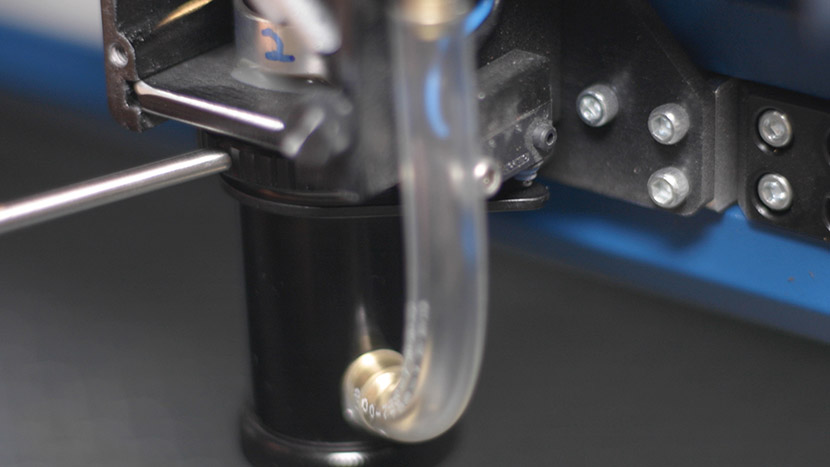
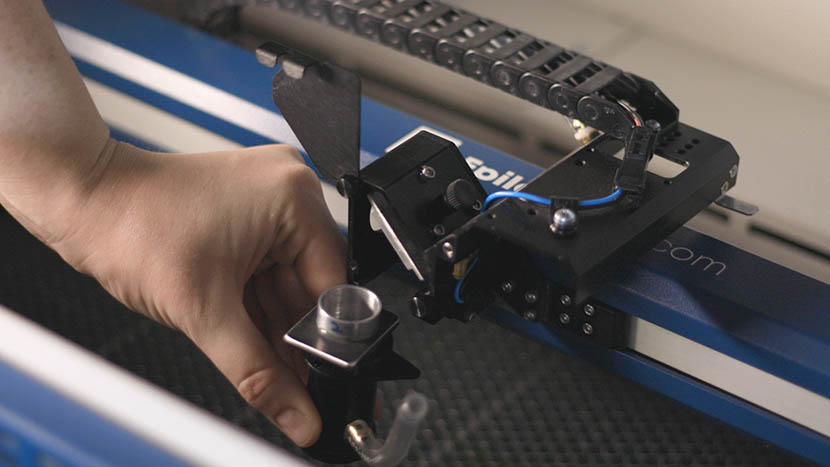
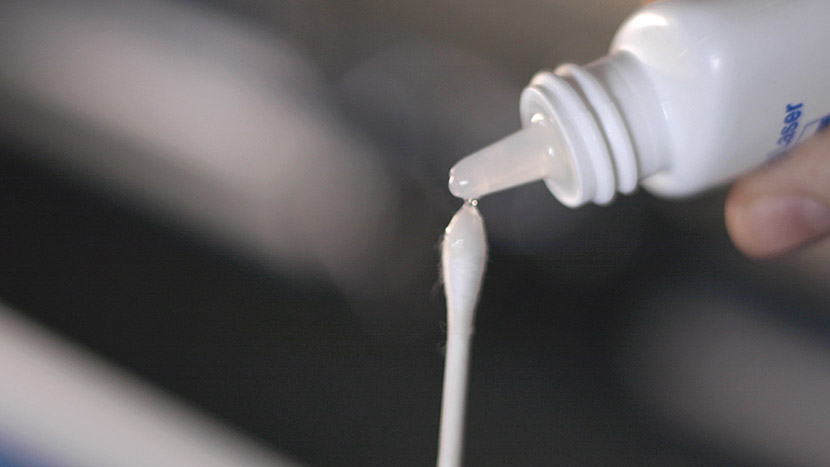
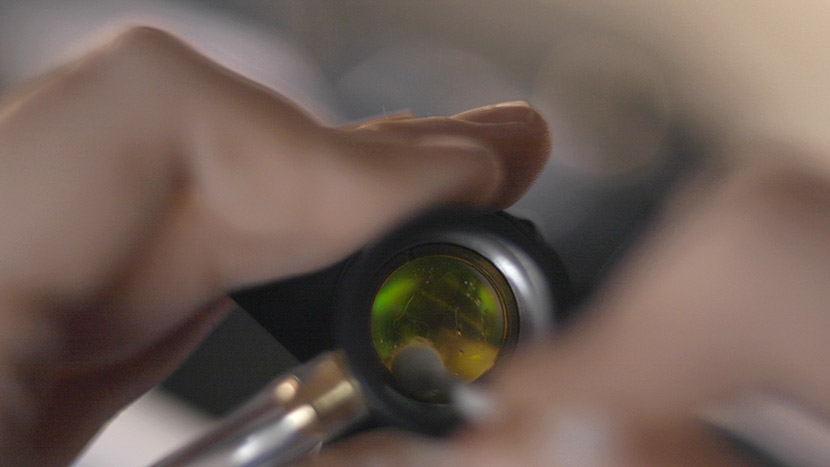
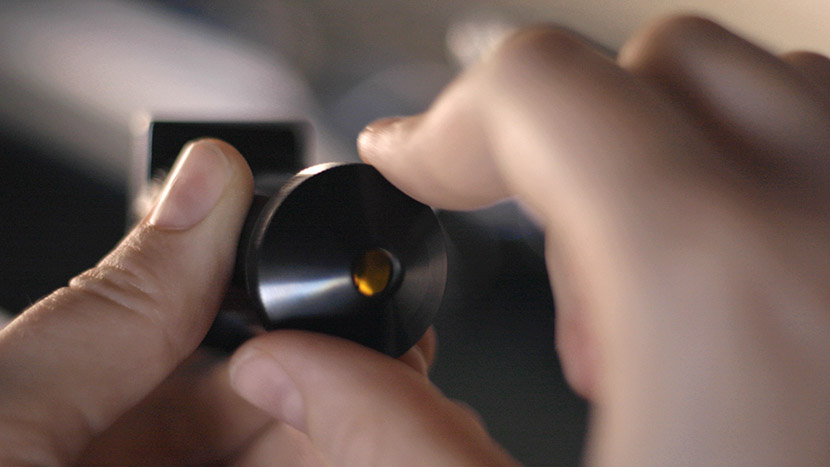
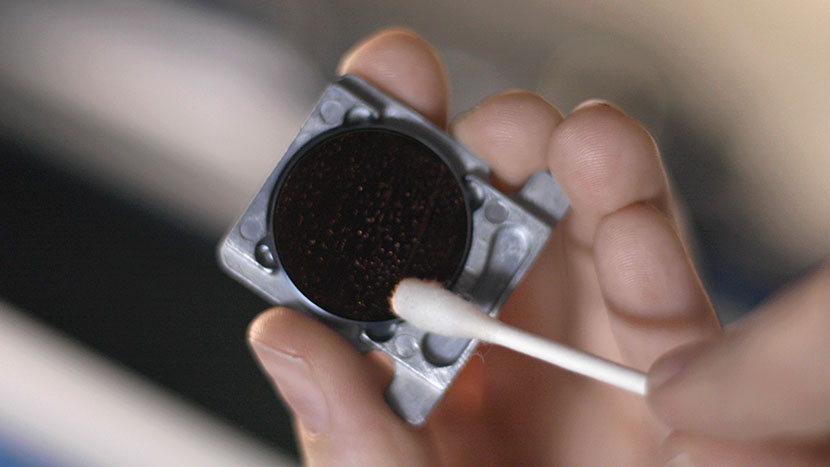
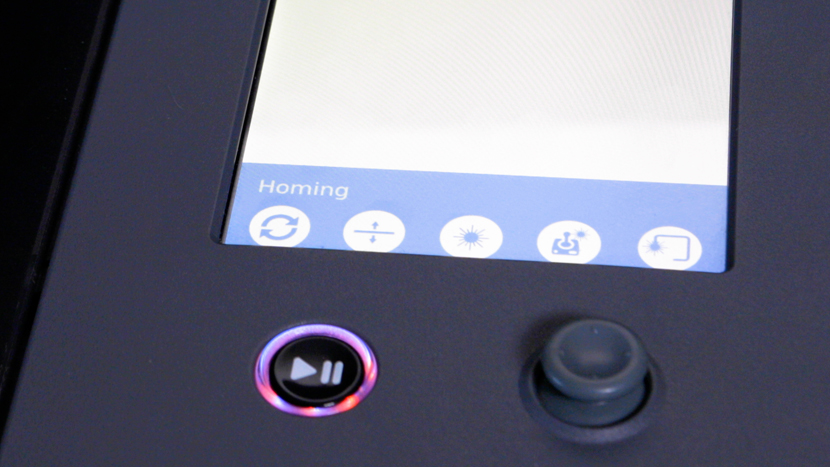
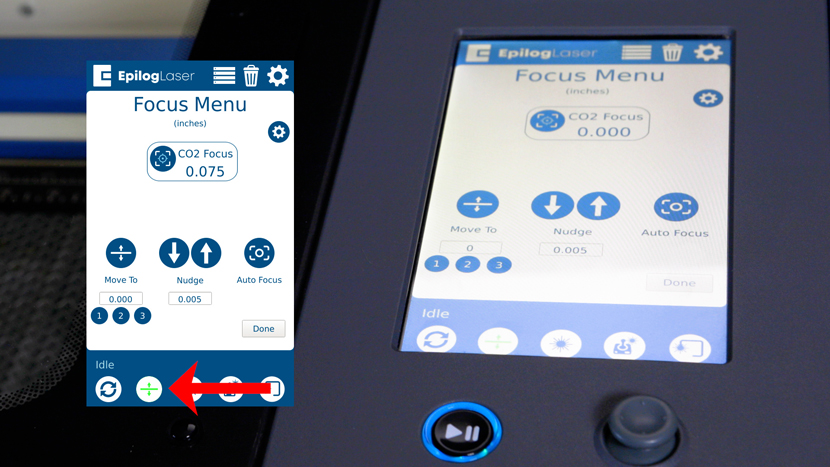
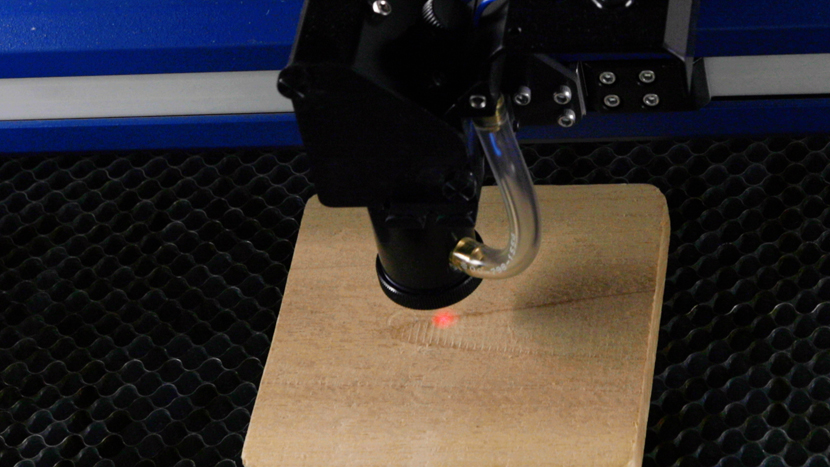
From the open Jog menu, select “Auto Focus.” The machine will automatically adjust the height of the table by first using the plunger action of the lens assembly tube to detect the material, then moving the table to the correct focal distance.
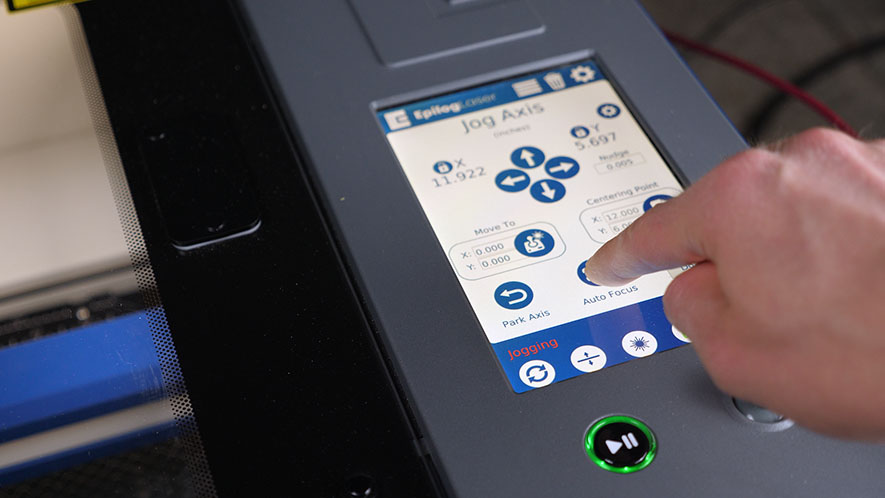
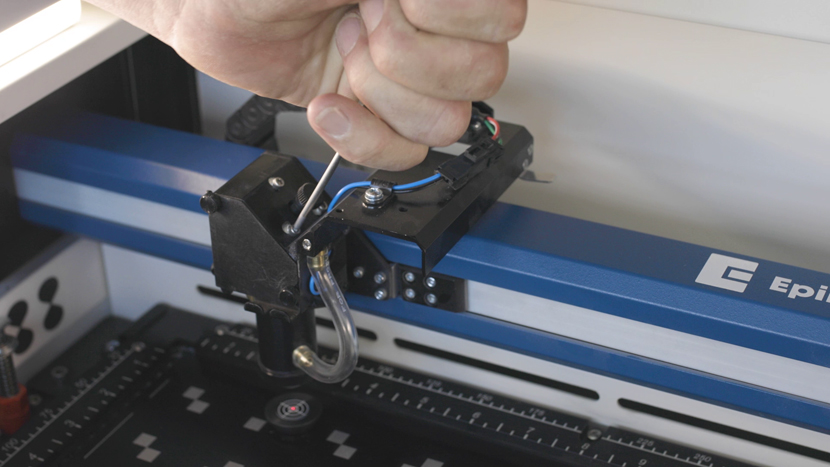
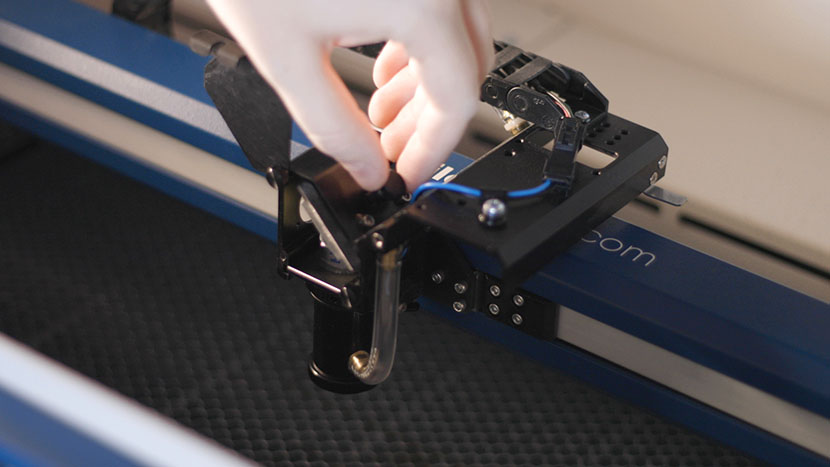
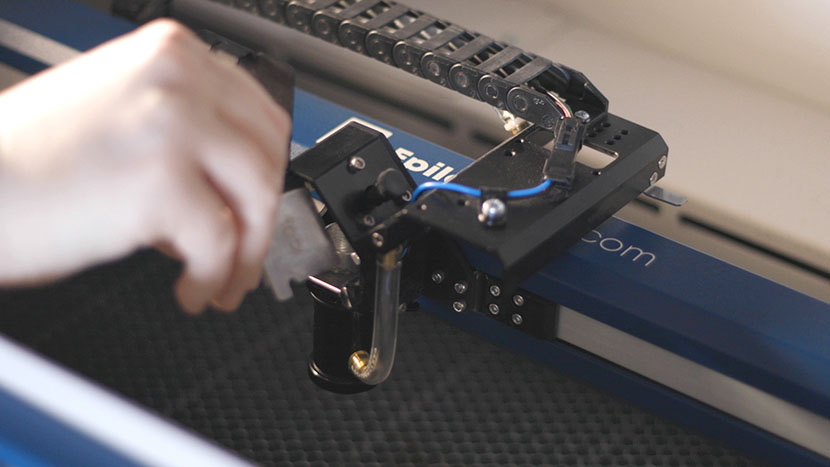
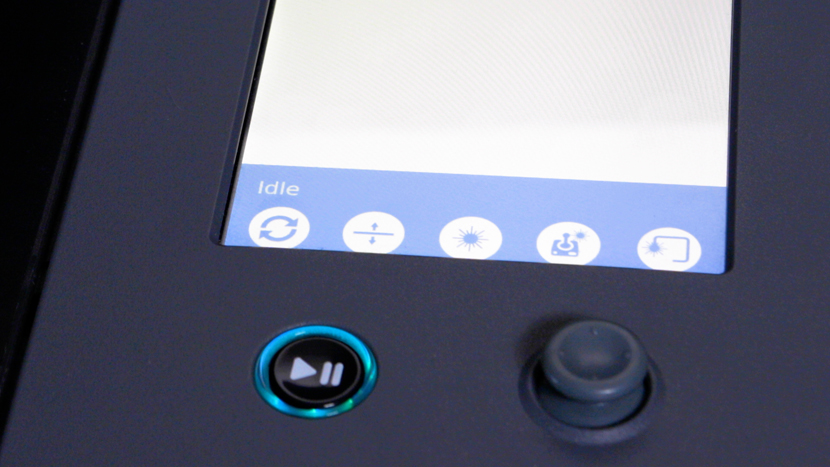
Select the Reset icon to reset the laser head.
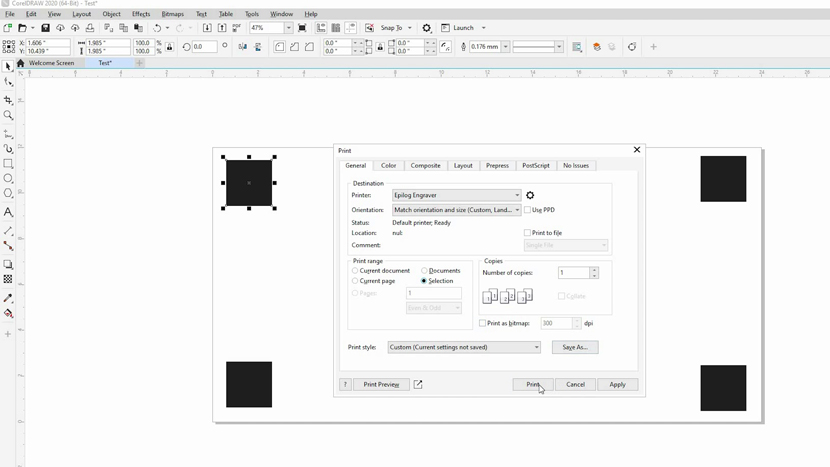
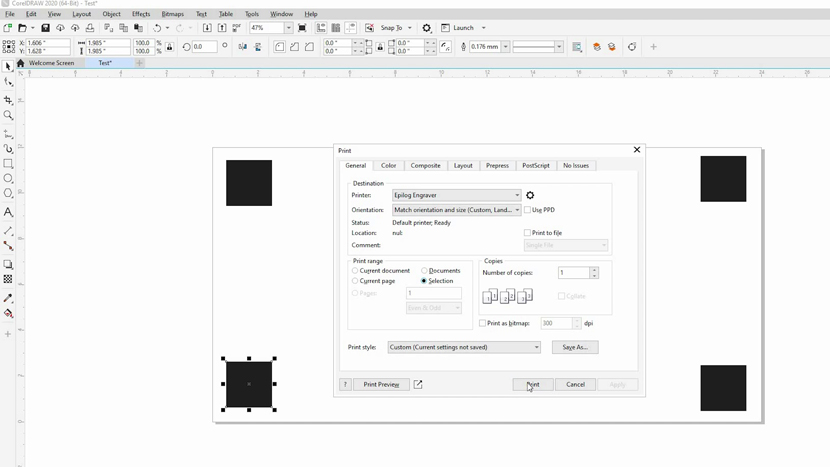
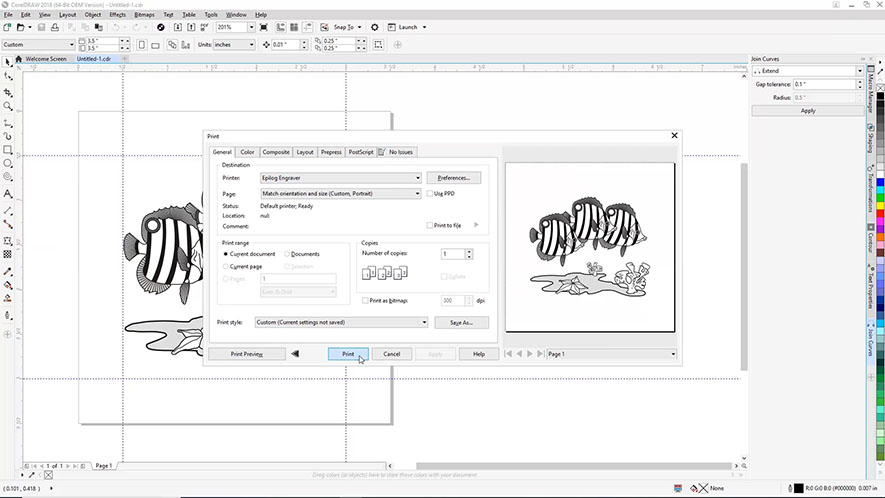
Back in CorelDRAW, select File, then Print from the dropdown menu.

Set Epilog Engraver as your printer, and make sure “Match orientation and size” is selected as the Page setting. Then click the Print button.
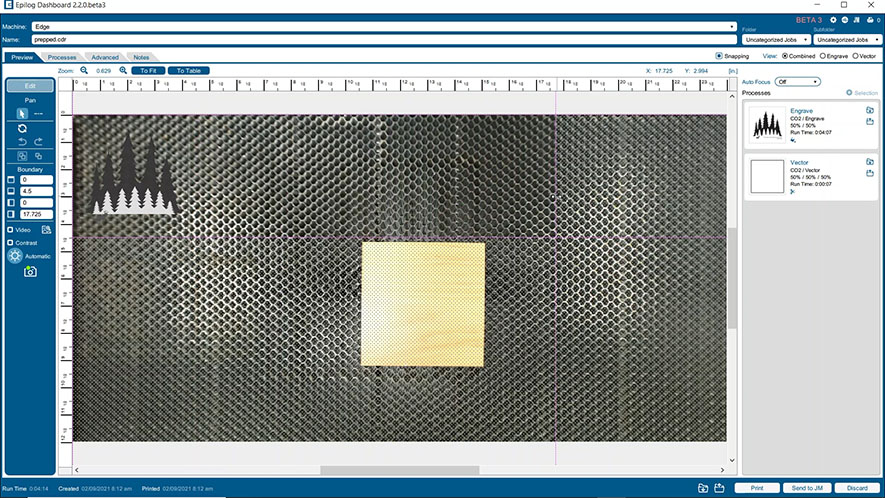
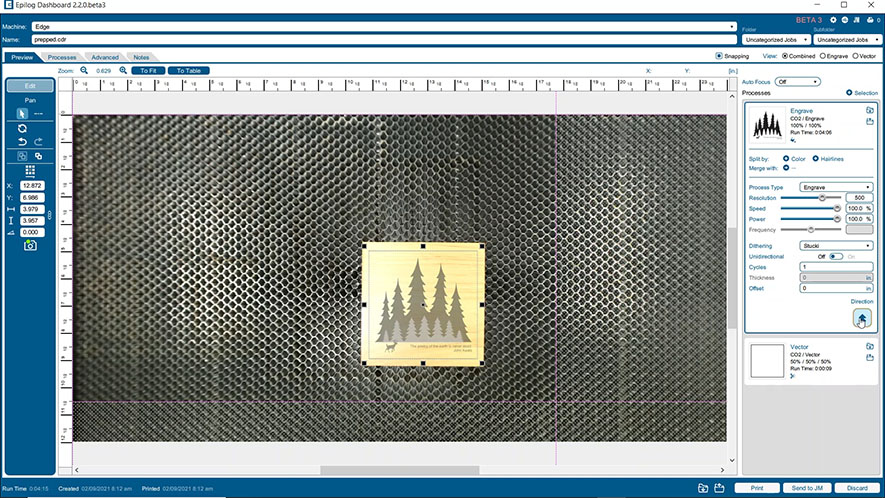
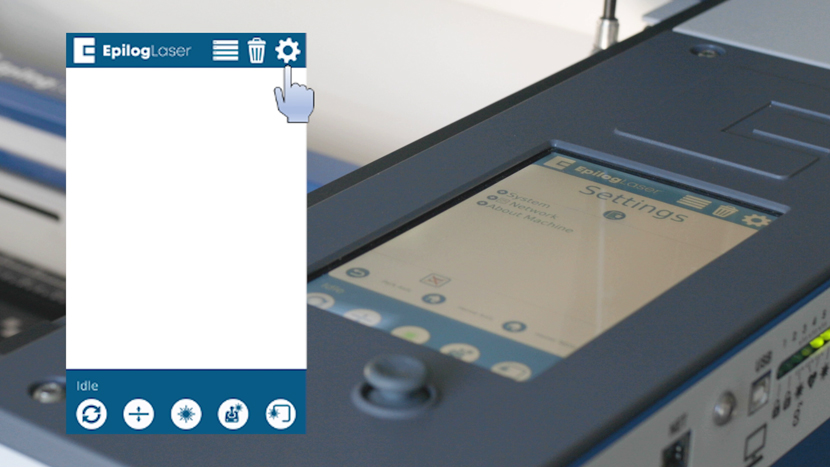
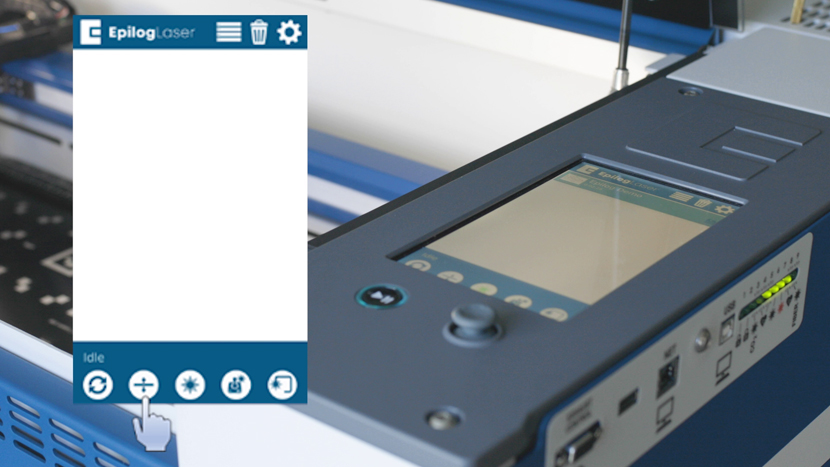
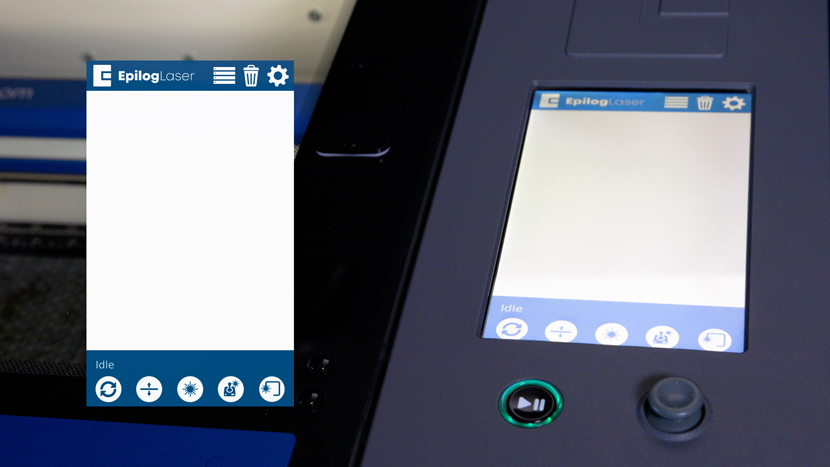
The Epilog Dashboard will open with our file and the IRIS camera feed.
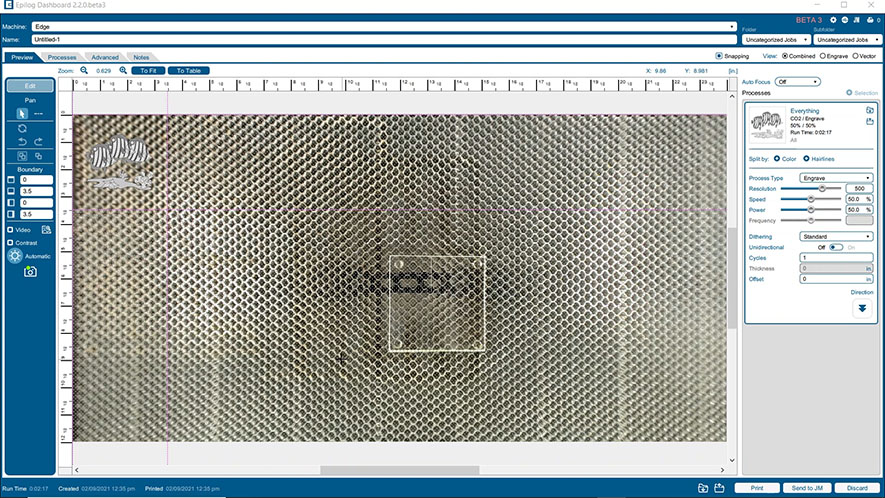
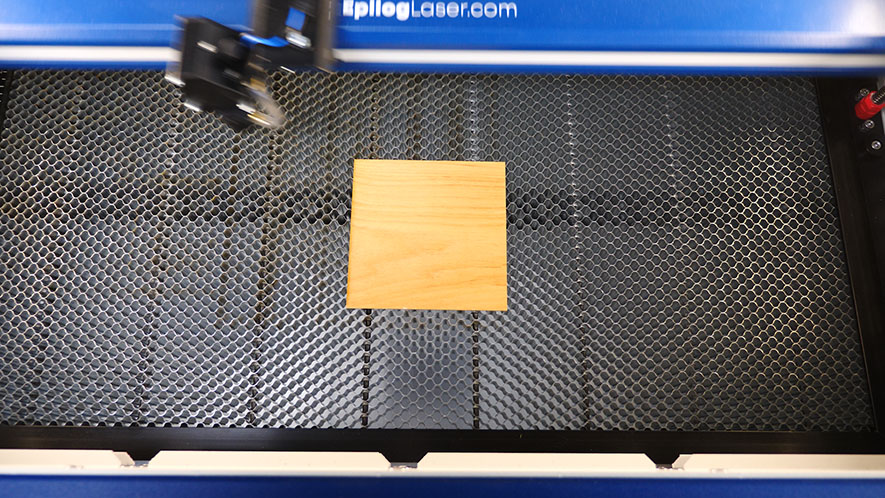
Click and drag the colored lines to expand the engraving area to include the glass coaster.
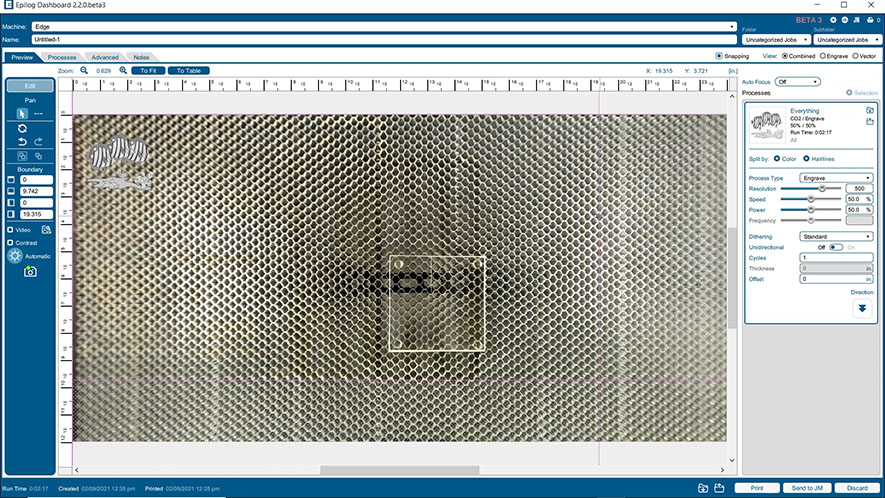
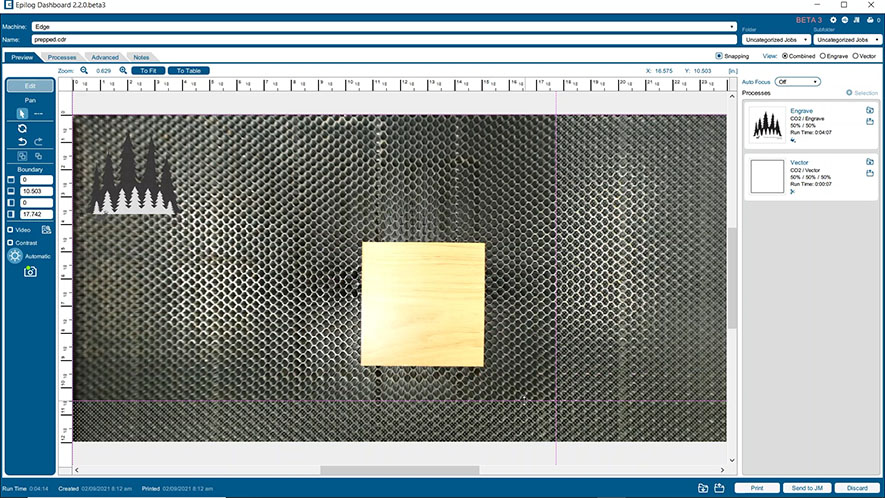
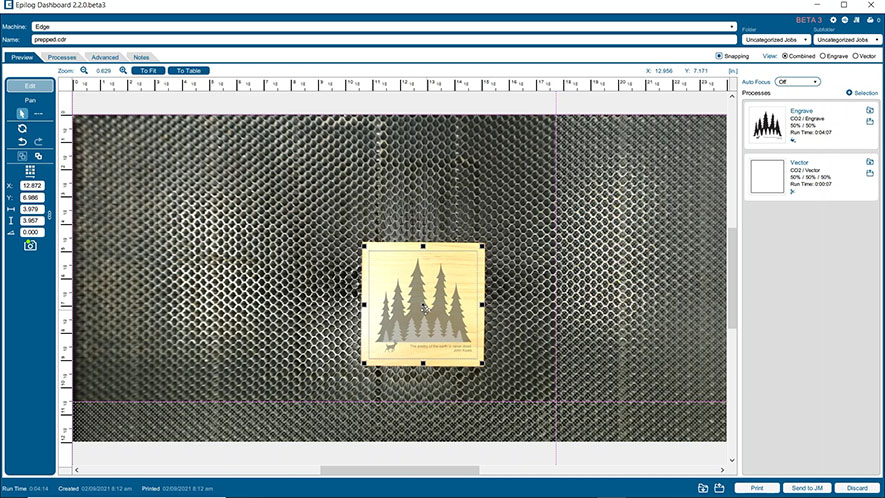
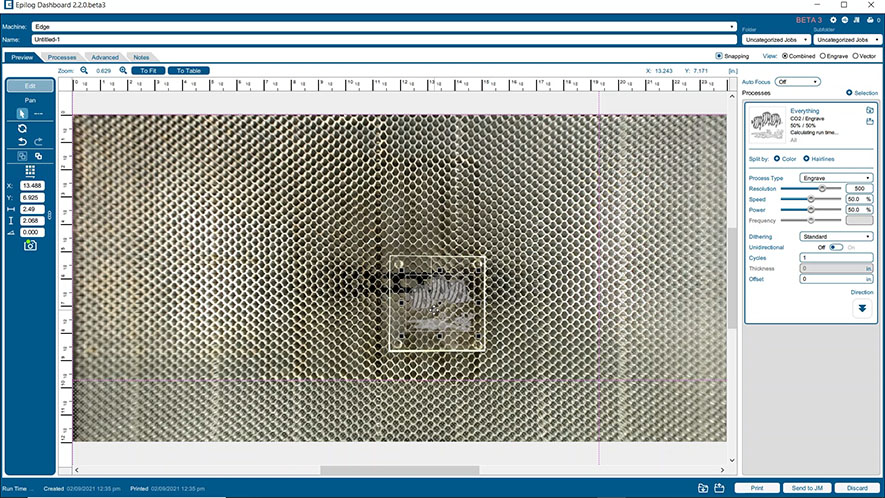
Then click and drag the graphic onto the glass coaster.
You can use your mouse’s scroll wheel to zoom in on the image and refine the graphic’s placement.
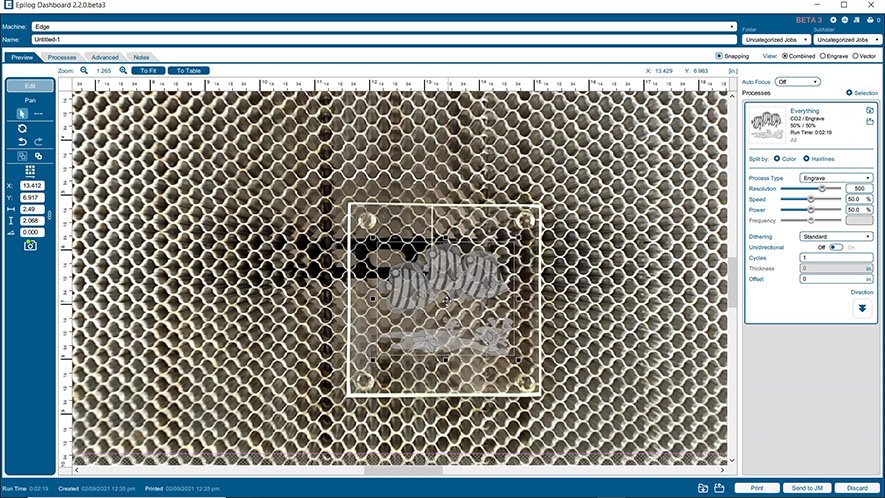
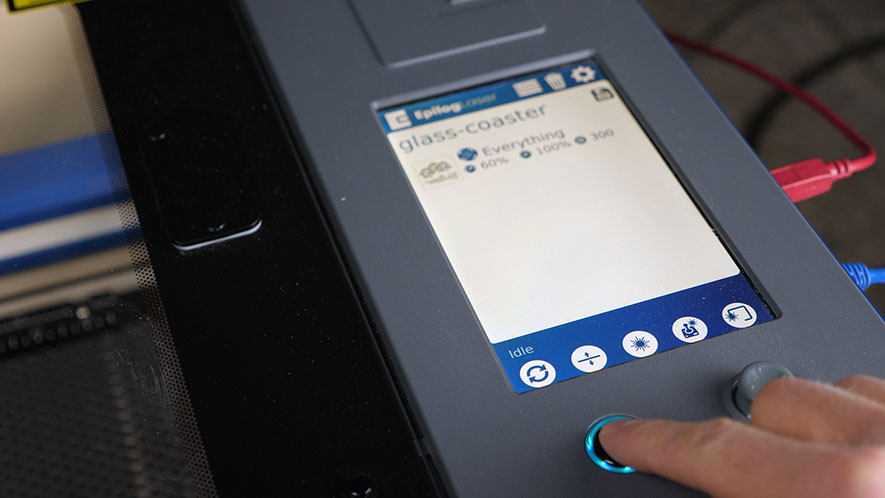
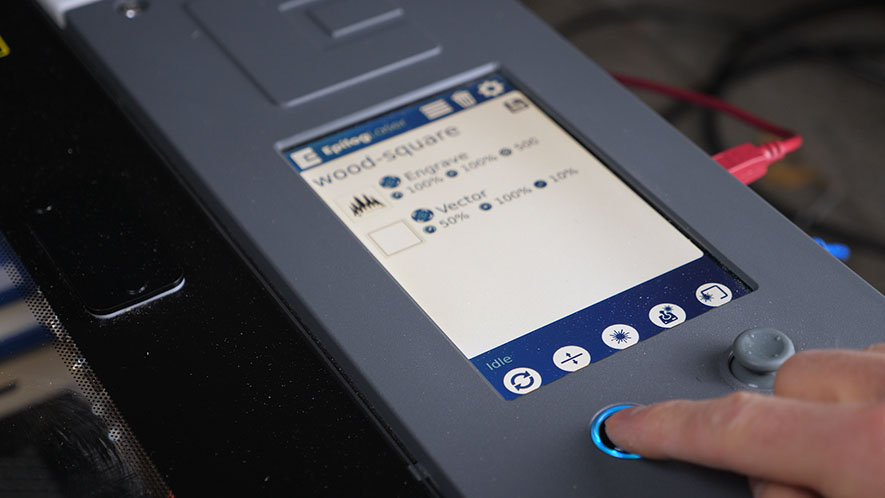
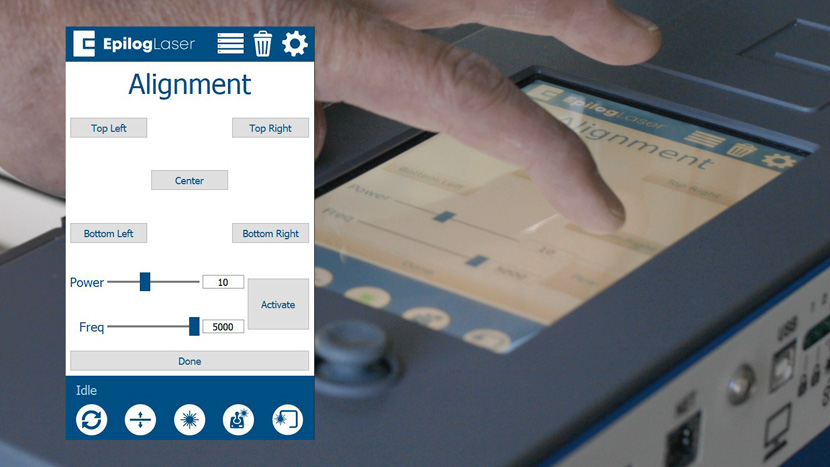
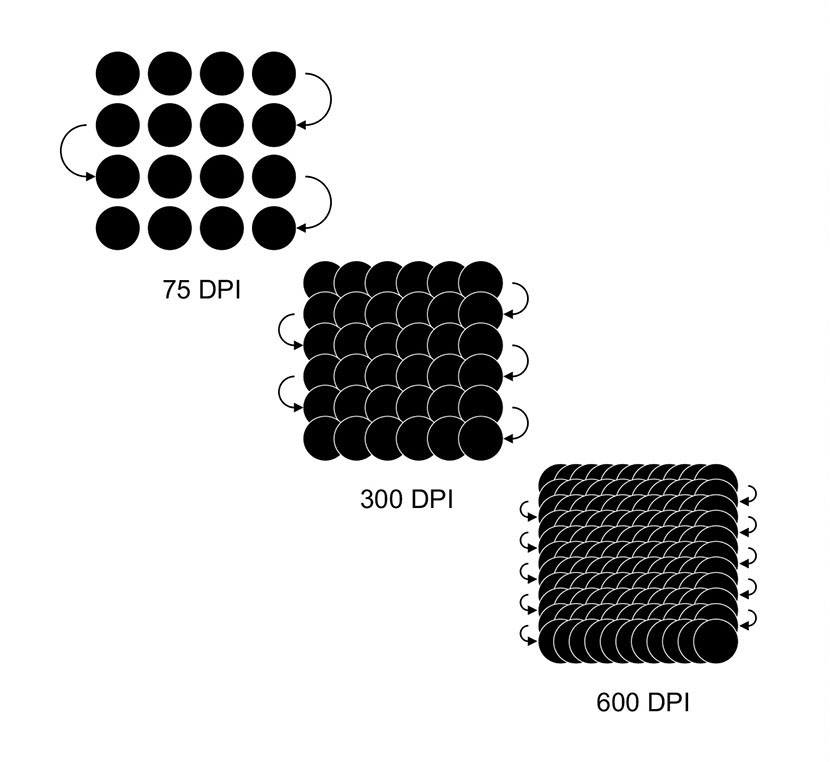
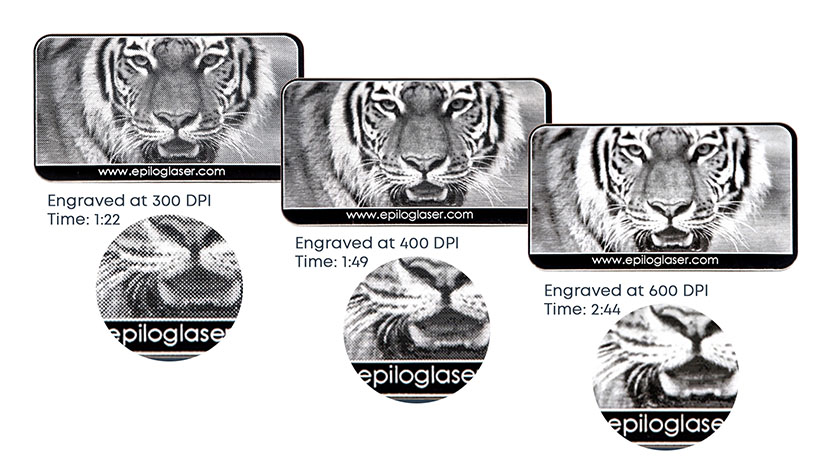
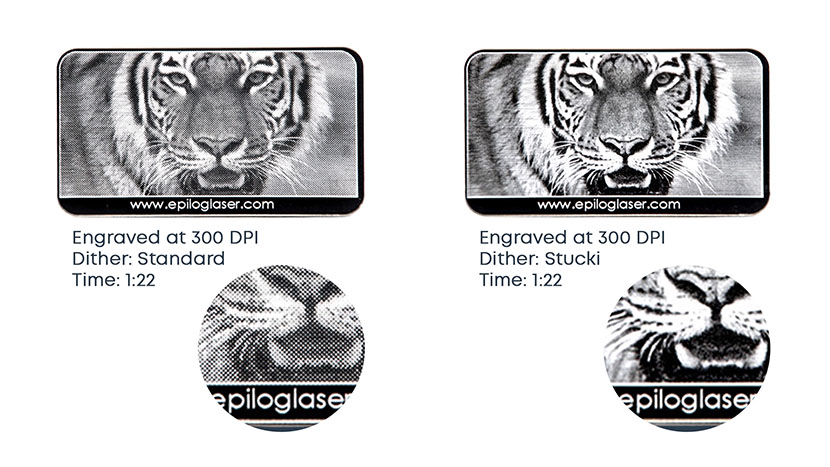
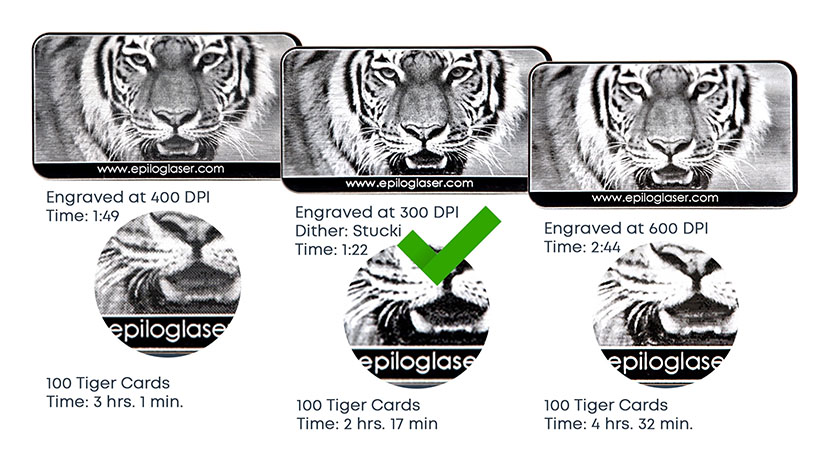
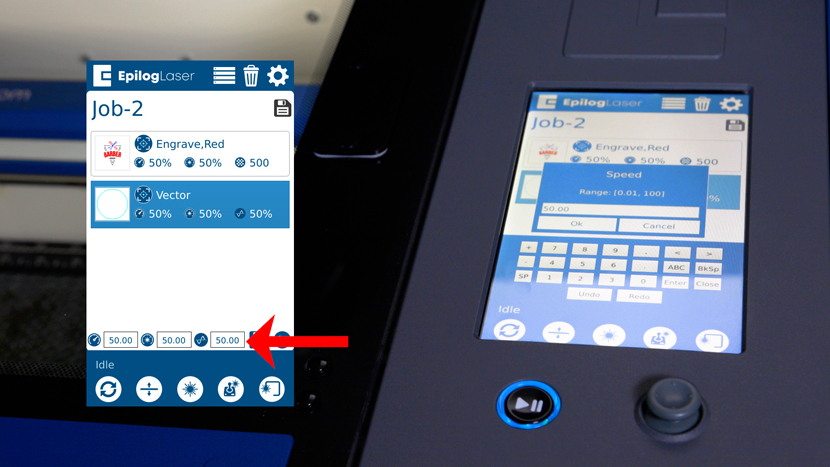
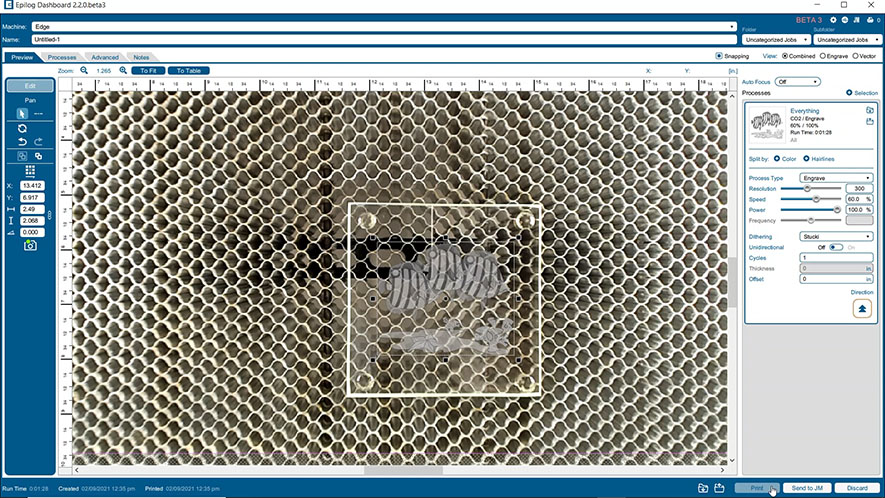
Over in the ‘Engrave’ process in the right-hand sidebar, let’s set our engraving parameters. We’ll set our resolution 300 DPI. When engraving glass, we don’t need a high resolution to achieve a quality engraving. We’re using a 60-watt laser, so we’ll set our speed to 60% and our power to 100%. Let’s also set our Dithering type to Stucki and our Engraving Direction to Bottom-Up.

Refer to your system manual for the recommended settings for your laser’s wattage.
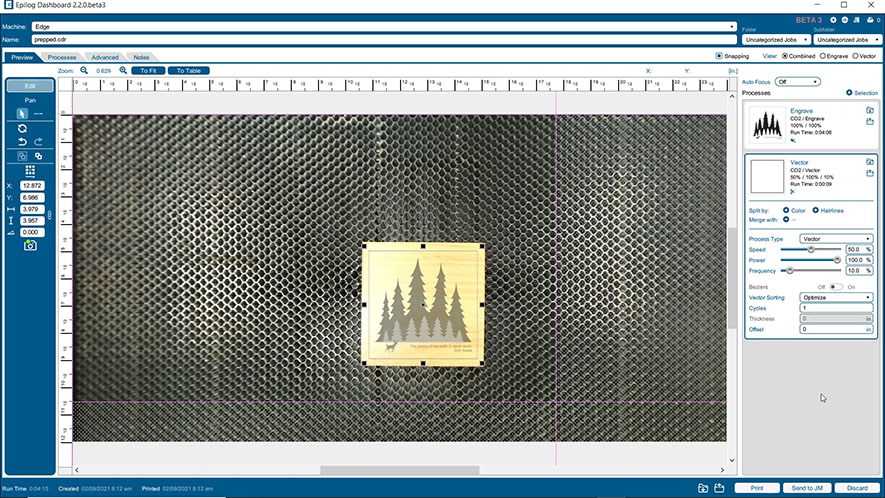
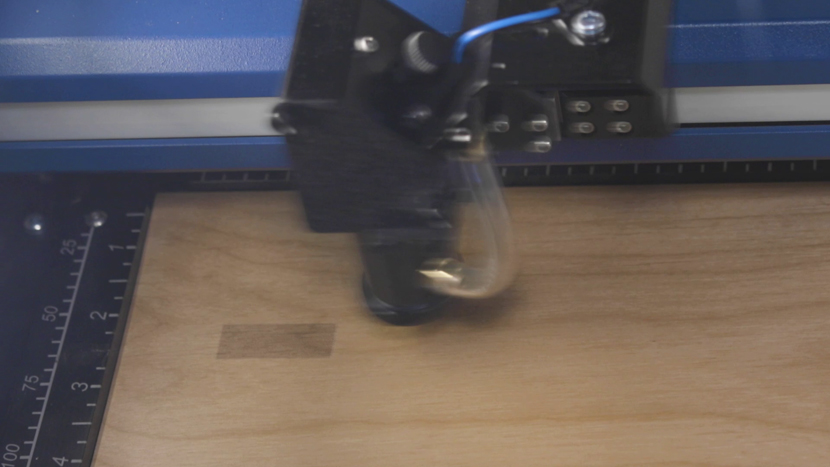
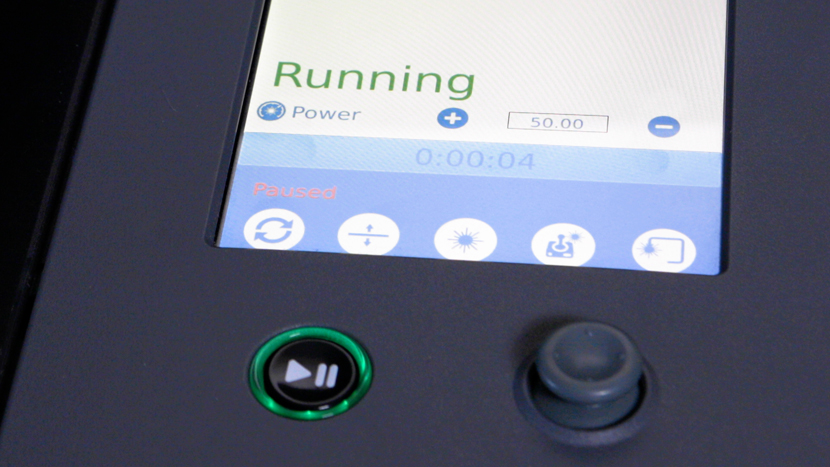
Now that our settings are good to go, we can click “Print” to send the job to the laser.
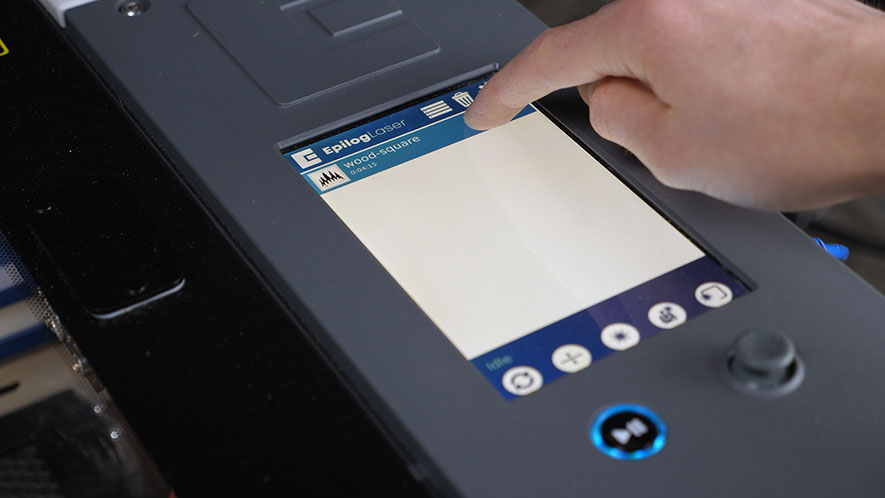
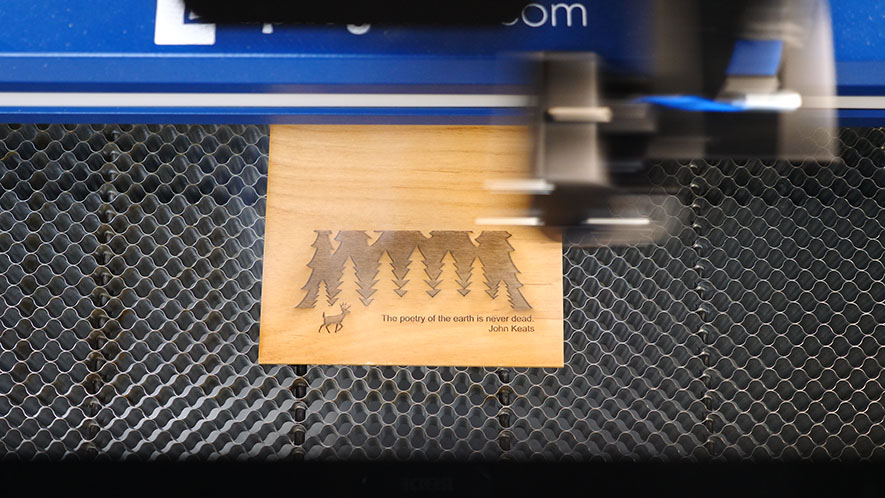
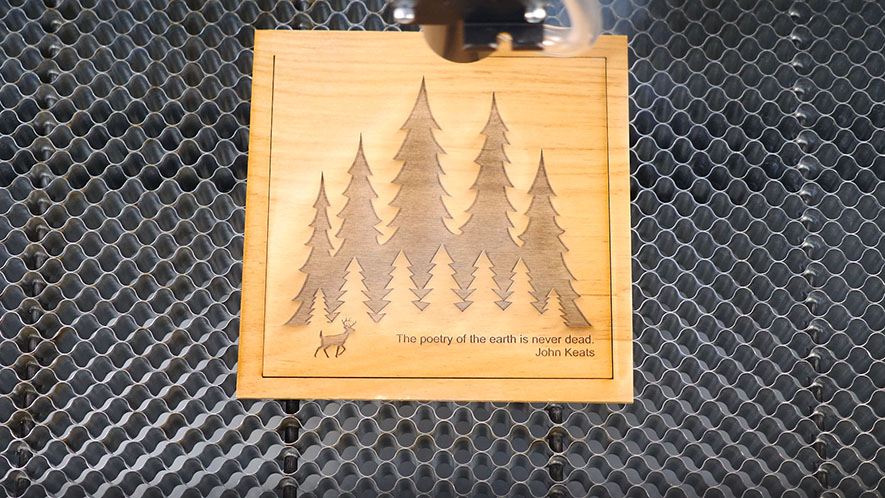
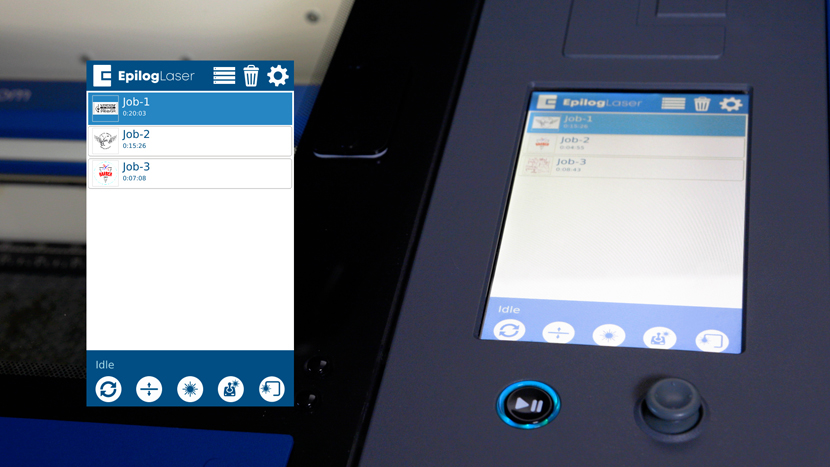
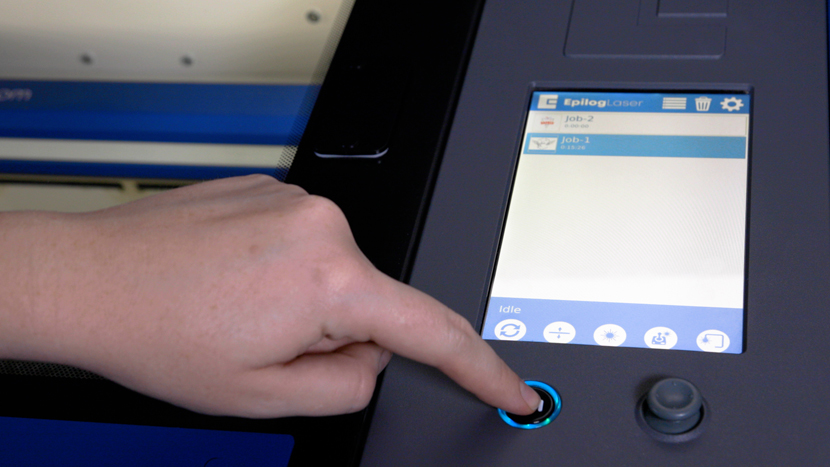
At the laser, select the Job menu icon to see the list of available jobs, then select the job you sent to the machine. Press the Go/Stop button to start the glass engraving job. The Fusion Edge will get to work and within a couple of minutes your coaster will be complete!