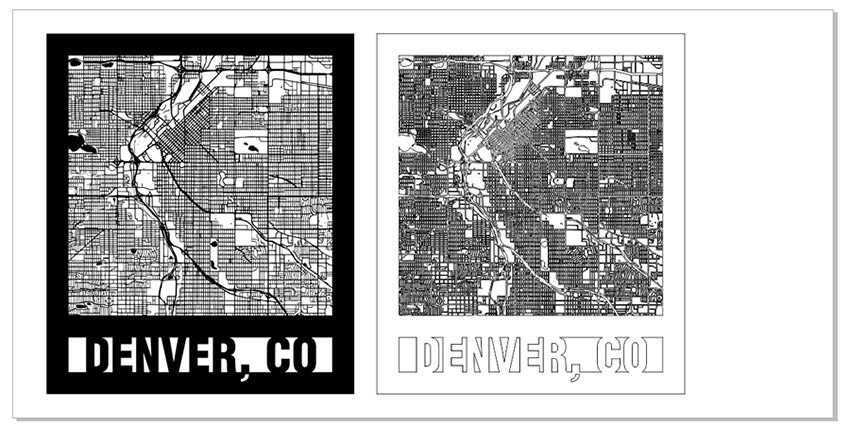
Creating City Maps (CorelDRAW)
City Map Image Capture
Start off by visiting snazzymaps.com to create a custom map for laser engraving or cutting. Creating an account is not required, but if you are interested in creating different maps for customers or friends, signing up will give you the ability to save map locations and custom styles for later use, and don’t worry, it’s completely free!
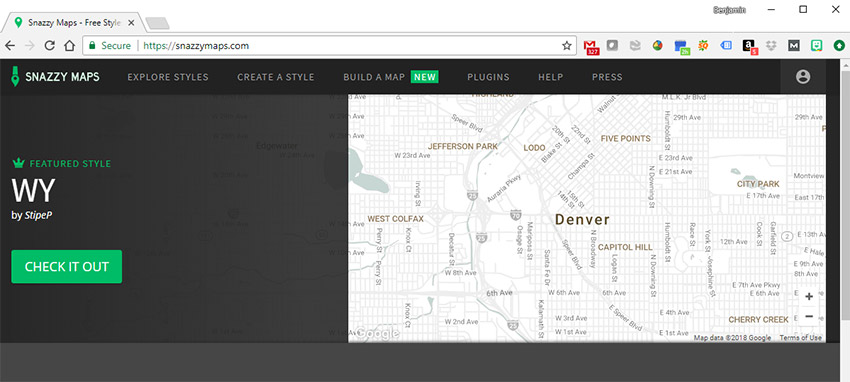
Once you’re on the Snazzy Maps website, click on the Build a Map button near the top of the page.

Now you’re ready to create a custom map. Begin by clicking on Choose a Snazzy Maps style button under Style.

In the Search field, type Epilog and then click the Search button.
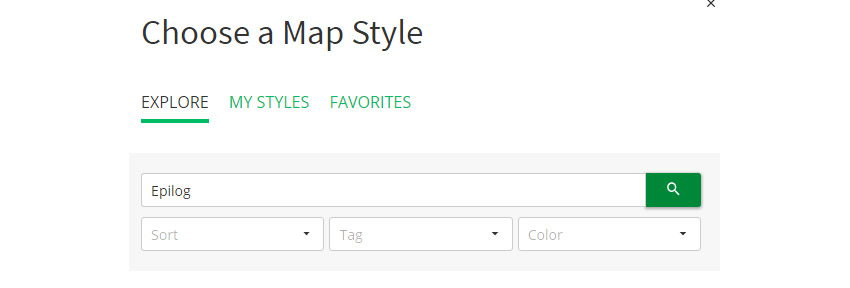
Select the “Epilog Laser – Laser Cut Maps” style in the results section by Clicking on the option, then Apply Style at the bottom of the page.


Now click on the Size & Location option in the Build a Map panel.

In the Size section, change the Height option to 100%.

In the Center Location section, click the “Or search for a location” button below the latitude and longitude coordinates.

Fill in the city name and press Enter, or select your city from the prefilled drop-down options.
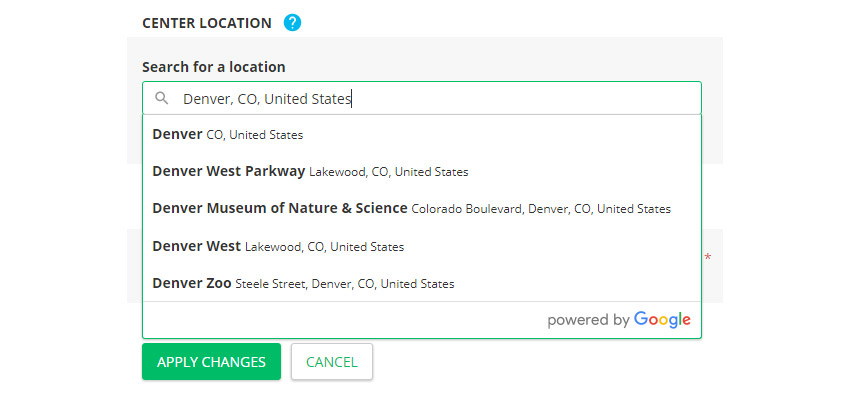
In the Zoom Level section, set the Zoom to 13, then click Apply Changes. This might need to be adjusted by the overall size of the city you are working with and the crop you would like to achieve. You’ll be able to adjust the Zoom Level later by using your scroll wheel with the mouse over the map screen.

We won’t be using the Markers section for this map, but we’ll go over a good use for them that you might find useful. Click on the Markers section and give you a brief tour and ideas for how to use it.

The Markers section includes a Name, Location, and Icon style that can be used to add custom locations to your map. We could add markers for a home, favorite restaurants, wedding location, etc., to add an additional level of personalization.
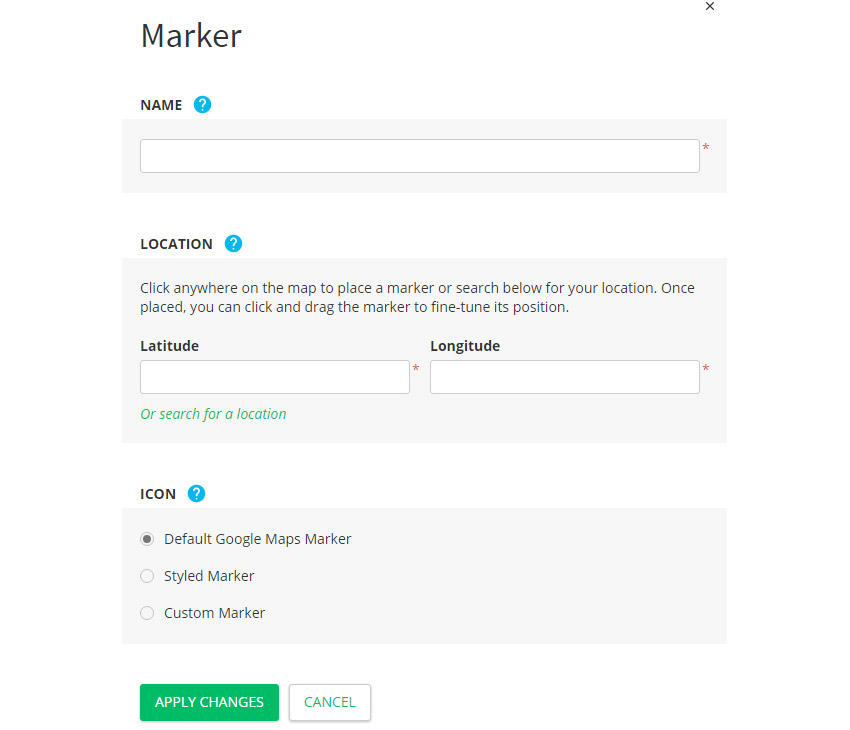
Click cancel to back of the Marker section.

Next, click the Advanced Settings section.

Most of the settings in this section apply to using maps on a website, so you can ignore most of them. Under the Controls section, click on the button next to Hide all controls – this will make it easier to capture an image of the map. Then click Apply Changes.

Now click on the Hide Panel button on the right side of the Build a Map panel.
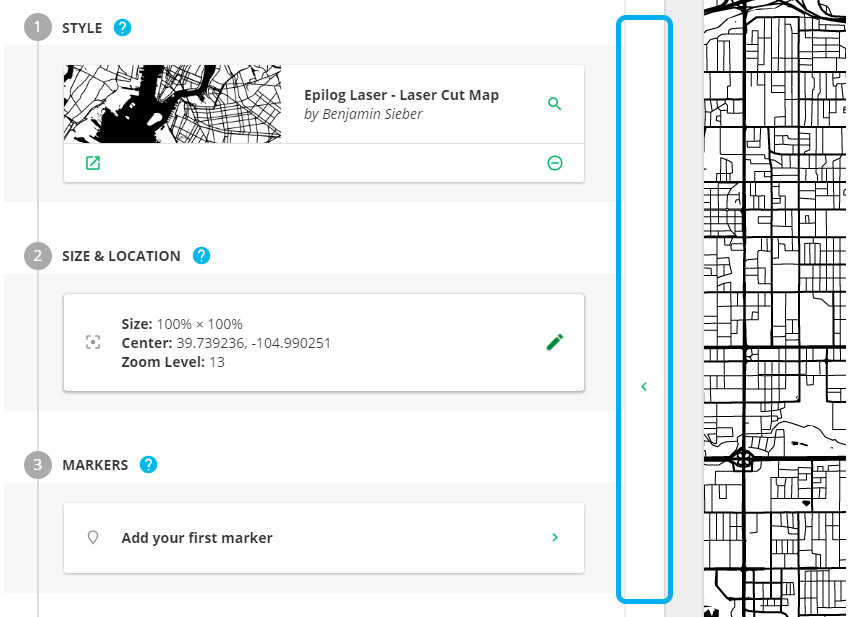
At this point, we are ready to capture an image of the map, which we will later bring into CorelDRAW and vector trace.
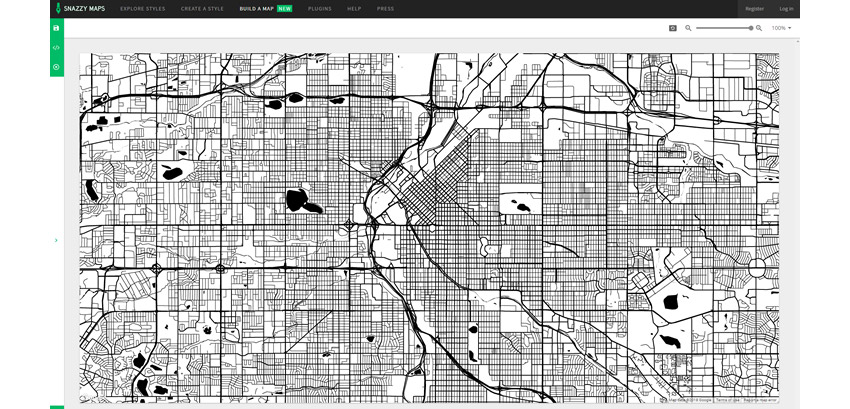
Open the Windows Snipping Tool app.
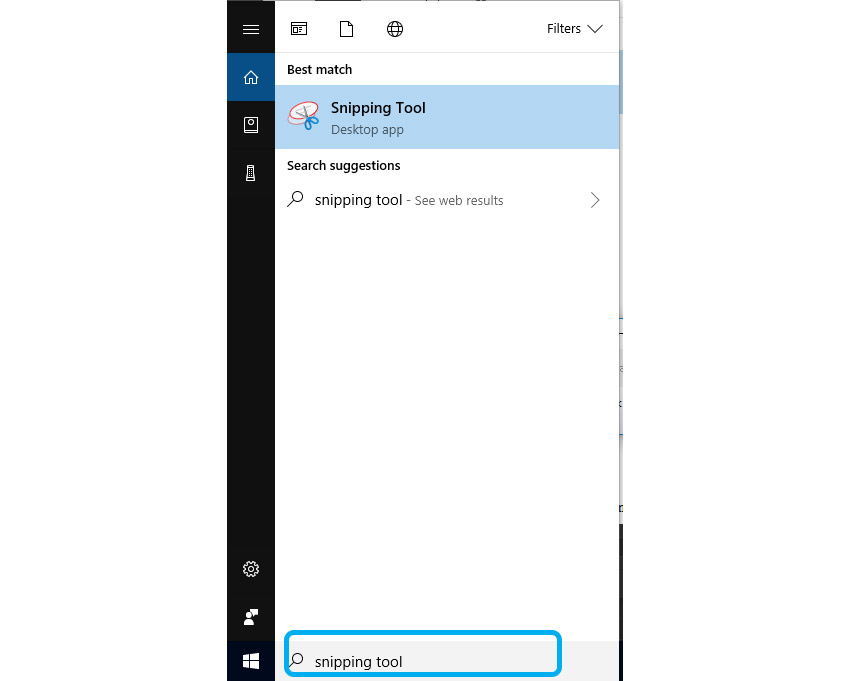
Select the New option.

Then click and drag over the top of the map section on the screen to create a Snip capture (screenshot) of the map.
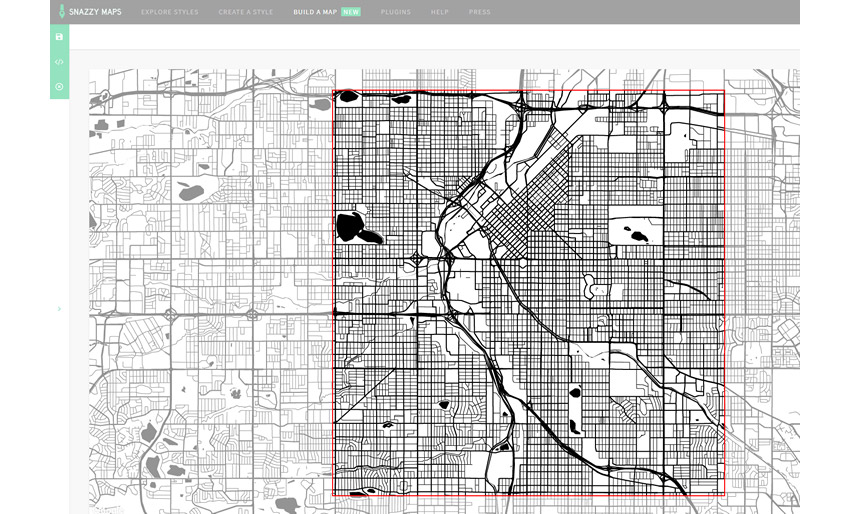
Next, click the Save Snip option (Disk icon) near the top of the screen.

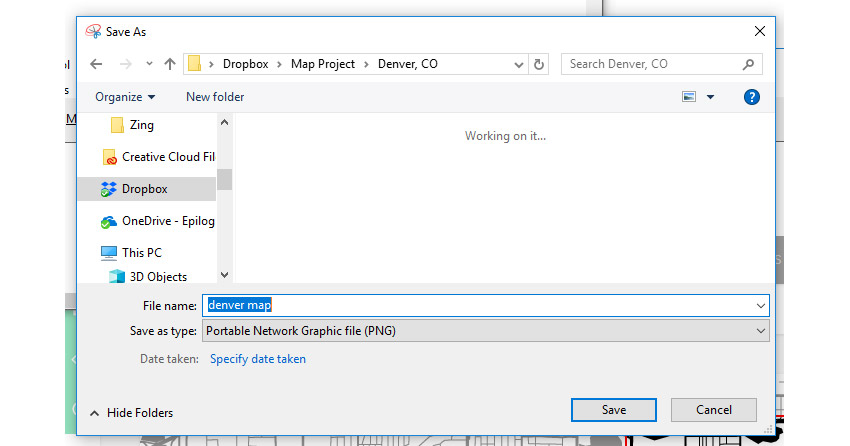
Name the file and select the .PNG option from the Save as type drop-down menu, then click Save. (Note: the .PNG file format will give you the best image, with little compression, for the vector trace in CorelDRAW.)
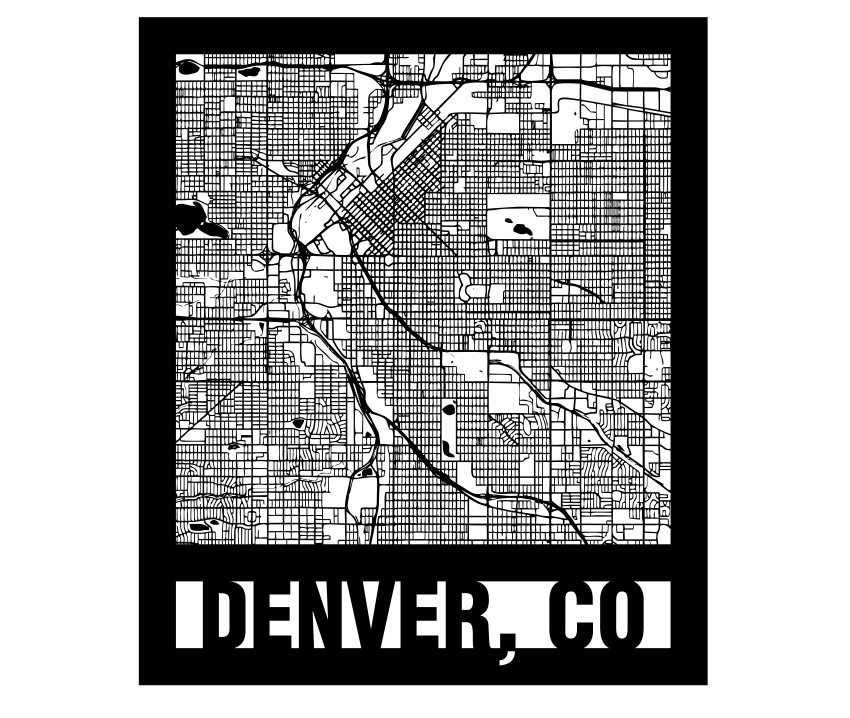
To finalize the map for laser engraving or cutting with your Epilog Laser system, we’ll use CorelDRAW to create a quick vector trace of our screen capture image, add a frame, and city name text to the frame.
Vector Trace
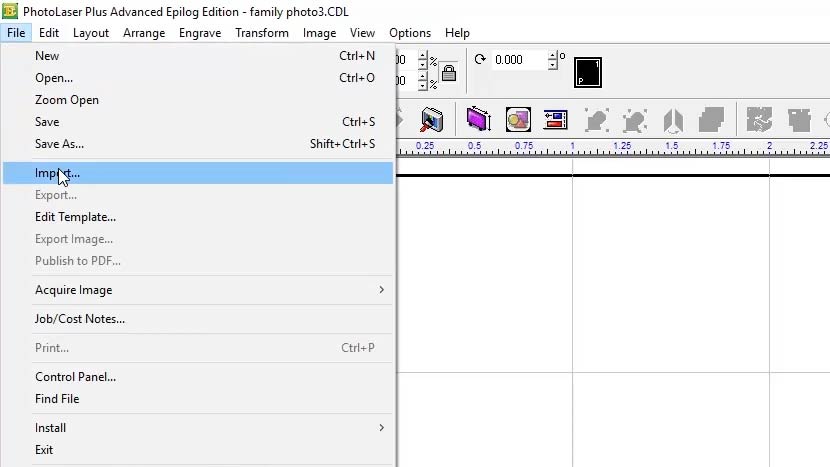
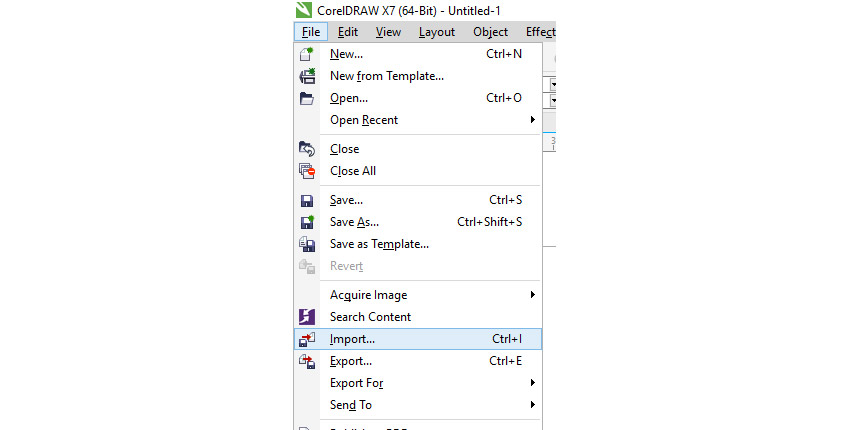
With CorelDRAW open and a new page created, start by selecting the Import Image option from the File drop-down menu at the top of the page (Ctrl + I).
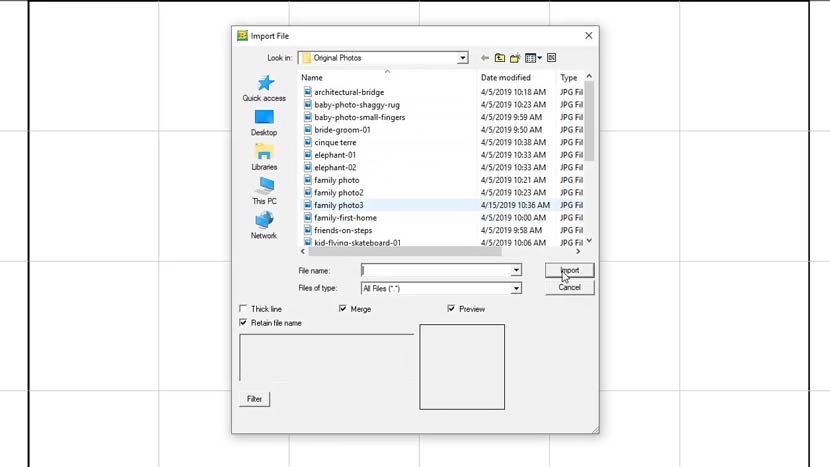
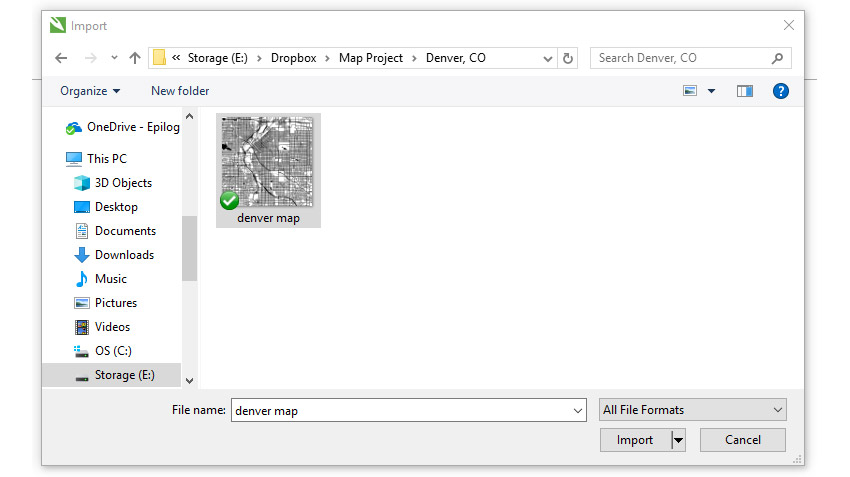
Use the Import file browser to navigate to the location of the map you created in the previous steps. Click the image to select it, then press the Import button.
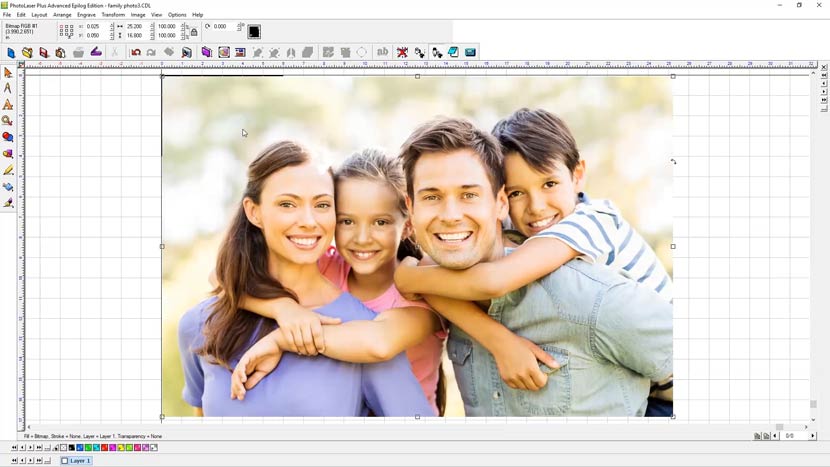
Click anywhere on the page to place the image within the work area.
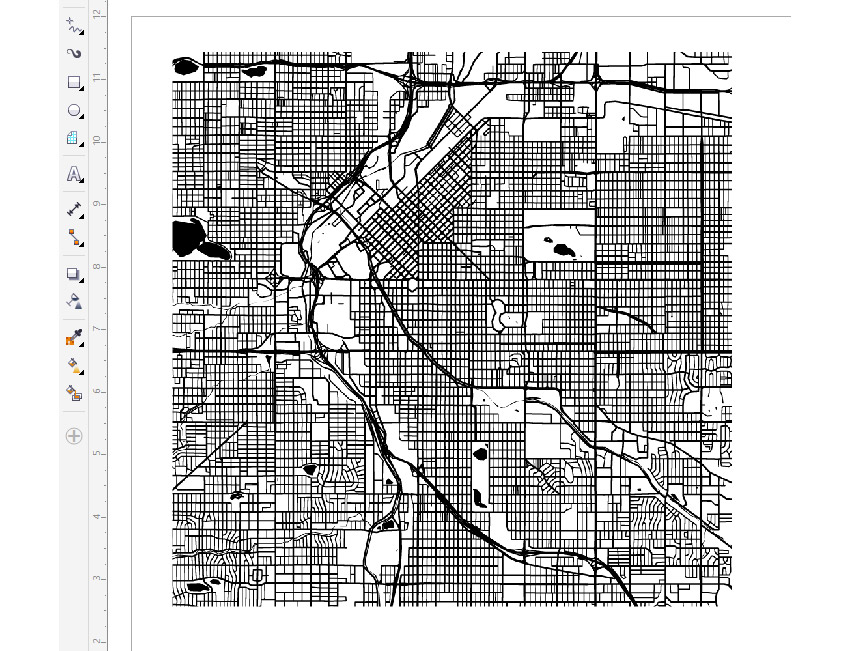
Next, we’ll convert the raster image to a vector graphic using the Line Art settings in the Trace Bitmap feature. With the map selected, click Trace Bitmap, near the top of the screen in the Property Bar, then Outline Trace, and then Line Art as the style of trace.

Within the Settings panel on the right side of the PowerTrace window, set the…
- Detail to the maximum settings.
- Leave Smoothing at 25, which is the default for a Line Art trace.
- Leave the Corner smoothness at 0 (also the default).
- Turn on Delete original image
- Turn on Remove background
- Turn on Specify color, click the dropper tool to the right, then click any white in the Raster Preview window on the left side.
- Turn on Remove color from the entire image
- Turn on Merge adjacent objects
- Turn on Remove object overlap
- Then also turn on Group objects by color
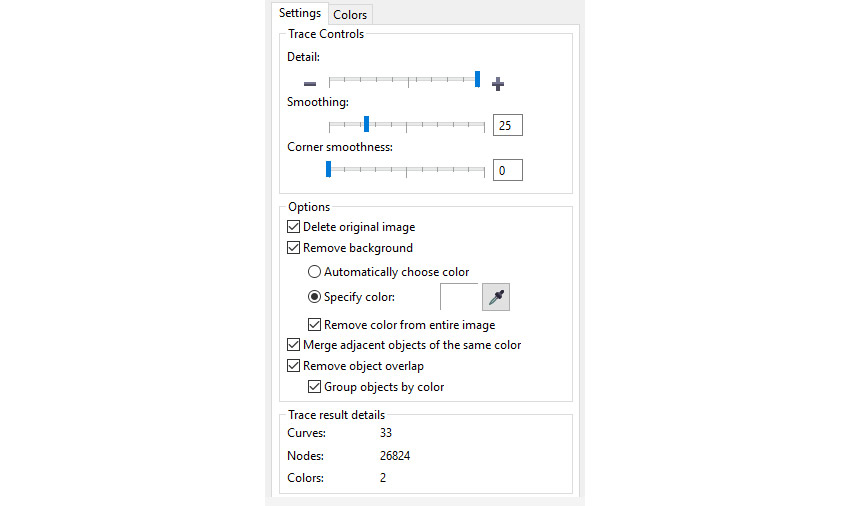
Now click on the Colors tab to open the Colors panel.

In the Color Mode drop-down menu, select Black and White.

Once the Trace is complete, click OK to finalize your vector trace.

Adding a Frame and Text
Now we are going to add a frame, add text, and combine all the objects.

Start by resizing the dimensions of your page and artwork to the final size you want to engrave or cut with your Epilog laser. We’ll be adding a border to the outside of the artwork as well as attaching the map text to the bottom, so be sure to account for an inch or two around the artwork.

Draw a border around the map with the Rectangle tool by clicking and dragging, or select your artwork, then hold the Shift key and double click on the Rectangle tool to automatically create a Rectangle around your map.
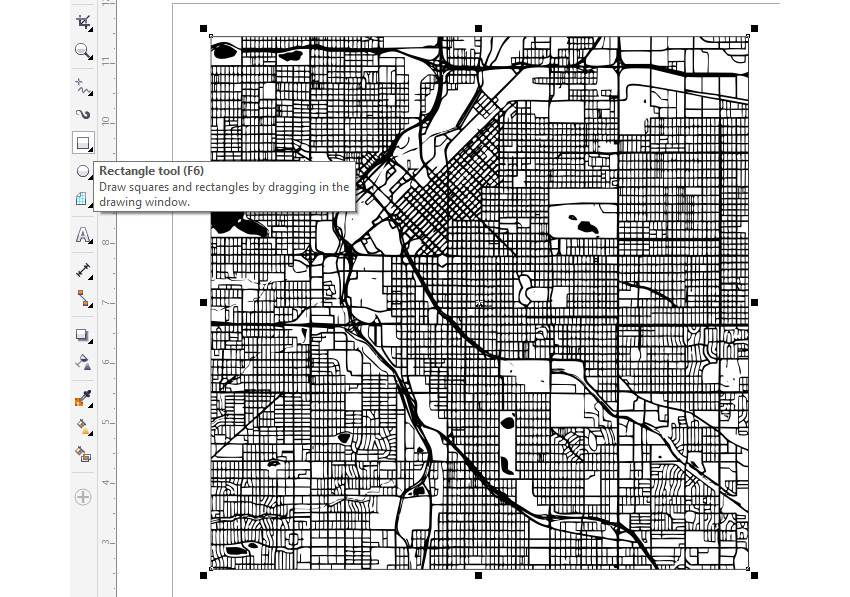
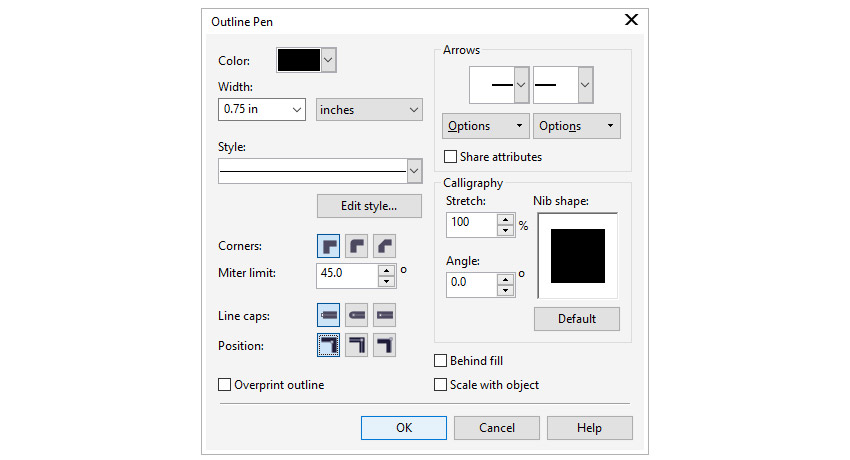
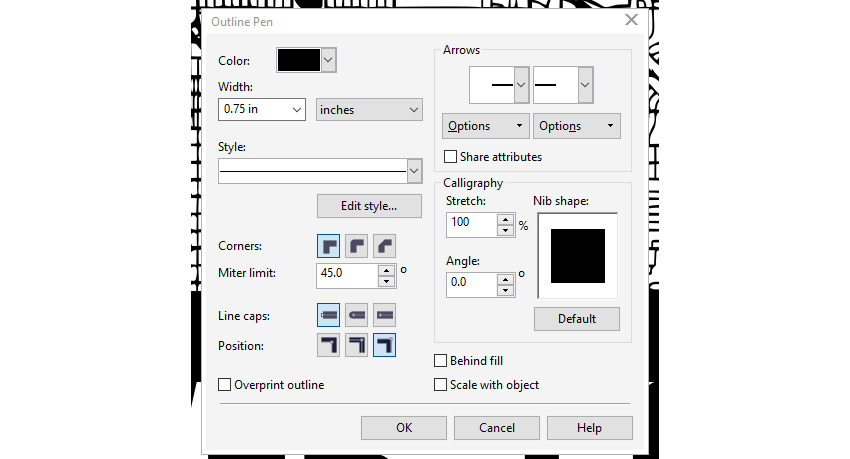
Now we’re going to open the Outline Pen options palette. With the border still selected, double click the Outline Pen tool in the bottom right corner of CorelDRAW.

Within the Outline Pen window…
- Set the Line Width to your desired border thickness. We’ll be using 0.75” for this example.
- Next to Position, select the Outside position icon.
- Click OK.
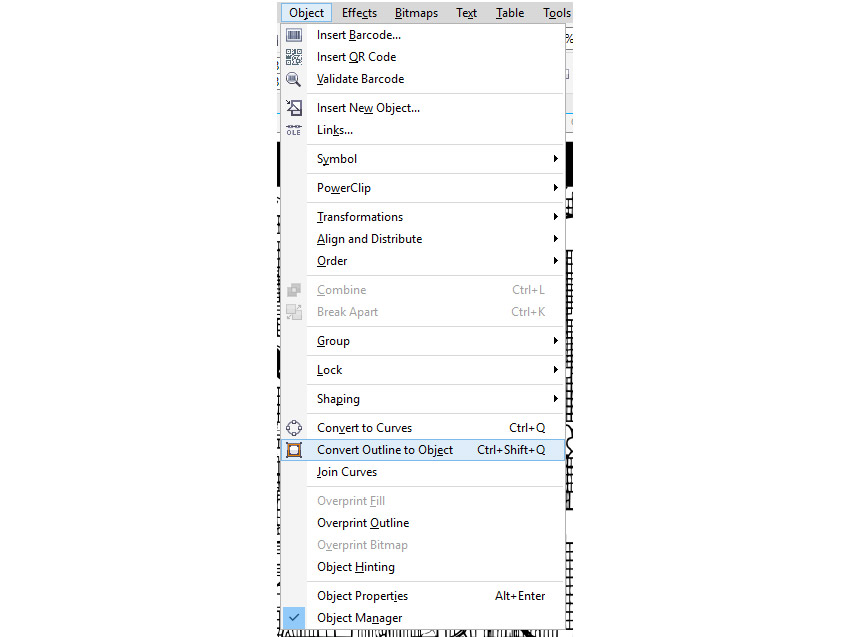
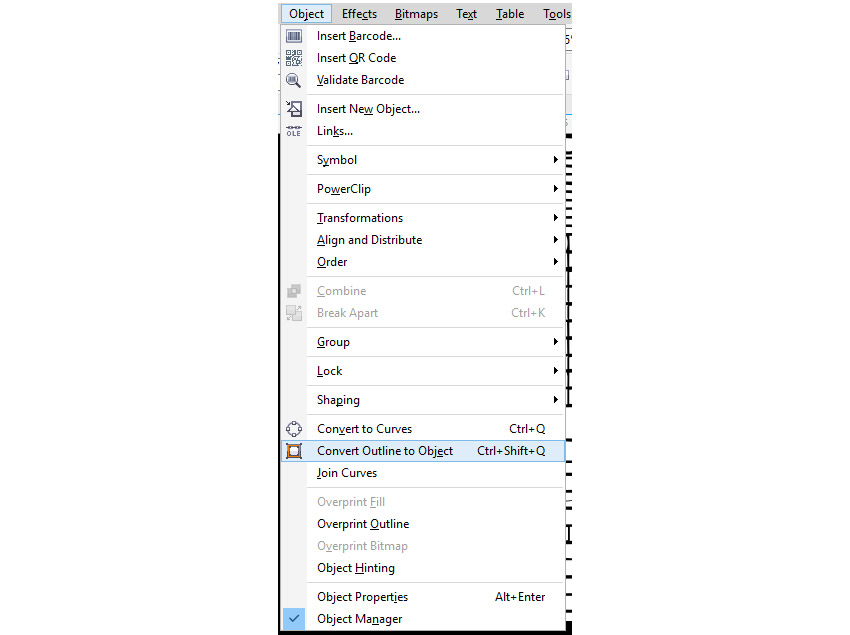
Next, we’re going to convert the border stroke to an object. With the outline still selected, click the Object menu option at the top of the screen, then Convert Outline to Object (Ctrl + Shift + Q).
Now use the Pick tool to select both the map and the border, then click the Weld option that will appear in the Property Bar near the top of the screen.
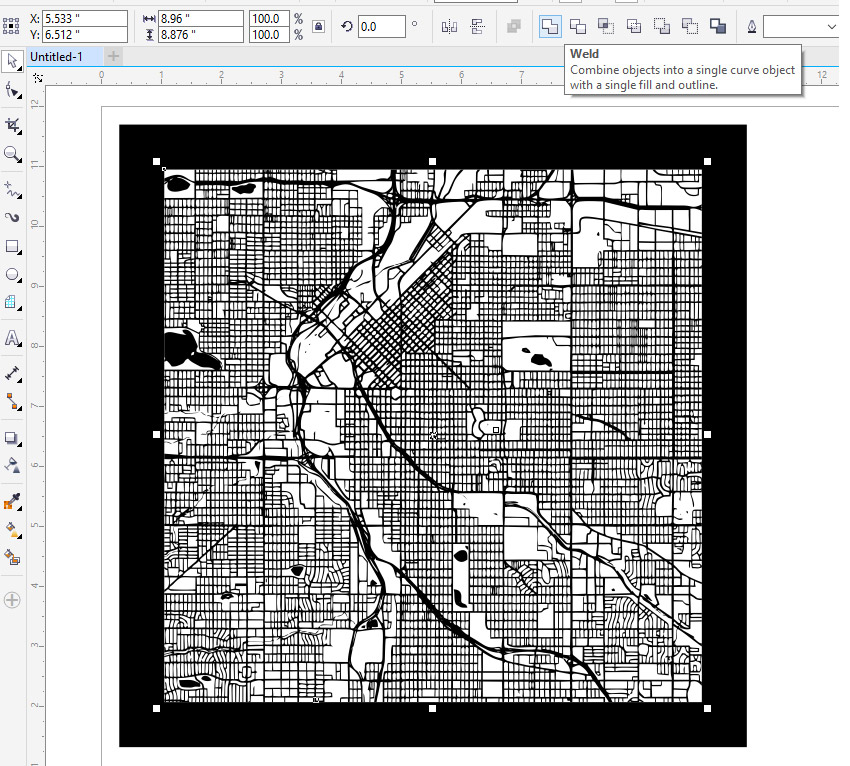
Now that we’ve completed the map portion, we are going to add the text, a frame around the text, and combine those to the rest of the map.
Start by using the Text tool to type out the name of your city in all caps. Selecting a typeface with a bold condensed option will work well for this style of laser-cut map, so we’ll be using Helvetica Condensed Black for this example.
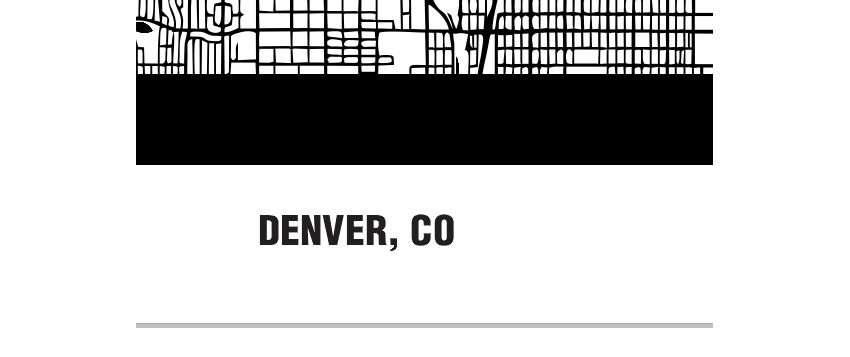
With your text typed out and your font selected, move your text up to slightly overlapping the bottom of your frame, then resize the text so that there is around .5” to 1” of space from the inside border on the left and right side of your text.
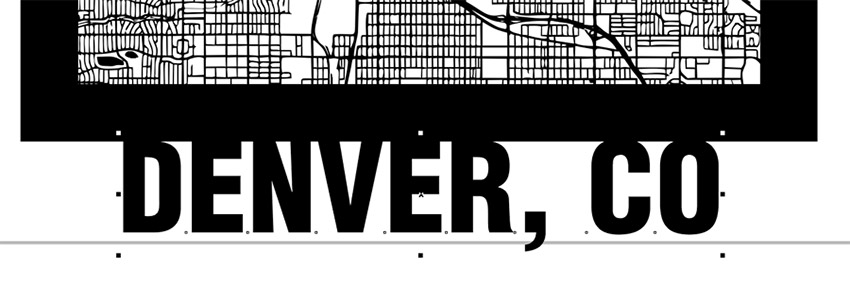
Now, copy and paste the text, and click and drag the copy to the side. We’re going to use the copy to recreate the comma descender that will be combined with the frame in the next step.
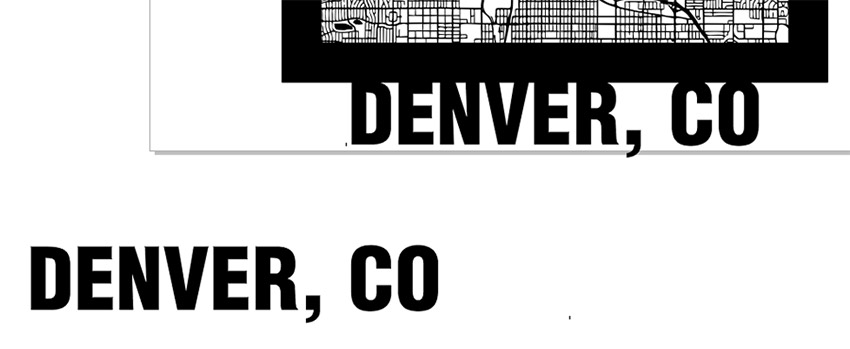
Finalize the text by converting the text to Curves. Click the Objects menu option at the top of the screen, then Convert to Curves (Ctrl + Q).

Now we’ll create the frame that goes around the text using the Rectangle tool. With the text selected, use the auto-outline feature used in a previous step. Hold Shift + double click the Rectangle tool to create a rectangle around the text.

Next, click the Outline Pen tool in the bottom right corner of CorelDRAW, then change the Line Width to .75” and next to Position select Inside Position this time, then click OK.
Next, resize the rectangle so that it overlaps the bottom edge of the map frame and slightly overlaps the bottom of the DENVER, CO text.
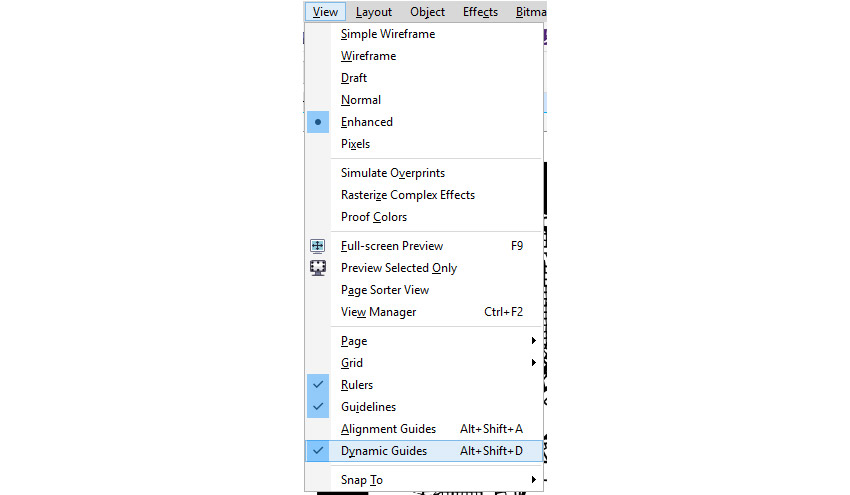
(Note: Turning on Dynamic Guides, located in the View menu at the top of the screen, will help you align the text frame to the map frame in this step.)

Now convert the line to an Object by clicking Object, then Convert Outline to Object (Ctrl + Shift + Q) in the drop-down menu.
To combine all the objects for the final city map, use the Pick Tool to select all the objects for the map and click the Weld option in the Property Bar at the top of the page.
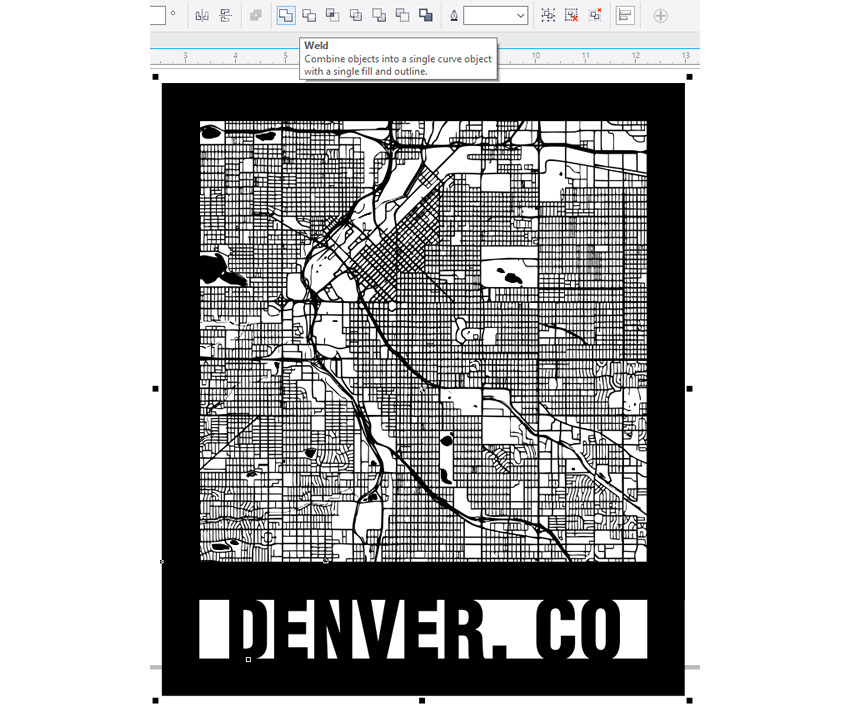
To recreate the comma descender that was welded to the bottom frame, select the copy of the city text created in an earlier step and delete all but the comma. Then convert it to curves by clicking Object then Convert to Curves (Ctrl + Q) from the drop-down menu at the top of the page.

With the comma now converted to curves, we can edit the parts of the shape no longer needed for the next step. With the comma still selected, click the Shape Tool (F10).

Using the Shape tool, double click on the three nodes that make up the top part of the comma to delete the top section of the comma.

Then click and drag the comma descender just below the comma in the Denver, CO text.

Select the map artwork and the comma descender using the Pick Tool, then click on the Back minus front option that appears in the Property Bar near the top of the screen.


At this point, the artwork is ready to go for engraving. To prepare the artwork for cutting simply add a Hairline Outline and remove the black fill.
